
The future is not very practical. The shapes of airlock and science fiction doors are so interesting. The bump outs here and there look awesome. Until I built the door, I never gave it much thought. In movies and television, no one contorts their bodies to get through the portals quicker. Or…when they do, they look cool (because of course they do).
…but…
Once you actually build it, well, it takes a little bit of getting used to. If you happen to impatient (I’m not admitting to anything here), you might start inventing new yoga poses to get through the door.
Sizing the Build
This part is pretty easy. It’s necessary to source the doors. A quick visit to the local hardware store and I found a selection of hollow-core hardwood veneer doors. They were all 80″ tall, so I just had to figure out the correct widths to choose.
Here’s how I calculated that:
The desired width was 72 inches and I wanted about 4 inches of the door still in the pocket (for more of a dust barrier). This means that the total width needs to be 72″ + 4″ (on the left side) + 4″ (on the right side) = 80″. For my door, I chose to use 32″ doors for the two “whole panels” and then bought a 24″ door to fabricate the middle section.
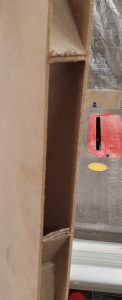
A Note About the Window
The window is absolutely not necessary. If you can forgo the window, maybe you should. It’s a lot of extra cutting and blocking. Personally, I really wanted to add a funky shaped window, but it really did add a lot of work. Be forewarned, if you decided to skip it, you might need to add some sort of handle to open/close the door until you get the system completed! That window opening served as my “handle” for many years.
Cutting Things Down to Size
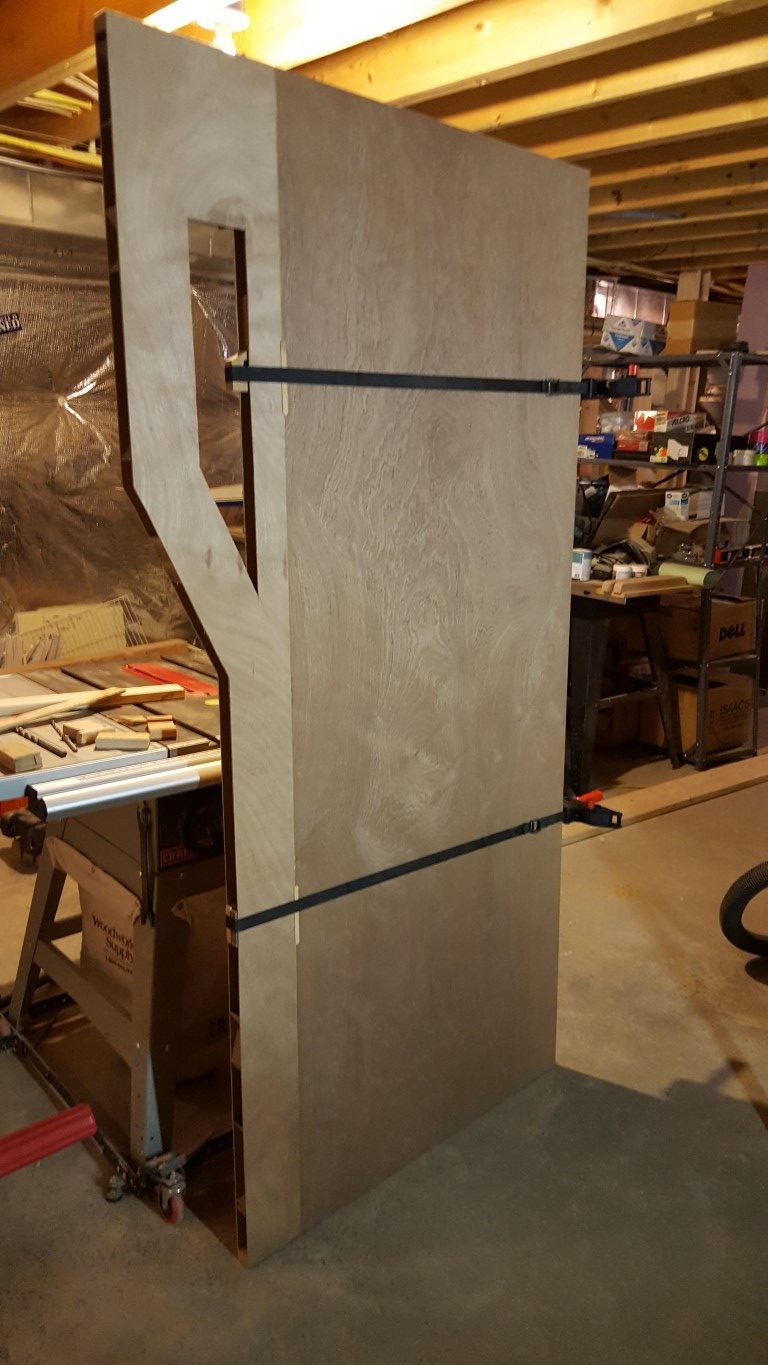
As I alluded to above, my strategy was to use two, hollow-core doors and connect each one with pieces cut from a third door. This section explains how I cut this third door to get the decorative edges.
The drawings show the third door in two sections. I cut both from a single, 24″ door. Essentially, I used my table saw and cut them both 11″ from the end. I used a jigsaw to cut out the angled section and the table saw for all the straight cuts. Take care when using the jigsaw — this is luan and will want to rip and tear. It’s a good idea to use a fine blade and masking tape along your cuts. Don’t worry too much about rough edges, we are going to edge the door and cover things up later. The “window cut” on the right hand panel was all done by jigsaw. I drilled a pilot hole to make it easy to insert the blade and then just cut out the shape.
 Blocking & Tackling

We’re done, right? I’ll be honest, at this point, I really wish I had recorded this work. Trying to explain it clearly and concisely is tricky. Feel free to ask questions!
Remember, these are hollow core doors. Since we cut one of those doors in half, we can see that the construction of these doors is literally two pieces of luan separated by cardboard. Fortunately, we can make use of that to join the doors…unfortunately…we need to finish these edges to make these edges workable.
Right now, we have four sections of door. That won’t suffice. To take care of this, we need to join the doors together. I opted to use some half inch dowel rod and lots of wood glue. But, I’m getting ahead of myself.
 Start by clamping the two sections of door together. In this photo, I used two strap clamps. The door is still hollow, so you will need to insert some wooden blocks into the interior of the door so the strap has some support and doesn’t crush the luan. Once the doors are secured and lined up (I would also clamp a board across the seam to make sure the door panels are aligned straight), prepare a drill with a half inch drill bill.
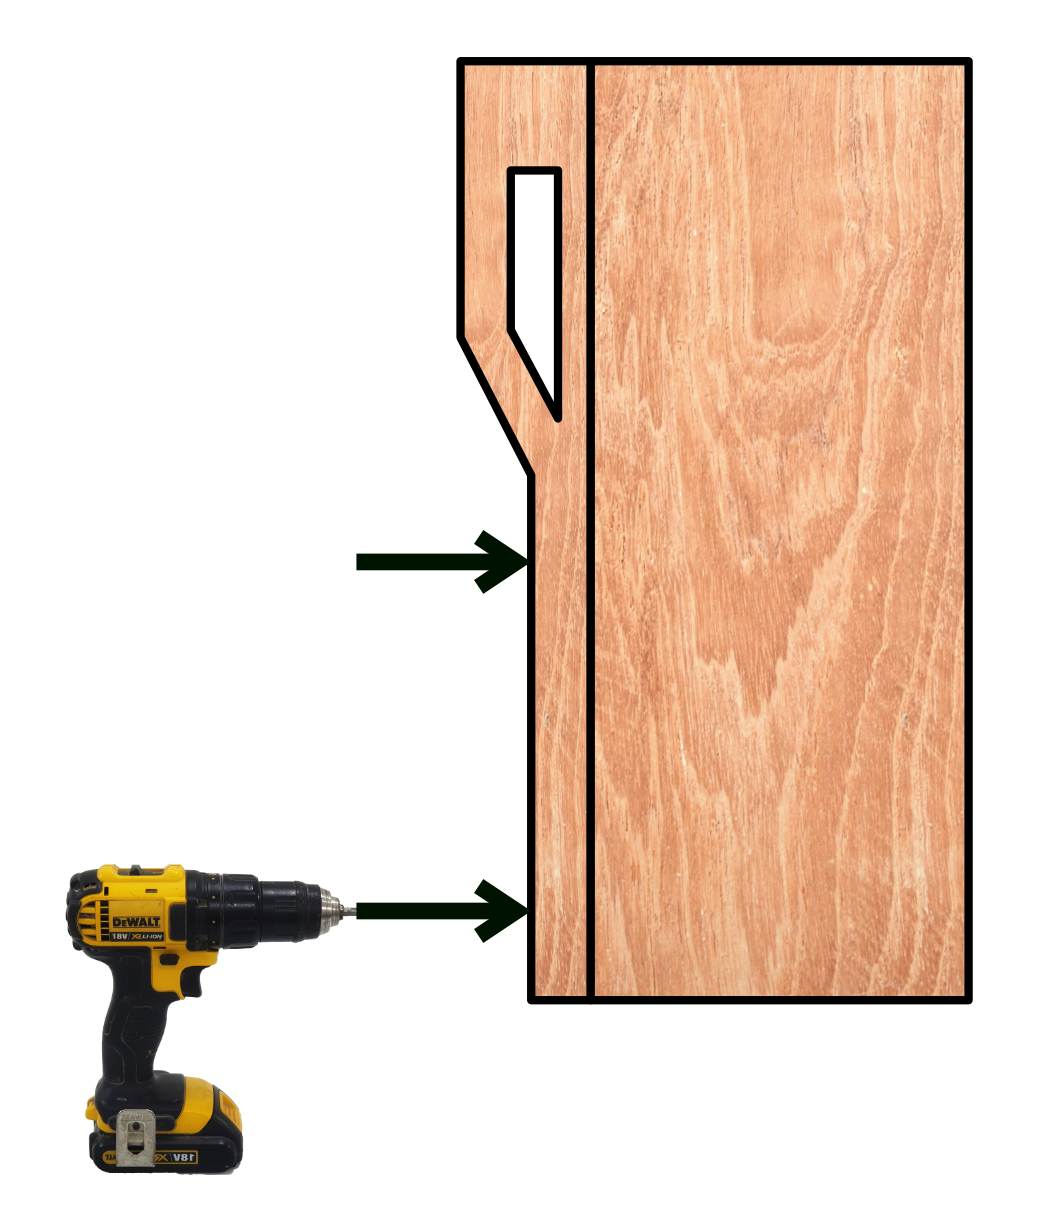 On the short part of the shaped door, drill a half-inch hole all the way through into the full door panel. This will give you a well-aligned hole for connected the doors with the dowel rod. Do this where indicated by both arrows. The bottom of both sections can now be secured with ½” dowel rods, but don’t glue them yet!
Of course, this approach will not help with the top unless you have a 16″ long drill bit (if you do, awesome, repeat the previous step at the top of the door and skip these steps). To start with, I recommend getting some dowel centering pins. Take the door panel apart (remove the clamps such that both pieces are free) and go ahead and drill a half-inch hole near the top in either of the door sections.
Use a piece of dowel rod (about 4 inches) and connect the two door sections at the bottom. Insert the half-inch dowel centering pin in the hole you just drilled. Ensure that the door panels are lined up – nice and flat – and squeeze the two door sections together. This will transfer a small “dent” into the mating door. Take the door panels apart and drill the the half-inch hole where at the dent as straight as you can.
You should have three matching holds along the edge of the door. Go ahead and cut 3, four inch sections of dowel (you should already have one from the previous step) and use that to glue the two doors together.
Clamp as shown above and then repeat for the other door section. Okay, easier said than done. You might only be able to drill all the way though at the top and then use the dowel centering pin trick twice. Maybe it’s worth springing for the long drill bit!?
Filling in the Gaps
 For this step, you will need a 2×4 and either a table saw or a planer. In short, you need to get a piece of wood dimensioned down to about 1-1/16″. You will cut sections of this wood and use it to fill in the hollow edges of your door. As you can see in this picture (and in the one above), there is paper/cardboard in the door providing the structure to the “hollow core.” You can simply tear it out or just push it out of the way with the blocking wood. When you glue the blocks in place, make sure you clamp everything so the edges dry tight against the blocks.
There really isn’t any need to get fancy with miter cuts here. You can (and I did), but the main goal is to make sure the door is pretty well reinforced around the edge.
Finishing the Door
We’re almost done with the door construction. For this step, you need two sheets of white melamine (4’x8′) and a tube of Liquid Nails. After the door is all glue together, blocked, and dried, lay the door on the floor. Then, liberally coat the front side of the door with Liquid Nails and line up the edge of the melamine with the straight edges of the door. Then, evenly pile a bunch of heavy stuff on the door (to flatten it out) and let it dry overnight.
NOTE: You can hang the door before the melamine dries, but I don’t recommend it. Even though I had my door clamped (and didn’t lay it down on the floor), my melamine slipped about 1/2″ down the door. (If you look closely, you can see where the left hand door slipped a little.)
Once dry, use a jigsaw to trim the excess melamine. We’re getting close!

Hanging the Door
 The edging around these doors is not hardwood. It’s some sort of MDF (medium density fiberboard) or other composite material that shreds easily. That means, we don’t want to thread our hanging hardware directly into this edge. Additionally, the “barn door” hardware that comes with the trolleys would totally ruin the sci-fi vibe we’ve been working so hard to create.
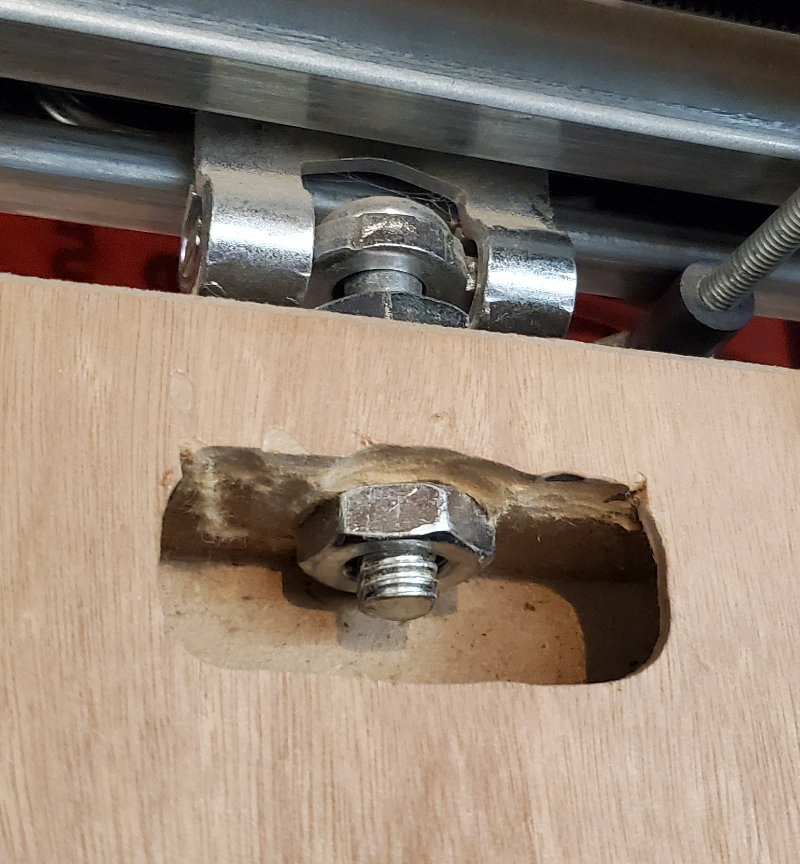
Okay, on the “window side” of the door, I drilled a hole in the top of the door 7½” in from the end (3″ on the other door panel). Then, on the back side of the door, I cut a 1″x3″ hole. This allowed me to feed the bolt down through the hole and secure it with the nut provided in the kit. You have to start the hole about ¾” down from the top so that you don’t cut through the edge material.
Wrapping this Up
The actual door stayed in this state for a very long time. At this point, I had my dust barricade in place and I really just had to work on the decorations! It’s all facade from here. In the next post, we’ll take a look at the beginning of the facade build out.

Recent Comments