Time Clouds the Mind
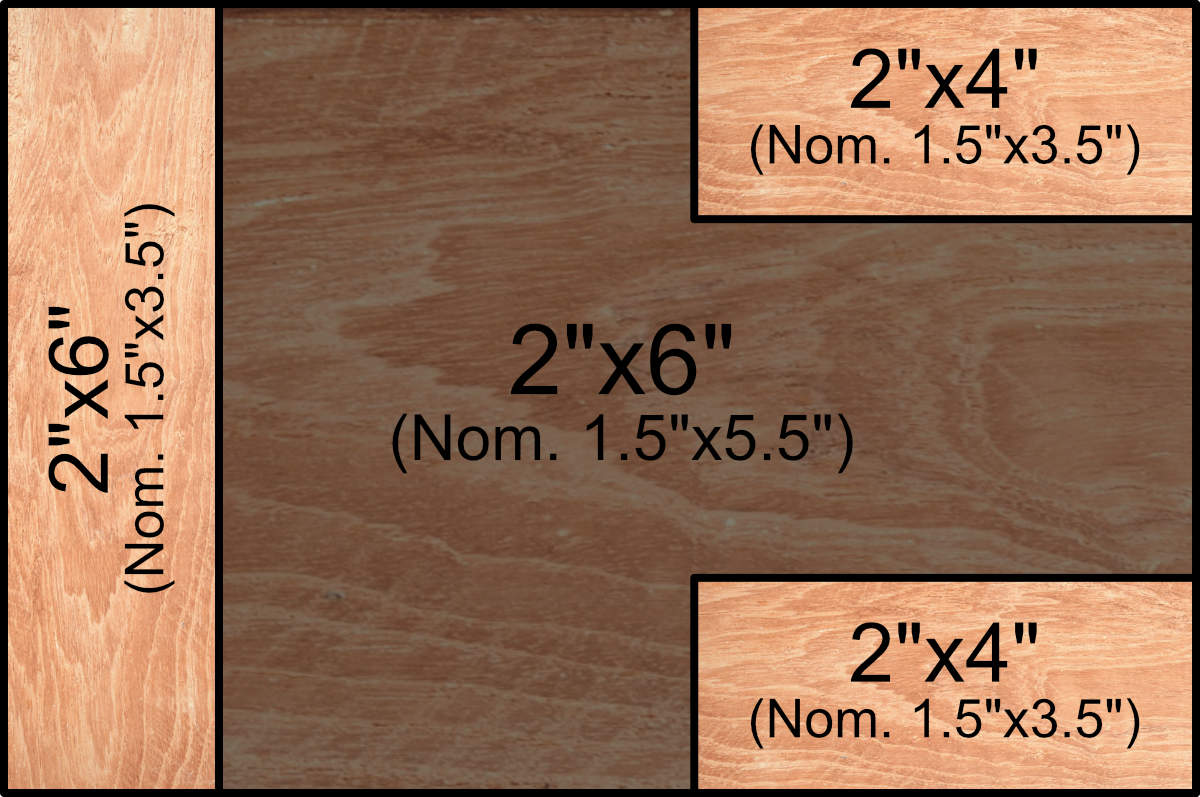
Since they say confession is good for the soul, I have one to share. I am not a carpenter. It has been a while, so I might have stayed at a Holiday Inn Express. The wall build out is really not terribly exciting. In fact, detailed pictures of it are pretty much non-existent, but, I did capture some of the early parts of the door. Most of the documentation started with construction on the actual door. The picture below captures after the wall was constructed: a summary will follow.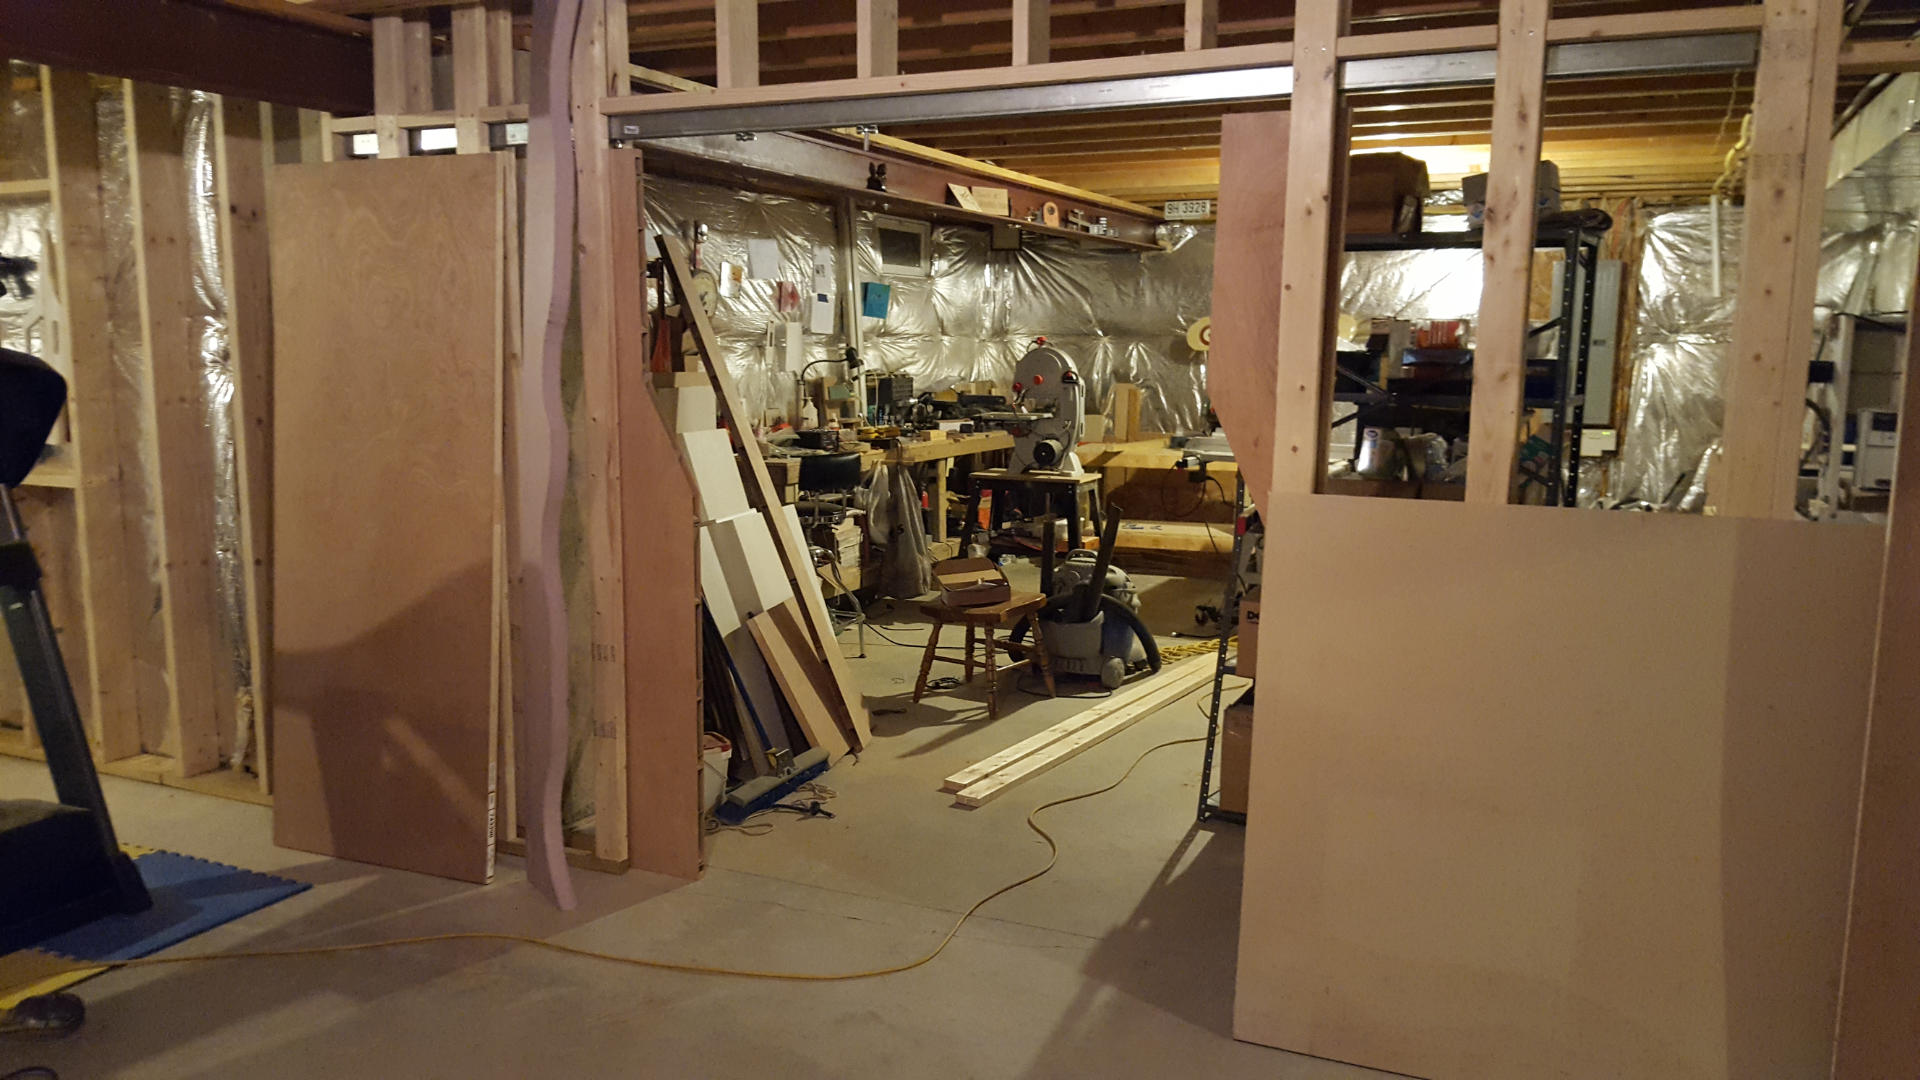 First things first. This is basic 16″ on center wall construction. With one major difference. Since this wall is intended to house a pocket door (about 1.25″ thick), standard 2×4 construction did not seem adequate. Of course, building with 2×6 didn’t entire solve the problem either (we still need a slot in the wall). To accomplish that, I built the wall on 2×6 plates, but the door section uses 2x4s turned sideways which creates a great 2½” slot for the door to fit into.
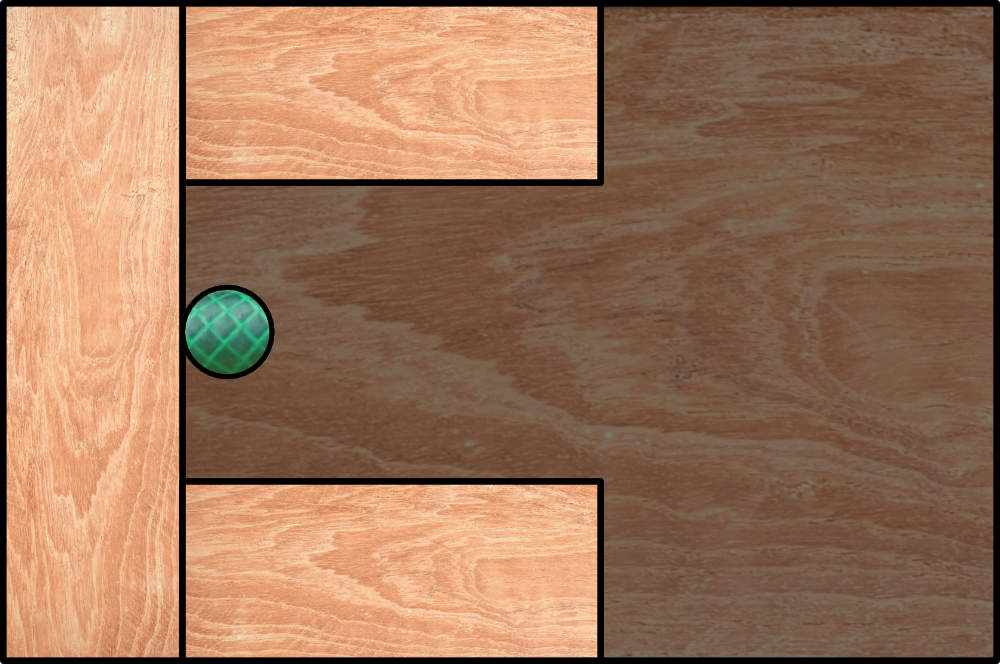
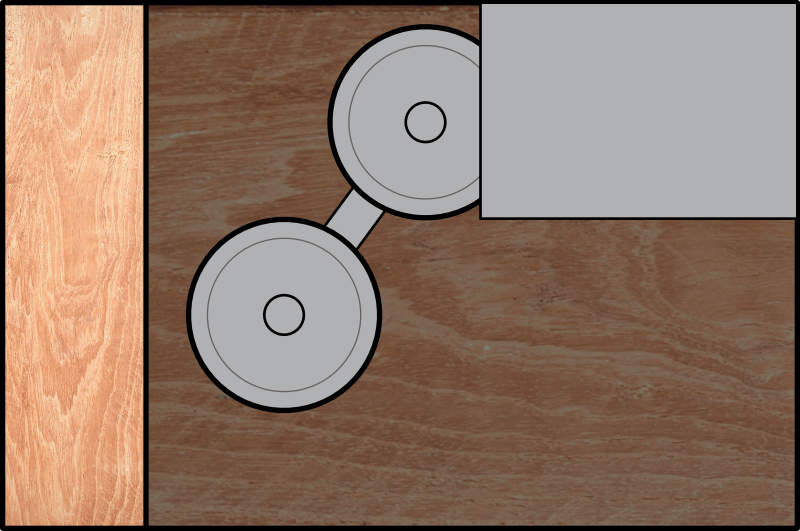
 While there are a lot of pocket door kits out there, I didn’t use one. For one, I was concerned about weight. Some of the kits seemed pretty lightweight and this project called for something durable. Who wants to worry about a door falling of the track? After some looking around at the local home improvement stores, I found box rail and rollers. They certainly fit the bill – this is the hardware they use to hang barn doors — actual barn doors, not the decorative doors that we originally considered for this build! They definitely meet the robustness and hardiness quality.
On a convenient note, the box rail itself is about 2″ inches wide. This fit beautifully in the slot provided by the stud layout shown above.
Miscellaneous Notes on Wall Construction
Box Rail Installation
Initially, the plan was to make the studs at each end of the pocket door exactly 12 feet apart to perfectly house the 12 foot section of box rail that I used. This turned out to be bad thinking: there was no need to make these the same length.
First, I really wanted a wider opening and given the widths of my doors and the amount of travel they would need, 12 feet was just a little too short. Second, the trolleys are not installed on the very edge of the doors so the track didn’t have to go all the way to the end (i.e., so the doors wouldn’t fall off the track when open). And finally, if the track went all the way to the studs, the trolleys would have to be installed now and could not be removed without removing the entire track.
With all this in mind, I left a gap so the trolley could be inserted/removed as desired.
End of Pocket Door Box 
One end of the pocket door “box” was reinforced by putting two 2×4 (turned sideways) right up against a 2×6. The 2×6 was liberally secured to the 2x4s with several screws. This ensured that the 2×6 didn’t rattle when the door was opened a little too hard.
Of course this happened…more than once. At some point, I realized that it would be a good idea to install some sort of a bumper. Originally, I was going to buy some black, rubber bumpers but had another idea. Having recently completed some other project, there was some excess garden hose laying around. So, I cut off a 6″ piece of garden hose and affixed it to the end of the pocket door box with two screws and a washer. This has served as a GREAT solution for years and I really recommend this approach.
Why did I only build this box on one end? In short, the I-beam got in the way. Regardless, I did install the hose bumper on both ends. And, the left-end stud firmed up after installing the drywall.
A Quick Note on the Door Header
Upon reflection, I’m not 100% sure why I didn’t double up the header. Maybe code requires it, maybe it doesn’t. Either way, the box rail – after bring bolted to the header and sandwiched between studs – seems like it would add any strength the header was lacking.
A Second Quick Note on the Door Header

Despite extensive planning on the door height (height of opening plus height of the box rail plus height of the trolley plus ground clearance), I wish I had raised it up just a little more.
Looking back at the Stertman Airlock, the light is placed below the center section. While planning the height of the opening, I failed to take this into consideration. That’s okay, it just impacted the design a little bit later.
Until next time…
In the next post, I will talk about the actual door construction. If you have more questions about the wall construction, please leave a comment. I have checked my photo archives and didn’t see any more pictures. If you really need some more info, I will build out some drawings or take some pictures of the completed wall (the back side is not enclosed).


Recent Comments