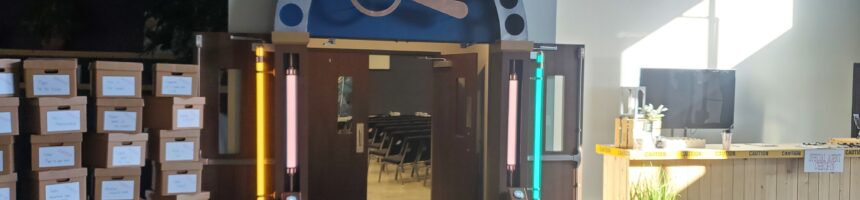
The request sounded simple enough: build something with a big button that the kids could smash.
For most of Vacation Bible School, pressing the button would produce a red light. On Friday, after the children had worked through the week’s lessons, the same button would finally produce green.
Of course, once you add young children and a large arcade button, “press” is probably not the right word. They were going to smash it. Repeatedly. Some would hold it down. Others would return to press it again and again, just to see what happened.
Whatever I built needed to be exciting, responsive, and sturdy enough to survive exactly the kind of enthusiasm we hoped it would generate.
Giving the Lesson a Physical Form
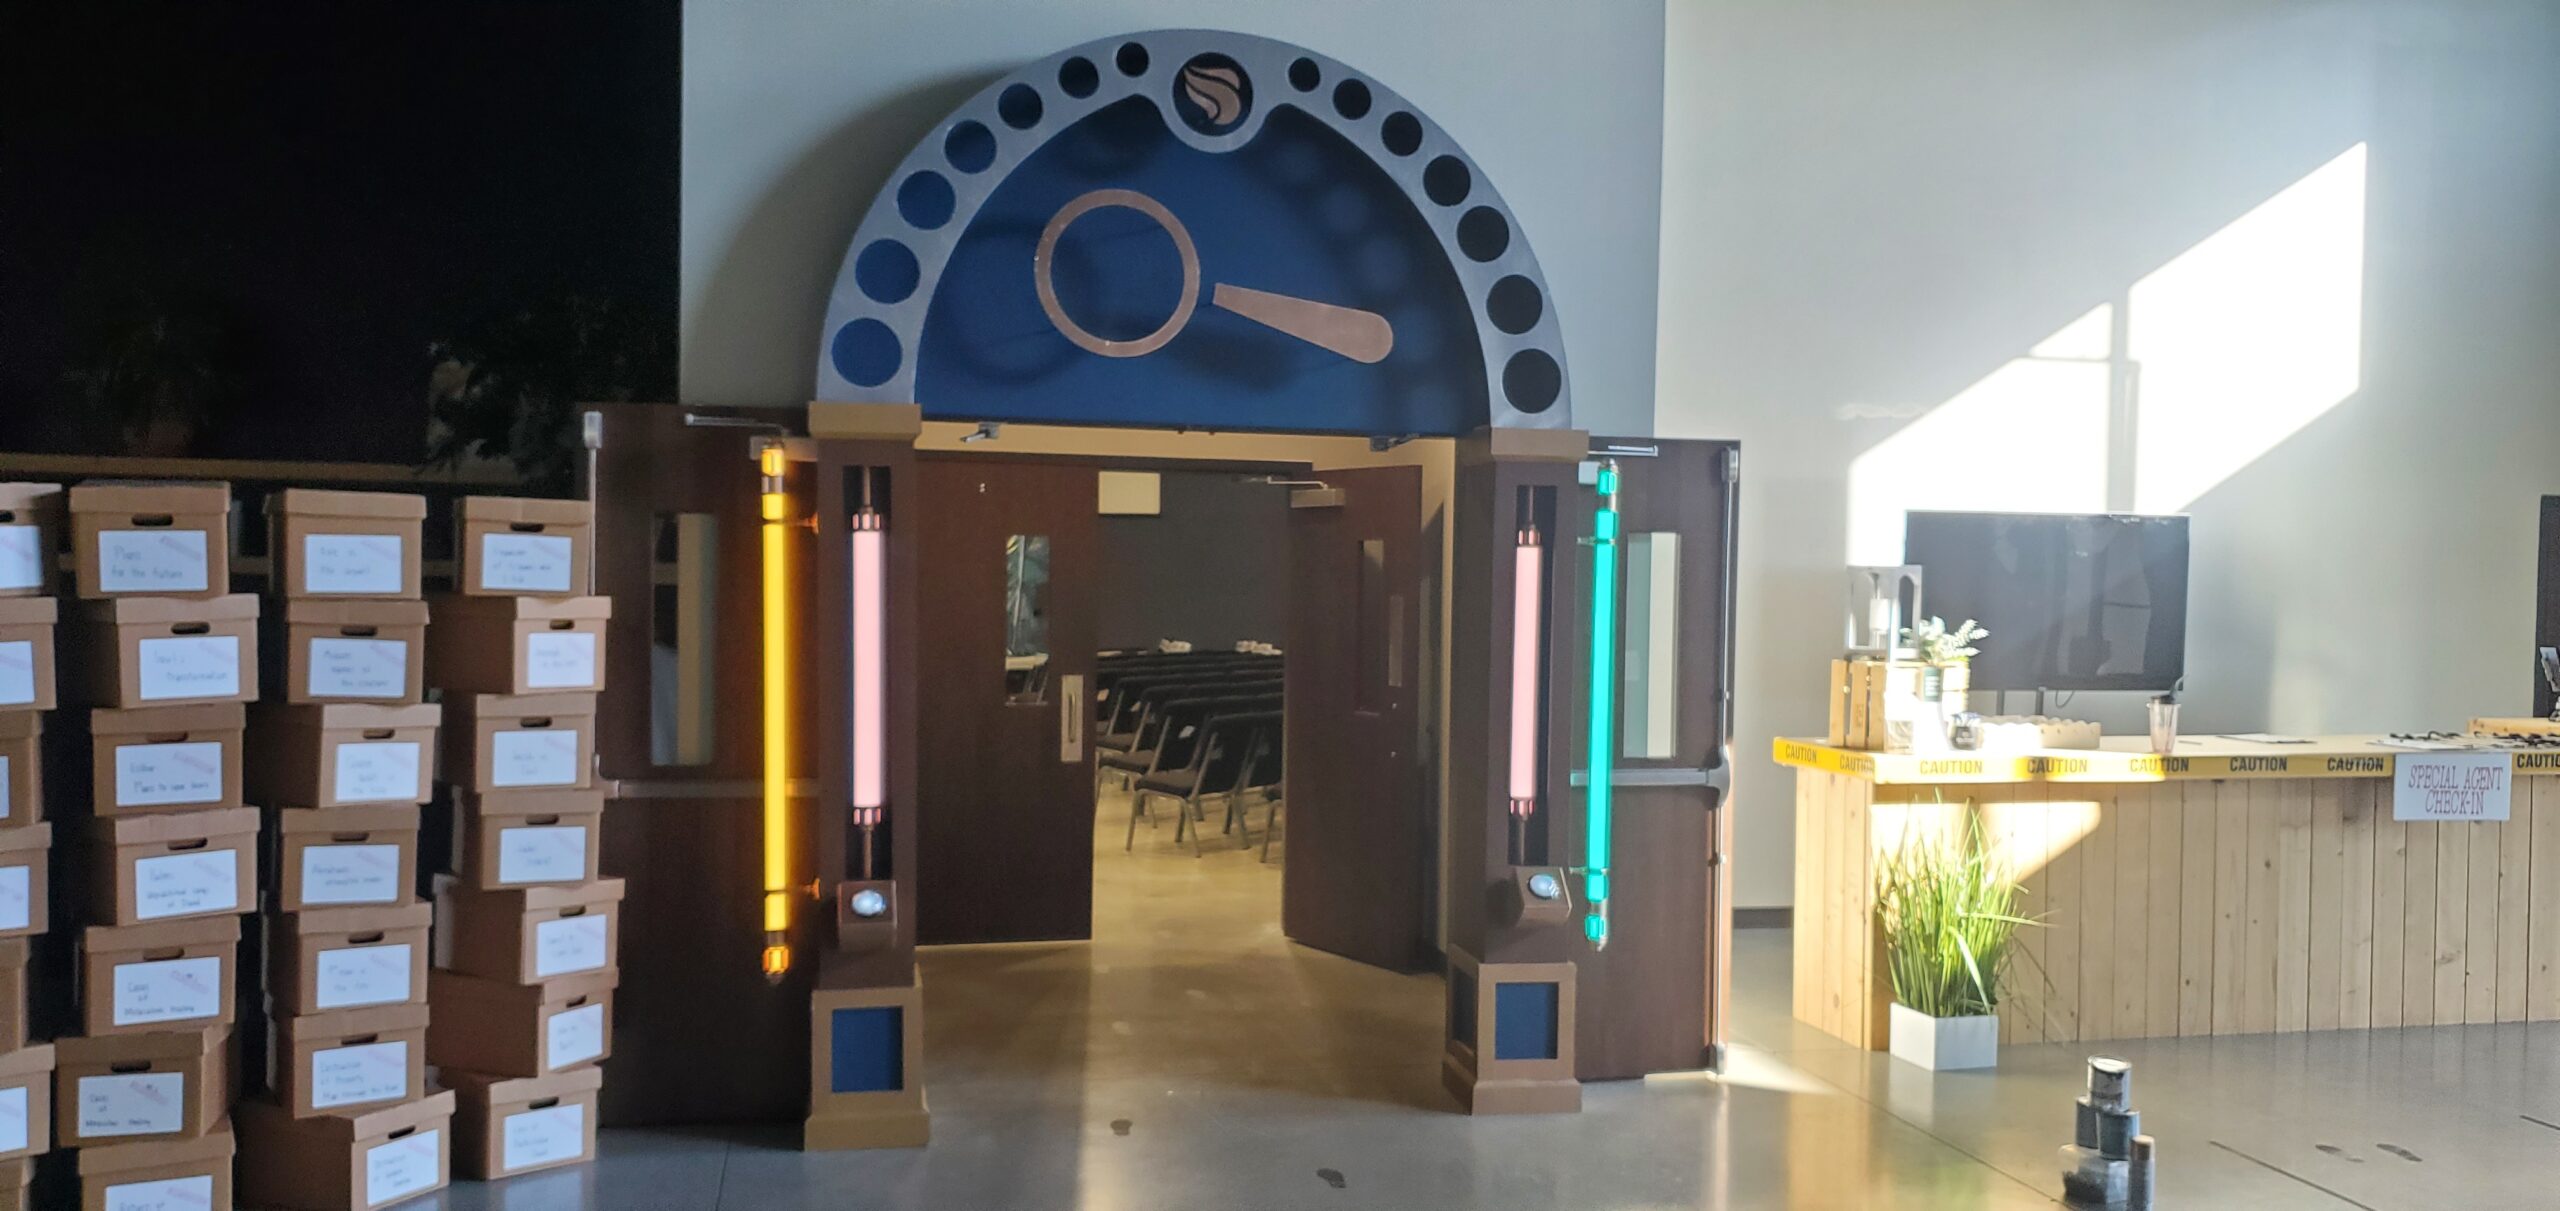
The theme for the week was identity, specifically, where we as Christians should find our identity. The VBS program also had a Sherlock Holmes influence, so Victorian England was already part of the visual vocabulary.
That gave me an excuse to lean into a style I had wanted to explore for some time: steampunk. It was a natural fit for several reasons. It evoked the Victorian setting, gave me room to incorporate electronics, and let the doorway feel like a mysterious machine rather than ordinary church decoration.
I initially asked ChatGPT to help me imagine a steampunk doorway. None of the individual concepts became the final design, but I pulled ideas from several iterations and combined them into something that fit the existing doors and the experience we wanted to create.
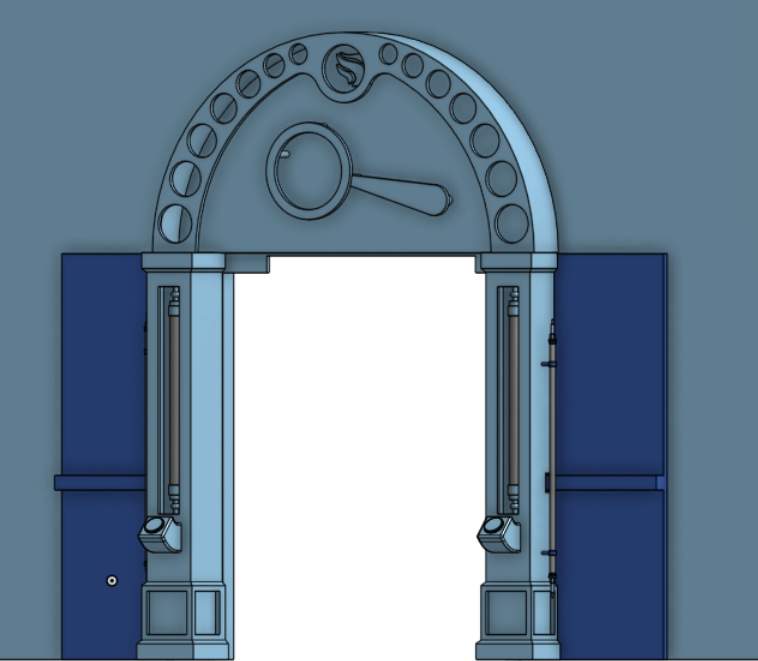
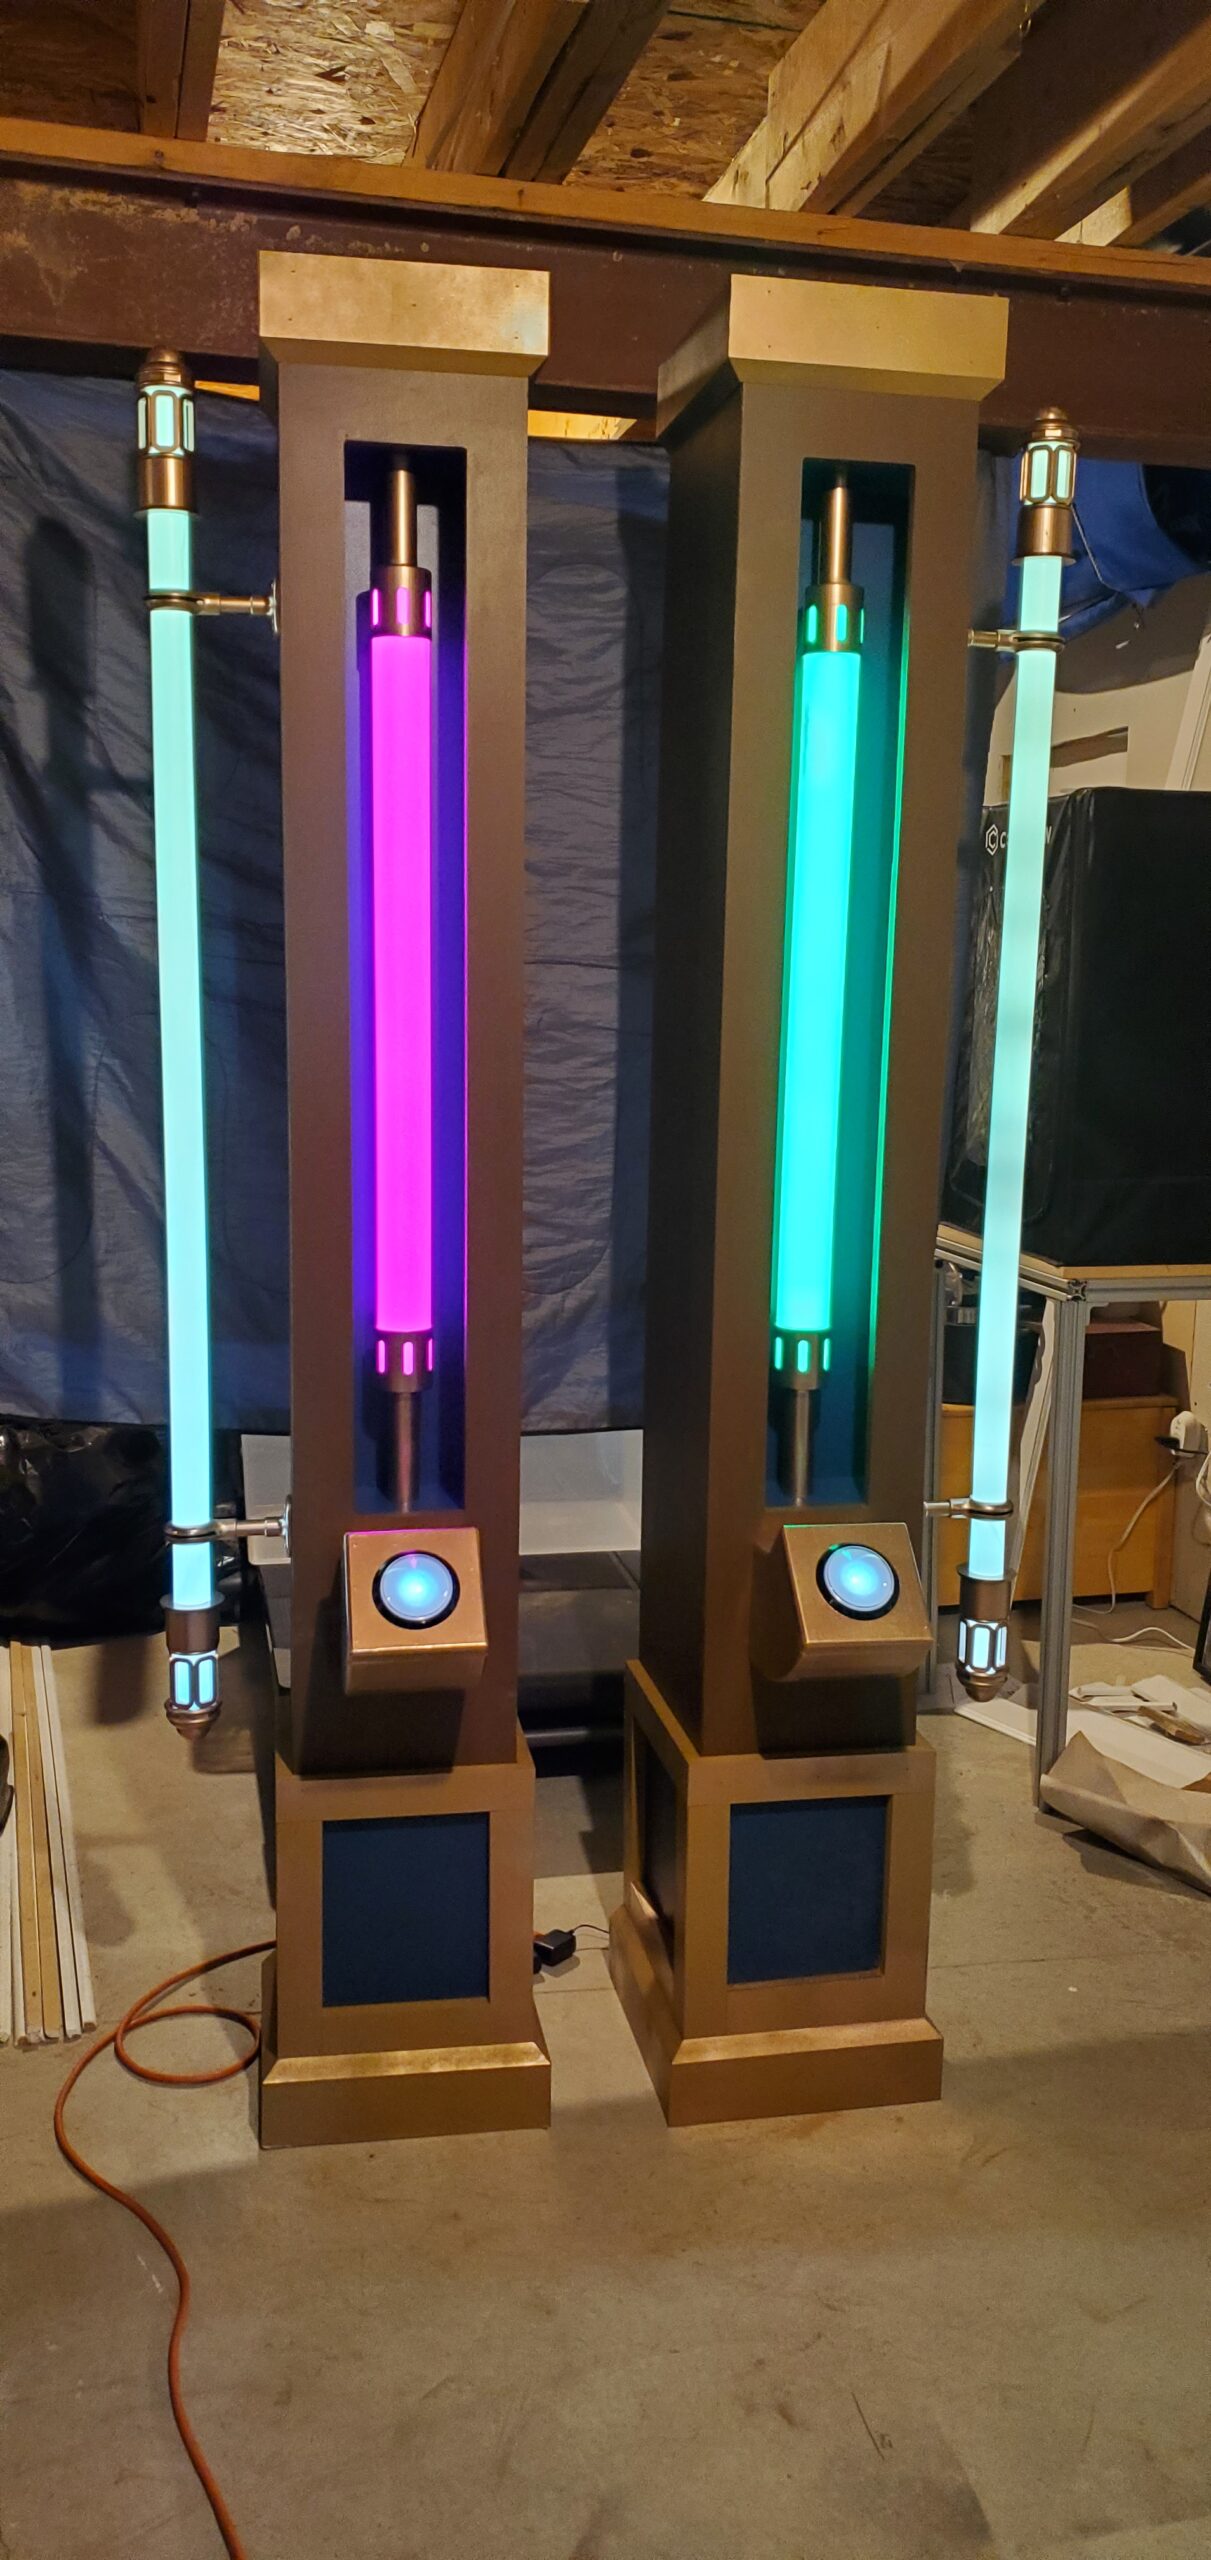
The result was a pair of tall, pedestal-like pillars, one on each side of the existing double doors. Each pillar had two illuminated tubes and its own oversized arcade button. Eventually, a large arch would span the doorway and tie the whole facade together, but that became a build story of its own.
Designing for Two Kinds of Light
The outer tube on each pillar continuously cycled through the colors of the rainbow. It gave the facade motion and color even when nobody was interacting with it.
The inner tube was the “identity light.” While waiting, it slowly breathed white. When a child pressed the button, it pulsed red or green depending on the setting for that day.
Each pillar operated independently. That was important: there were two buttons to press, two machines to explore, and no need for every child to wait for one turn at a single station.
The tubes themselves came from readily available materials. The narrower outer tube was made from a fluorescent-light cover, while the larger inner tube was a three-inch acrylic tube ordered online. LED strips were installed along the back, and the tubes were lined with light-diffusing privacy film. That simple addition hid the individual LEDs and helped the entire tube appear to glow.
From MDF Box to Steampunk Machine
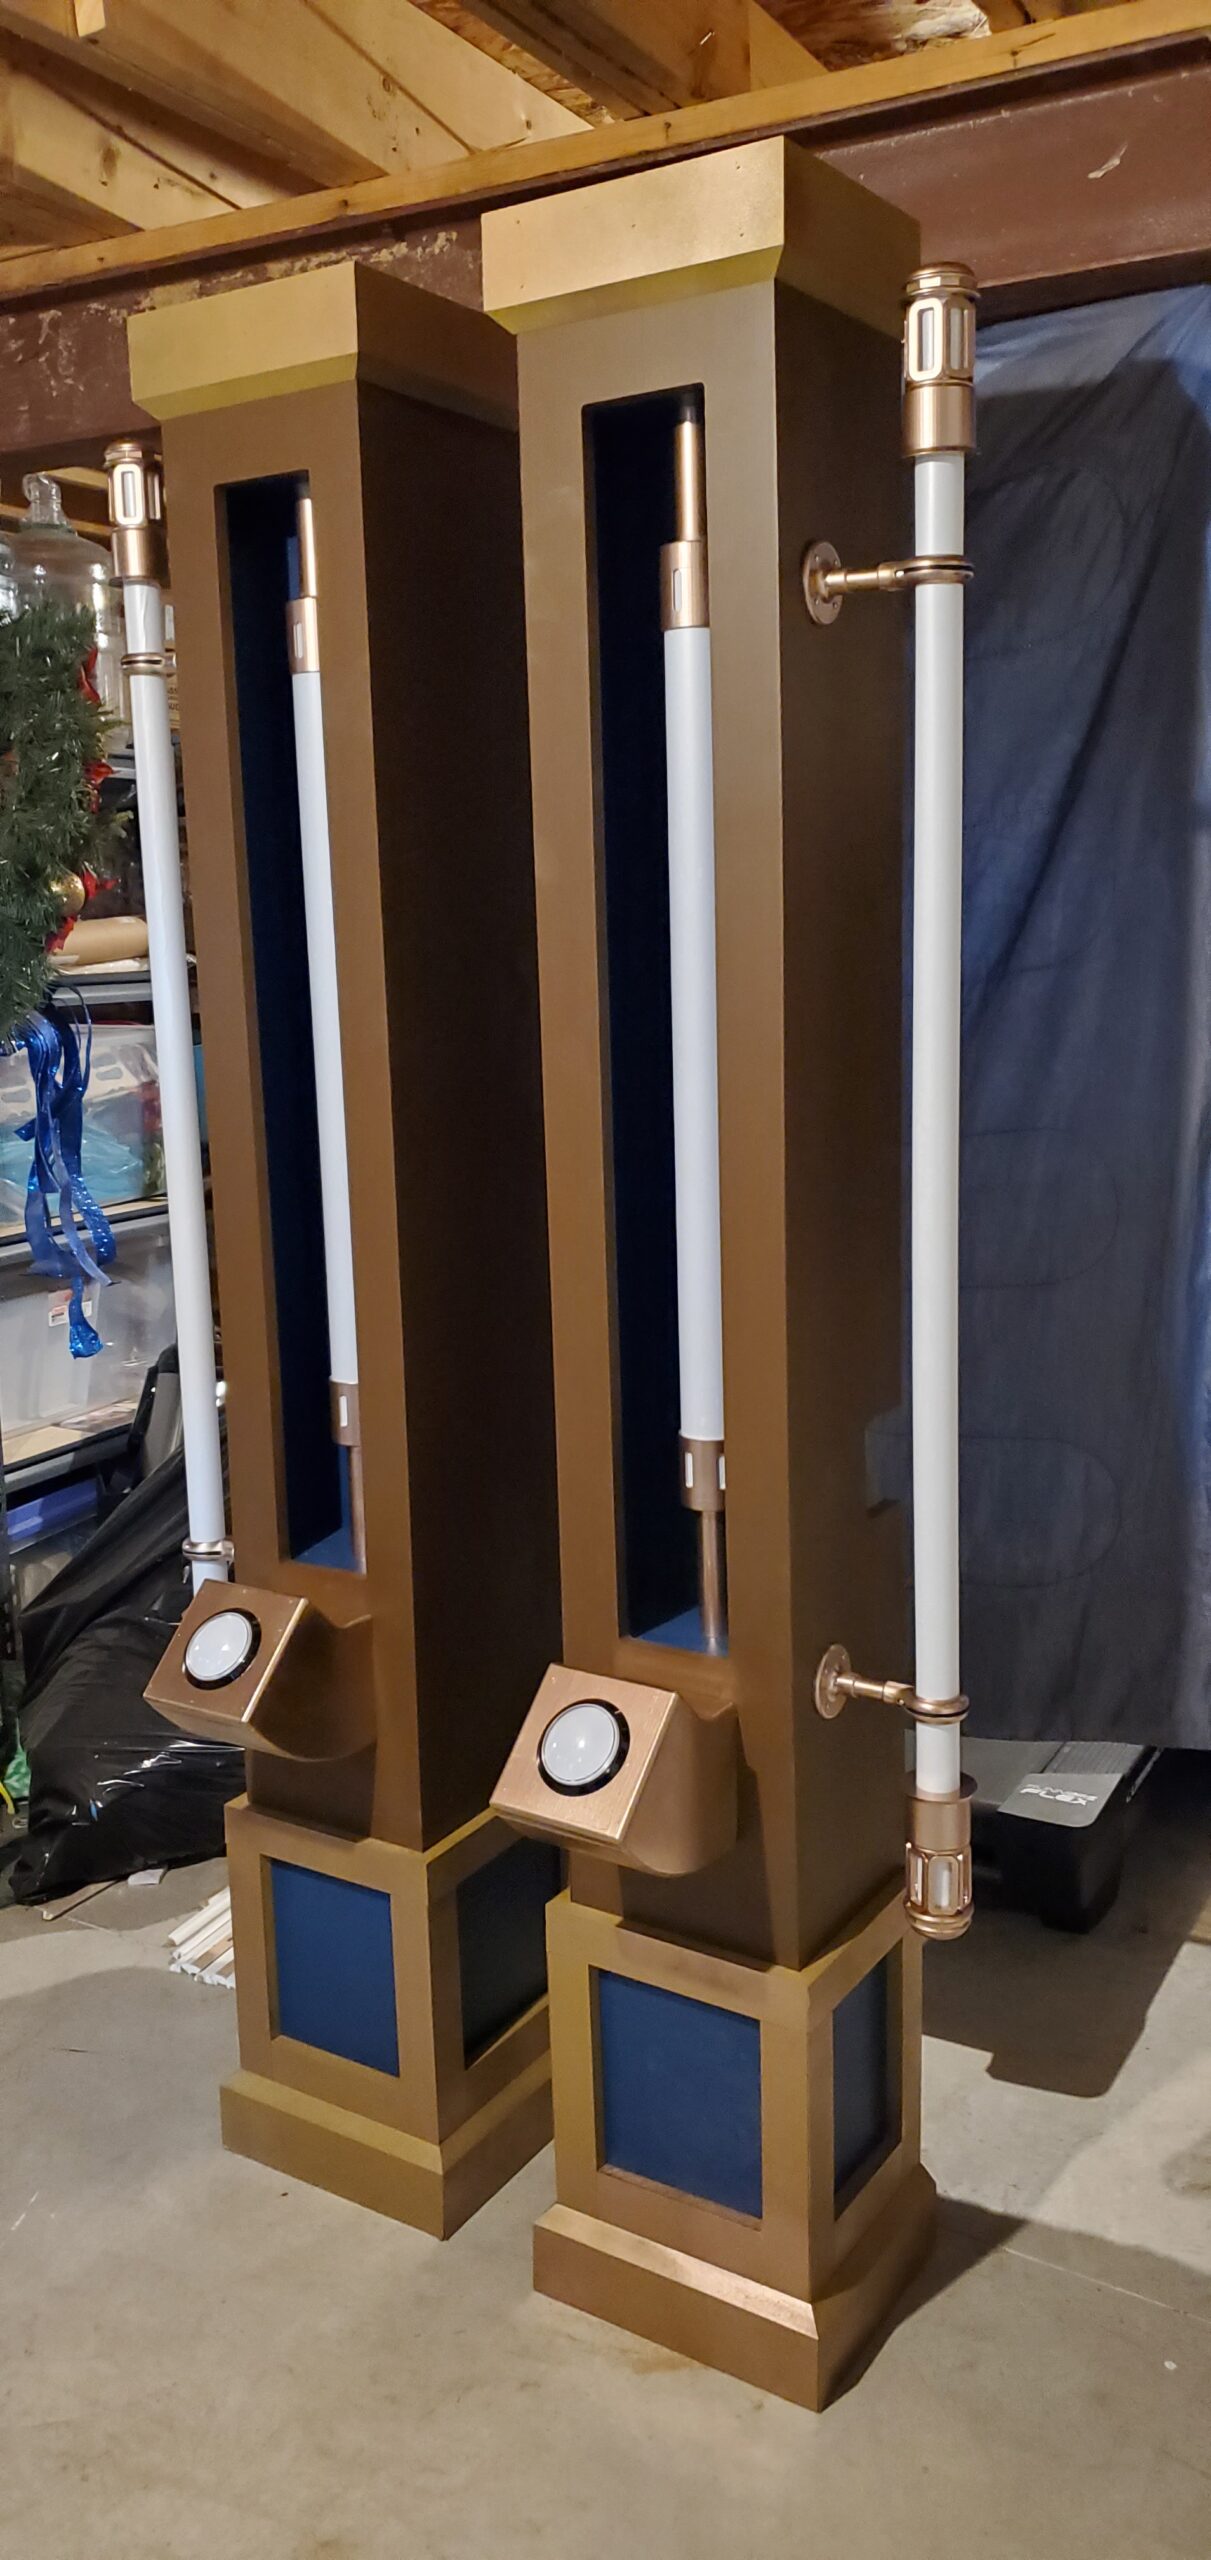
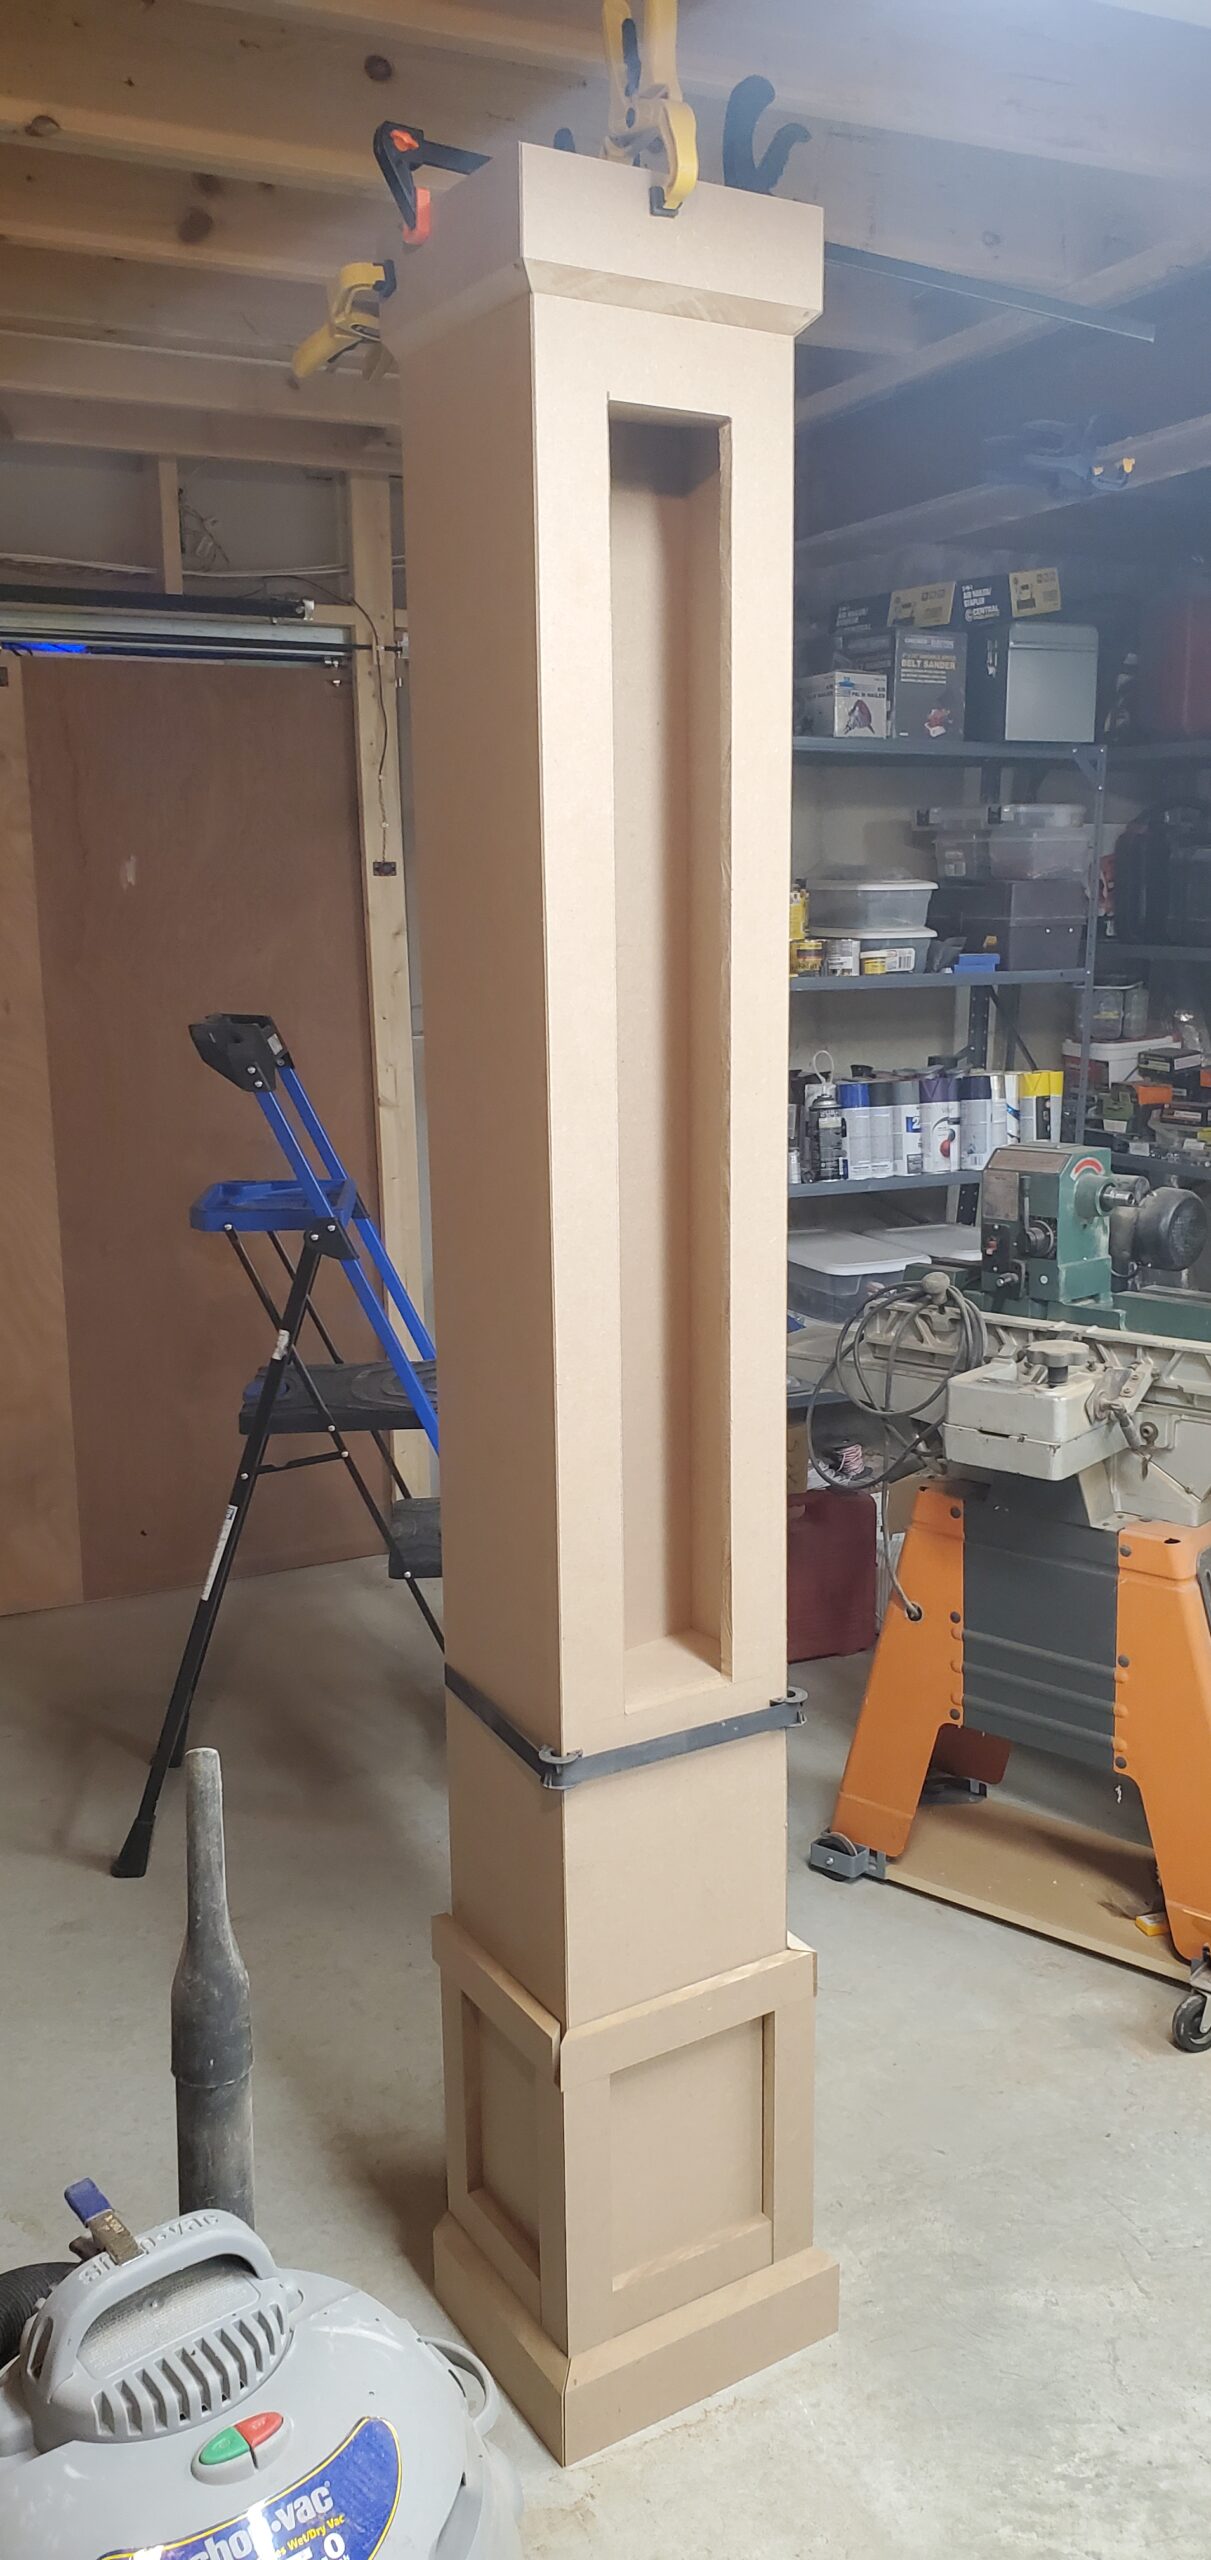
The structure began much less dramatically: as a pile of MDF.
The first pillar took about five hours to assemble. Once I had worked out the process, the second took less than three. They were built quickly, with plenty of glue and long screws. I did not specifically design them for repairability, but they were intentionally a little overbuilt.
For something that children would be encouraged to touch, a little extra robustness was inexpensive insurance.
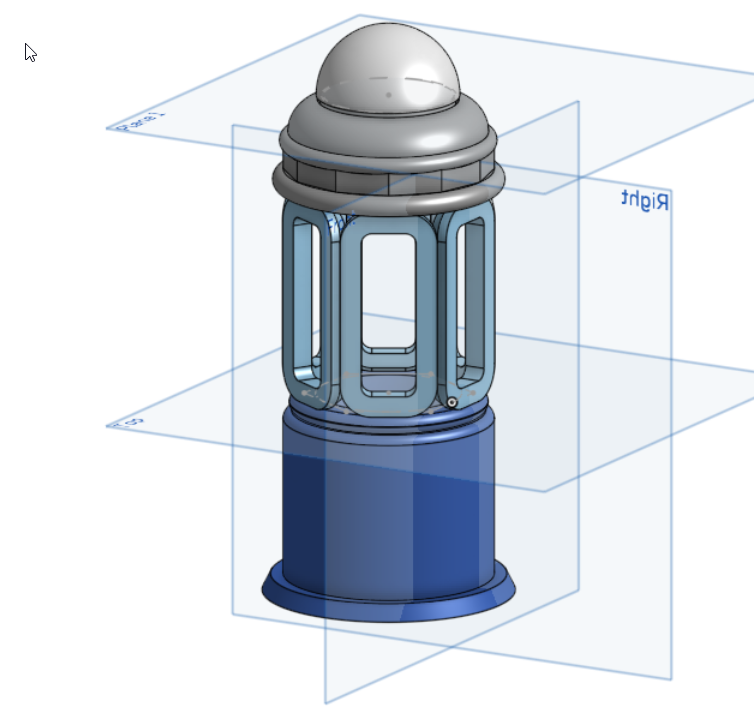
The basic MDF shape established the scale, but the decorative elements created the illusion. The brown, blue, brass, and copper finishes made the pillars feel like parts of some elaborate Victorian machine.
I modeled the light holders and the decorative fittings for the exterior lights in CAD and 3D printed them. Their vents, collars, rounded caps, and wall mounts turned simple plastic tubes into something that looked purpose-built for a fictional laboratory.
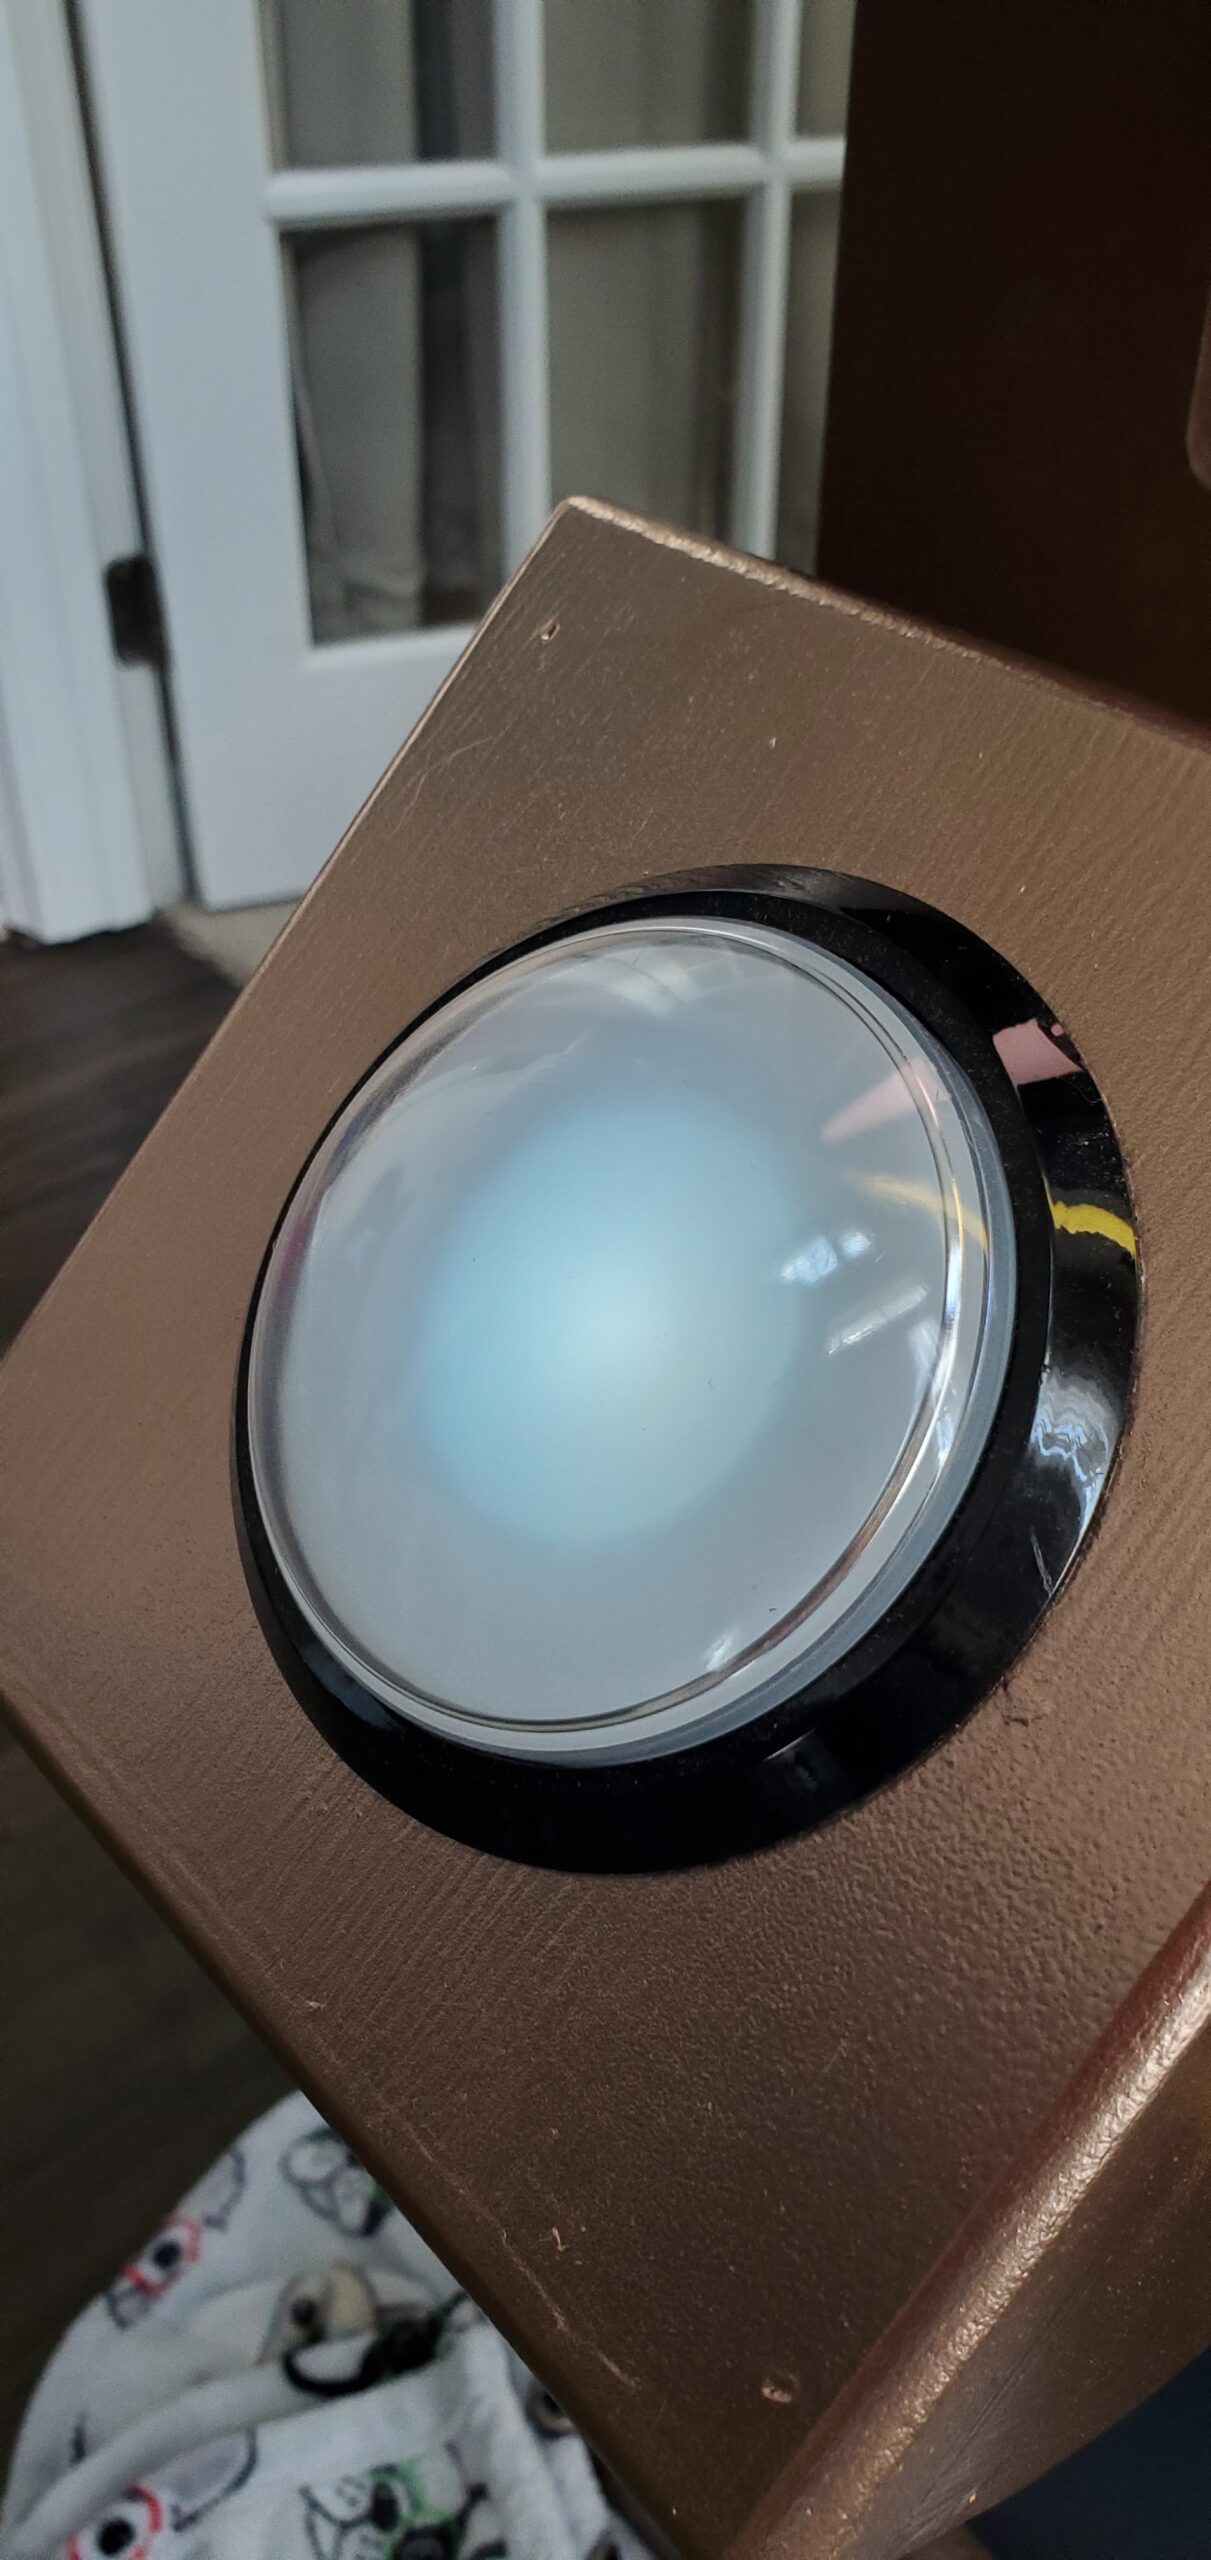
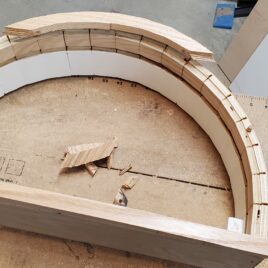
The angled button housings were made from MDF using kerf bending – the same technique I later used for the curved enclosure in Making Time Magical: Part 1 – The Promise. A series of closely spaced cuts allows a rigid board to bend into a smooth curve.
Once painted and fitted with a large arcade button, the housing looked like a control console waiting to be activated.
Making the Button Feel Right
The electronics were relatively simple: a small Arduino-like microcontroller, LED strips, an arcade button, and a switch that selected whether the identity light should respond with red or green.
The behavior took more thought than the hardware.
A quick flash did not feel substantial enough. Pressing such a large button needed to trigger a response that felt deliberate, so the identity light pulsed for a couple of seconds after each press.
But children do not always press buttons once and release them neatly.
They press them again. They hit them rapidly. They hold them down. They recruit a friend and do all of those things again.
The software needed to accommodate that behavior without becoming unresponsive or producing an awkward result. If a child held the button down, the light needed to continue pulsing. When released, it still needed to finish in a way that felt natural.
That interaction was a small part of the overall facade, but it was one of the most important design details. Children may not be able to explain why an interaction feels right, but they immediately notice when something responds to them in a satisfying way.
Five Weeks to Build an Experience
From the beginning of construction to installation, I had roughly five weeks. The project had to fit the available budget, fit around the existing doors, and fit into the existing facility without requiring permanent architectural changes.
It also had to be completed in time for VBS.
That deadline encouraged a practical mixture of techniques. The pillars were rapidly assembled from MDF. Commodity plastic tubes became glowing light elements. Privacy film became a diffuser. Printed parts supplied the visual details. A small microcontroller provided the interactivity.
None of those ingredients were especially exotic. Together, however, they created an experience.
The children learned during the week what the red response represented. Then, after the lessons had played out, the system was changed so that pressing the button produced green.
I did not get to watch most of the reactions firsthand, but I heard plenty about them afterward. The kids smashed the buttons. They held them down. They pressed them repeatedly. In other words, they interacted with the facade exactly as expected.
And they loved it.
Built for a Week – Kept for Years
The most satisfying part of the project may be what happened after VBS.
Following a renovation of the children’s ministry space, the facade was installed as a regular fixture around the exit. What began as a temporary themed build has continued to serve as part of the children’s environment for years.
That longevity came from two related decisions.
First, it looked like more than a temporary prop. The scale, lighting, color, and printed accents made it visually interesting even after the original lesson had ended.
Second, it was strong enough to be enjoyed. Nobody needed to protect it from the children it was built for.
That may be the most valuable thing I learned from the project: if you want children to become excited about an environment, give them something they can affect and build it with enough confidence that they are free to interact with it.
Also, if you build it from MDF, prepare for dust.
I am still cleaning that stuff up.
One Response to Building a Steampunk Identity Machine for VBS
A Bump in the Build (Part 6) | The Wiki of my Mind says:
[…] back, I would design much more of the project before beginning construction. My later steampunk facade project taught me how quickly a build can progress when the design has already been […]