By the time the mechanism worked, the project had crossed an important line.
It was no longer just an idea. It was no longer just a pile of Christmas parts. It was no longer just a CAD model, a 3D print, or a mechanism on the bench.
It could tell time.
But it still needed to become an object.
That meant building the case, shaping the curved body, making the face, fitting the lights, mounting the mechanism, and turning the whole thing into something that looked intentional enough to hang on a wall.
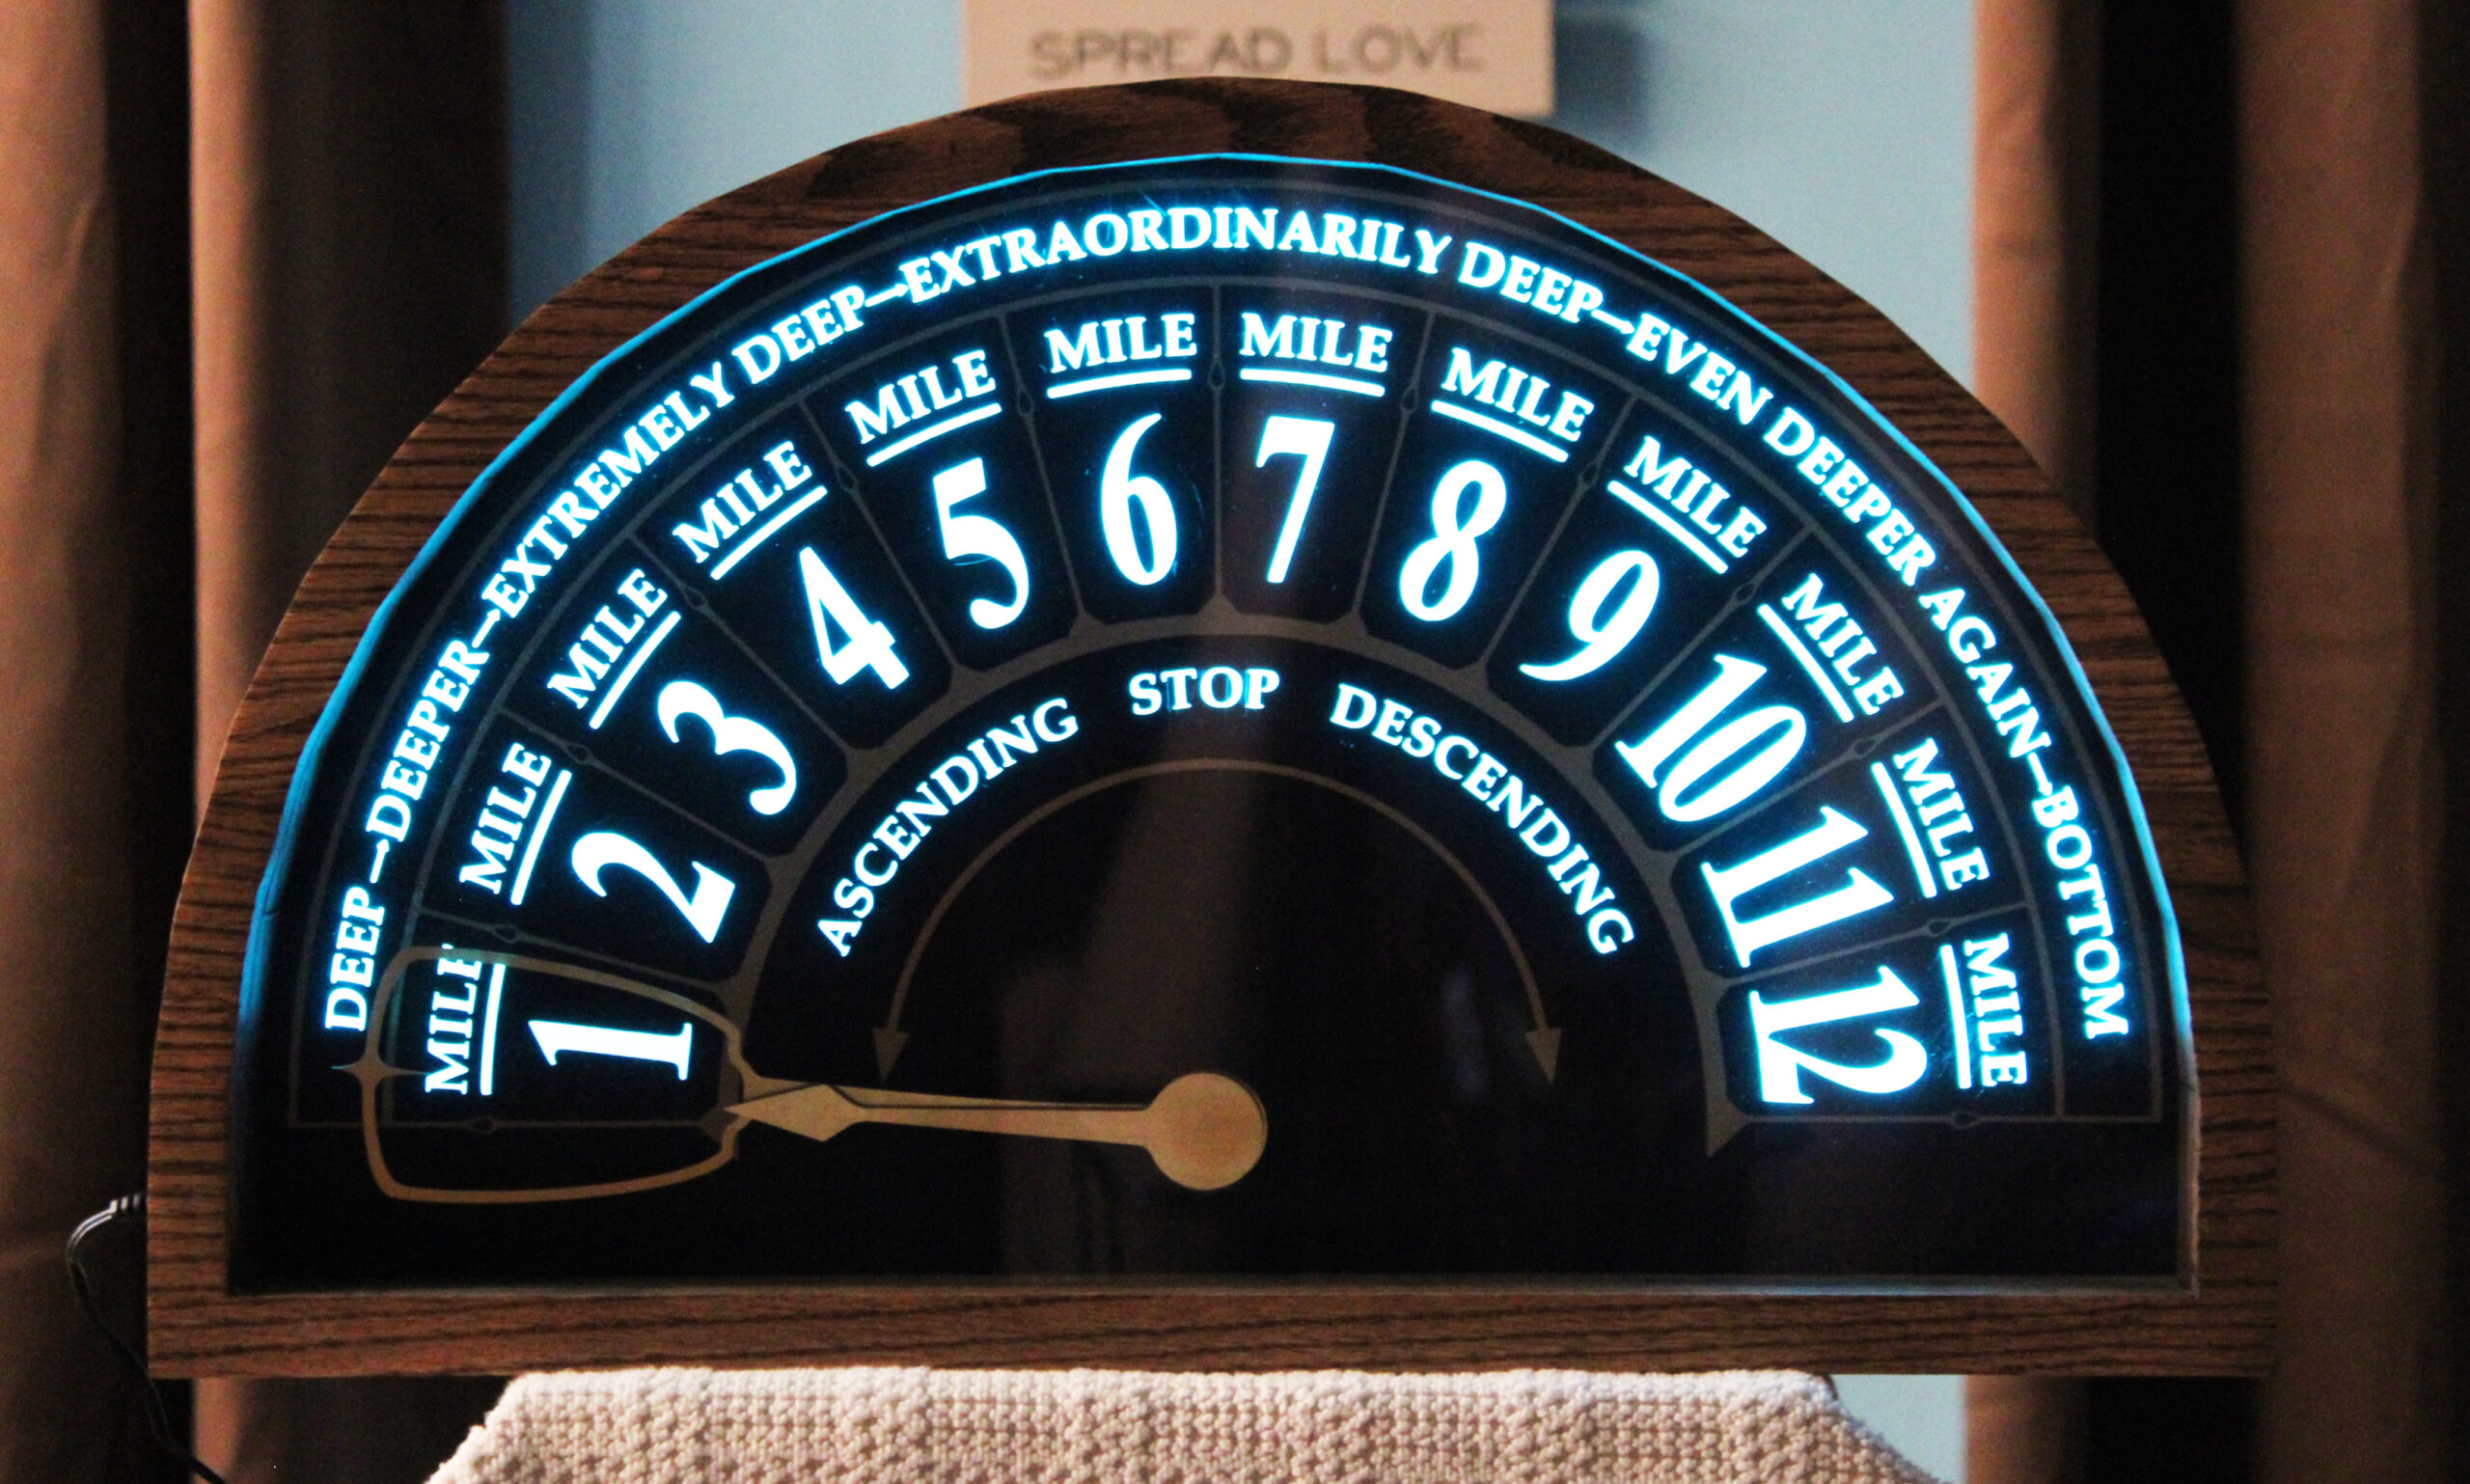
The inspiration was an old elevator floor indicator, so the outside mattered. The clock needed to feel warm, mechanical, and a little theatrical. It needed to have some of the character of an old instrument, but still feel like something made for Annabelle.
Building the body
The main box of the clock is made from oak veneer plywood. I used hardboard for the backing and recovered oak flooring for the front trim.
The finished clock is about 19.5 inches wide and 12 inches tall, large enough to feel like a real wall piece but still small enough to build, handle, and hang.
The case shape came from the elevator-indicator concept. It needed a flat bottom and a curved top. That curve is what gives the clock its identity.
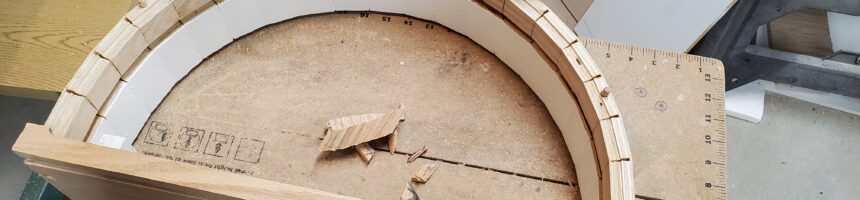
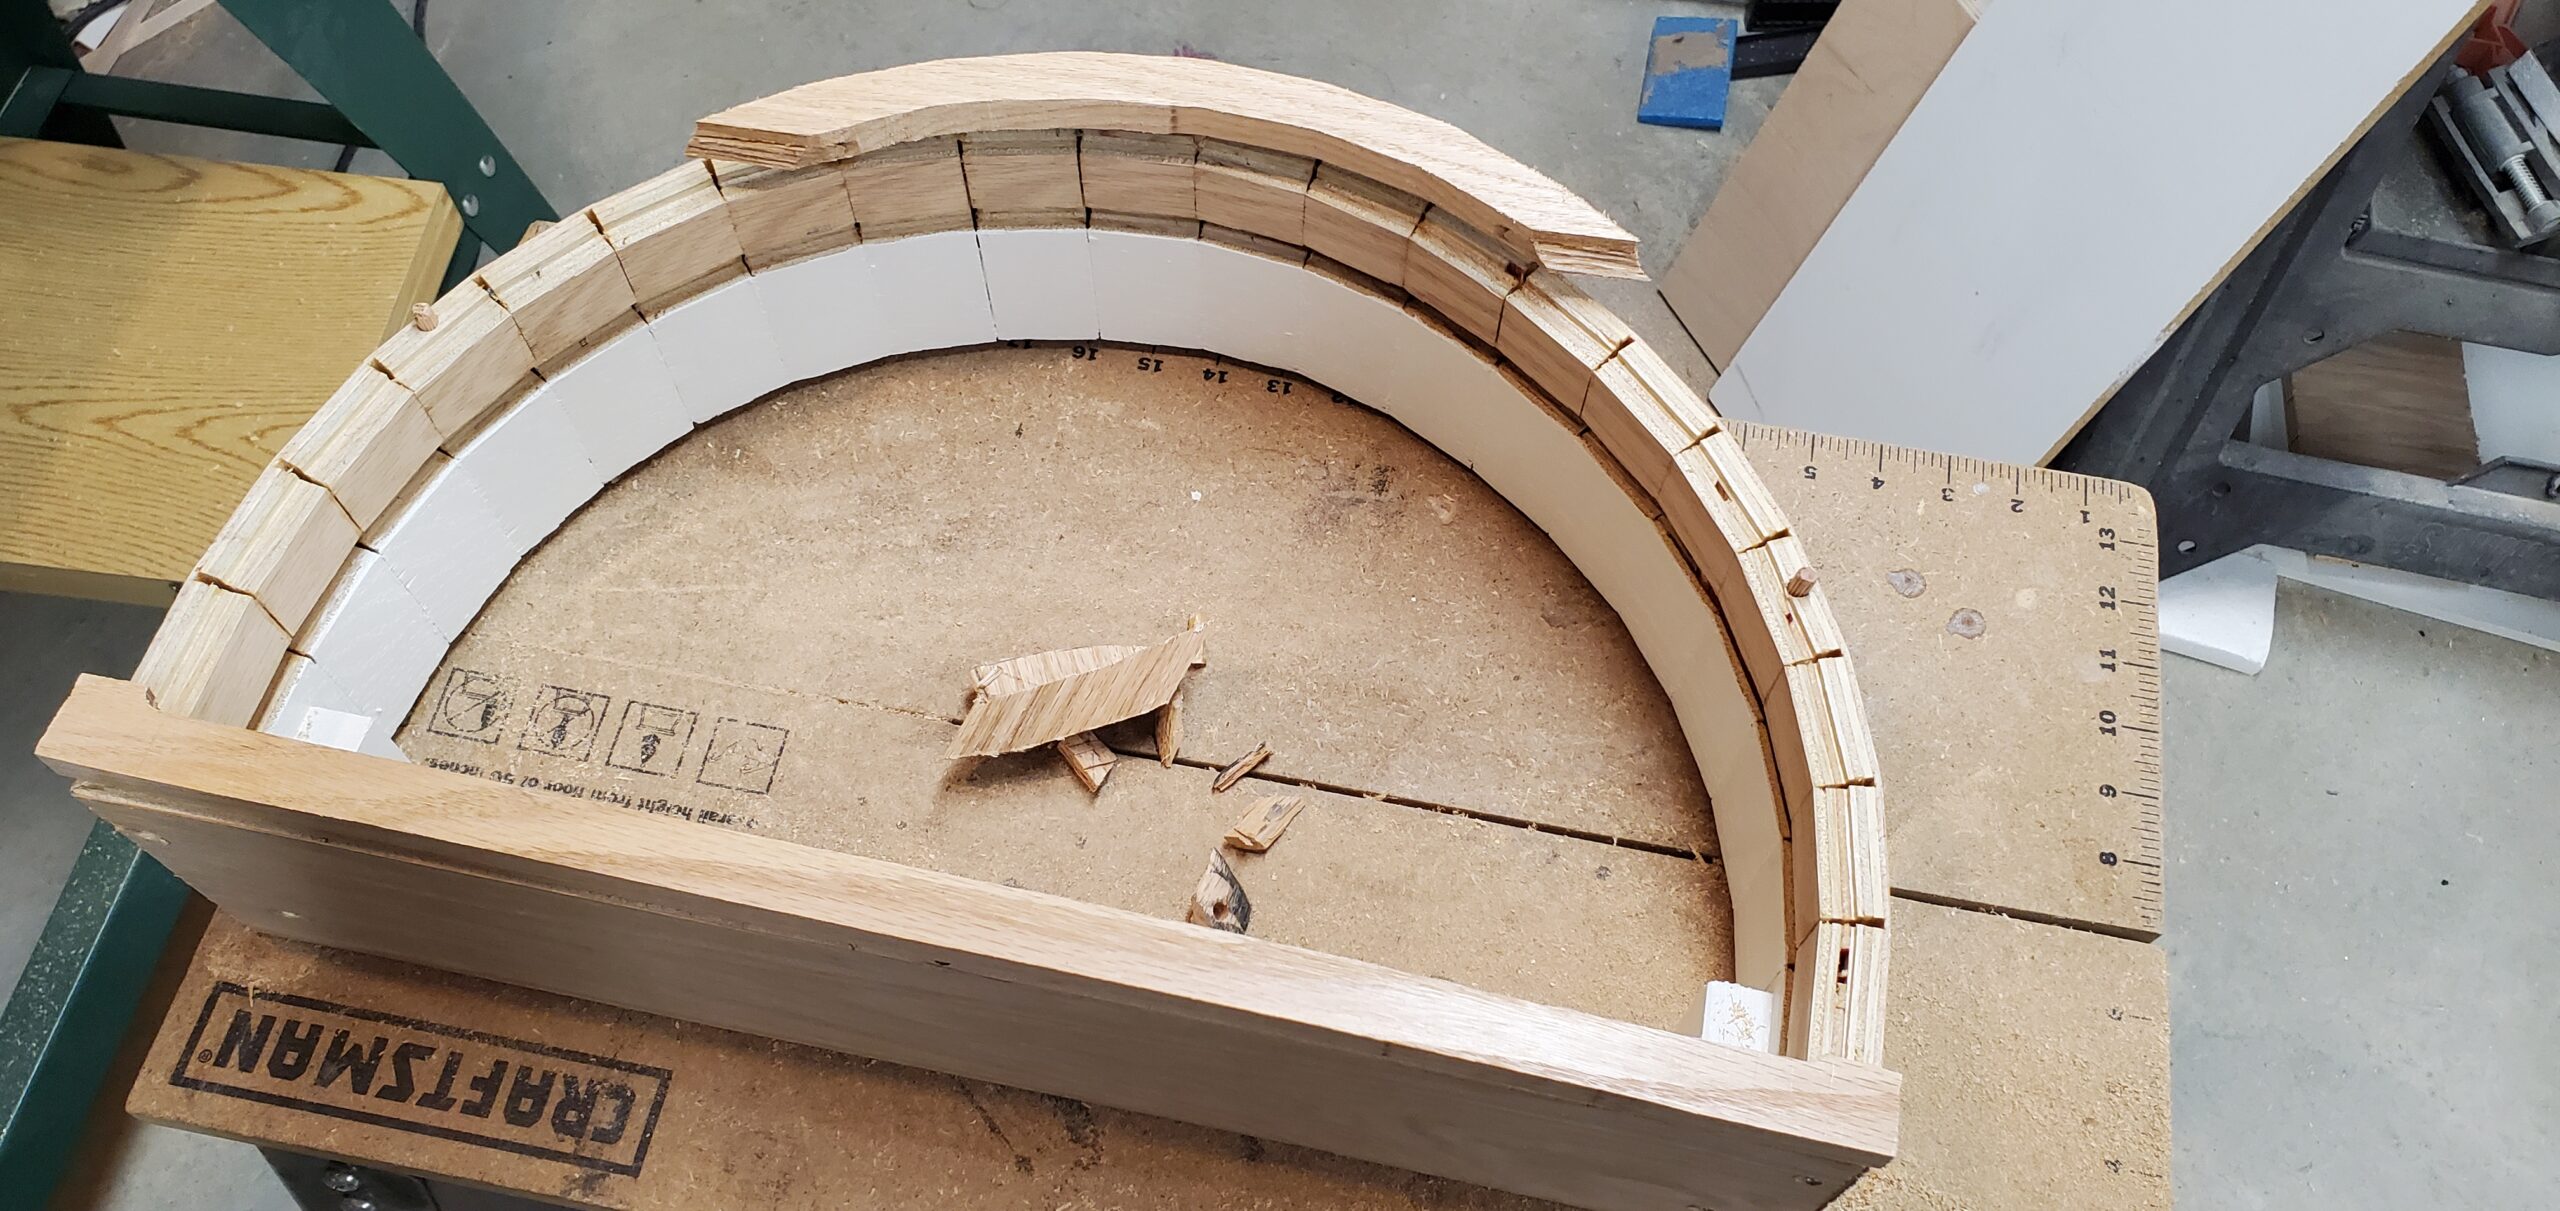
To make the curved case, I used kerf bending.
Kerf bending is one of those techniques that feels a little like cheating the first time you do it. By cutting a series of closely spaced slots into the back side of a board or panel, you remove enough material that the piece can bend. The visible face stays intact, while the hidden side opens up along the cuts.
For this clock, kerf bending let me create the curved top of the case without building it from many separate segments.
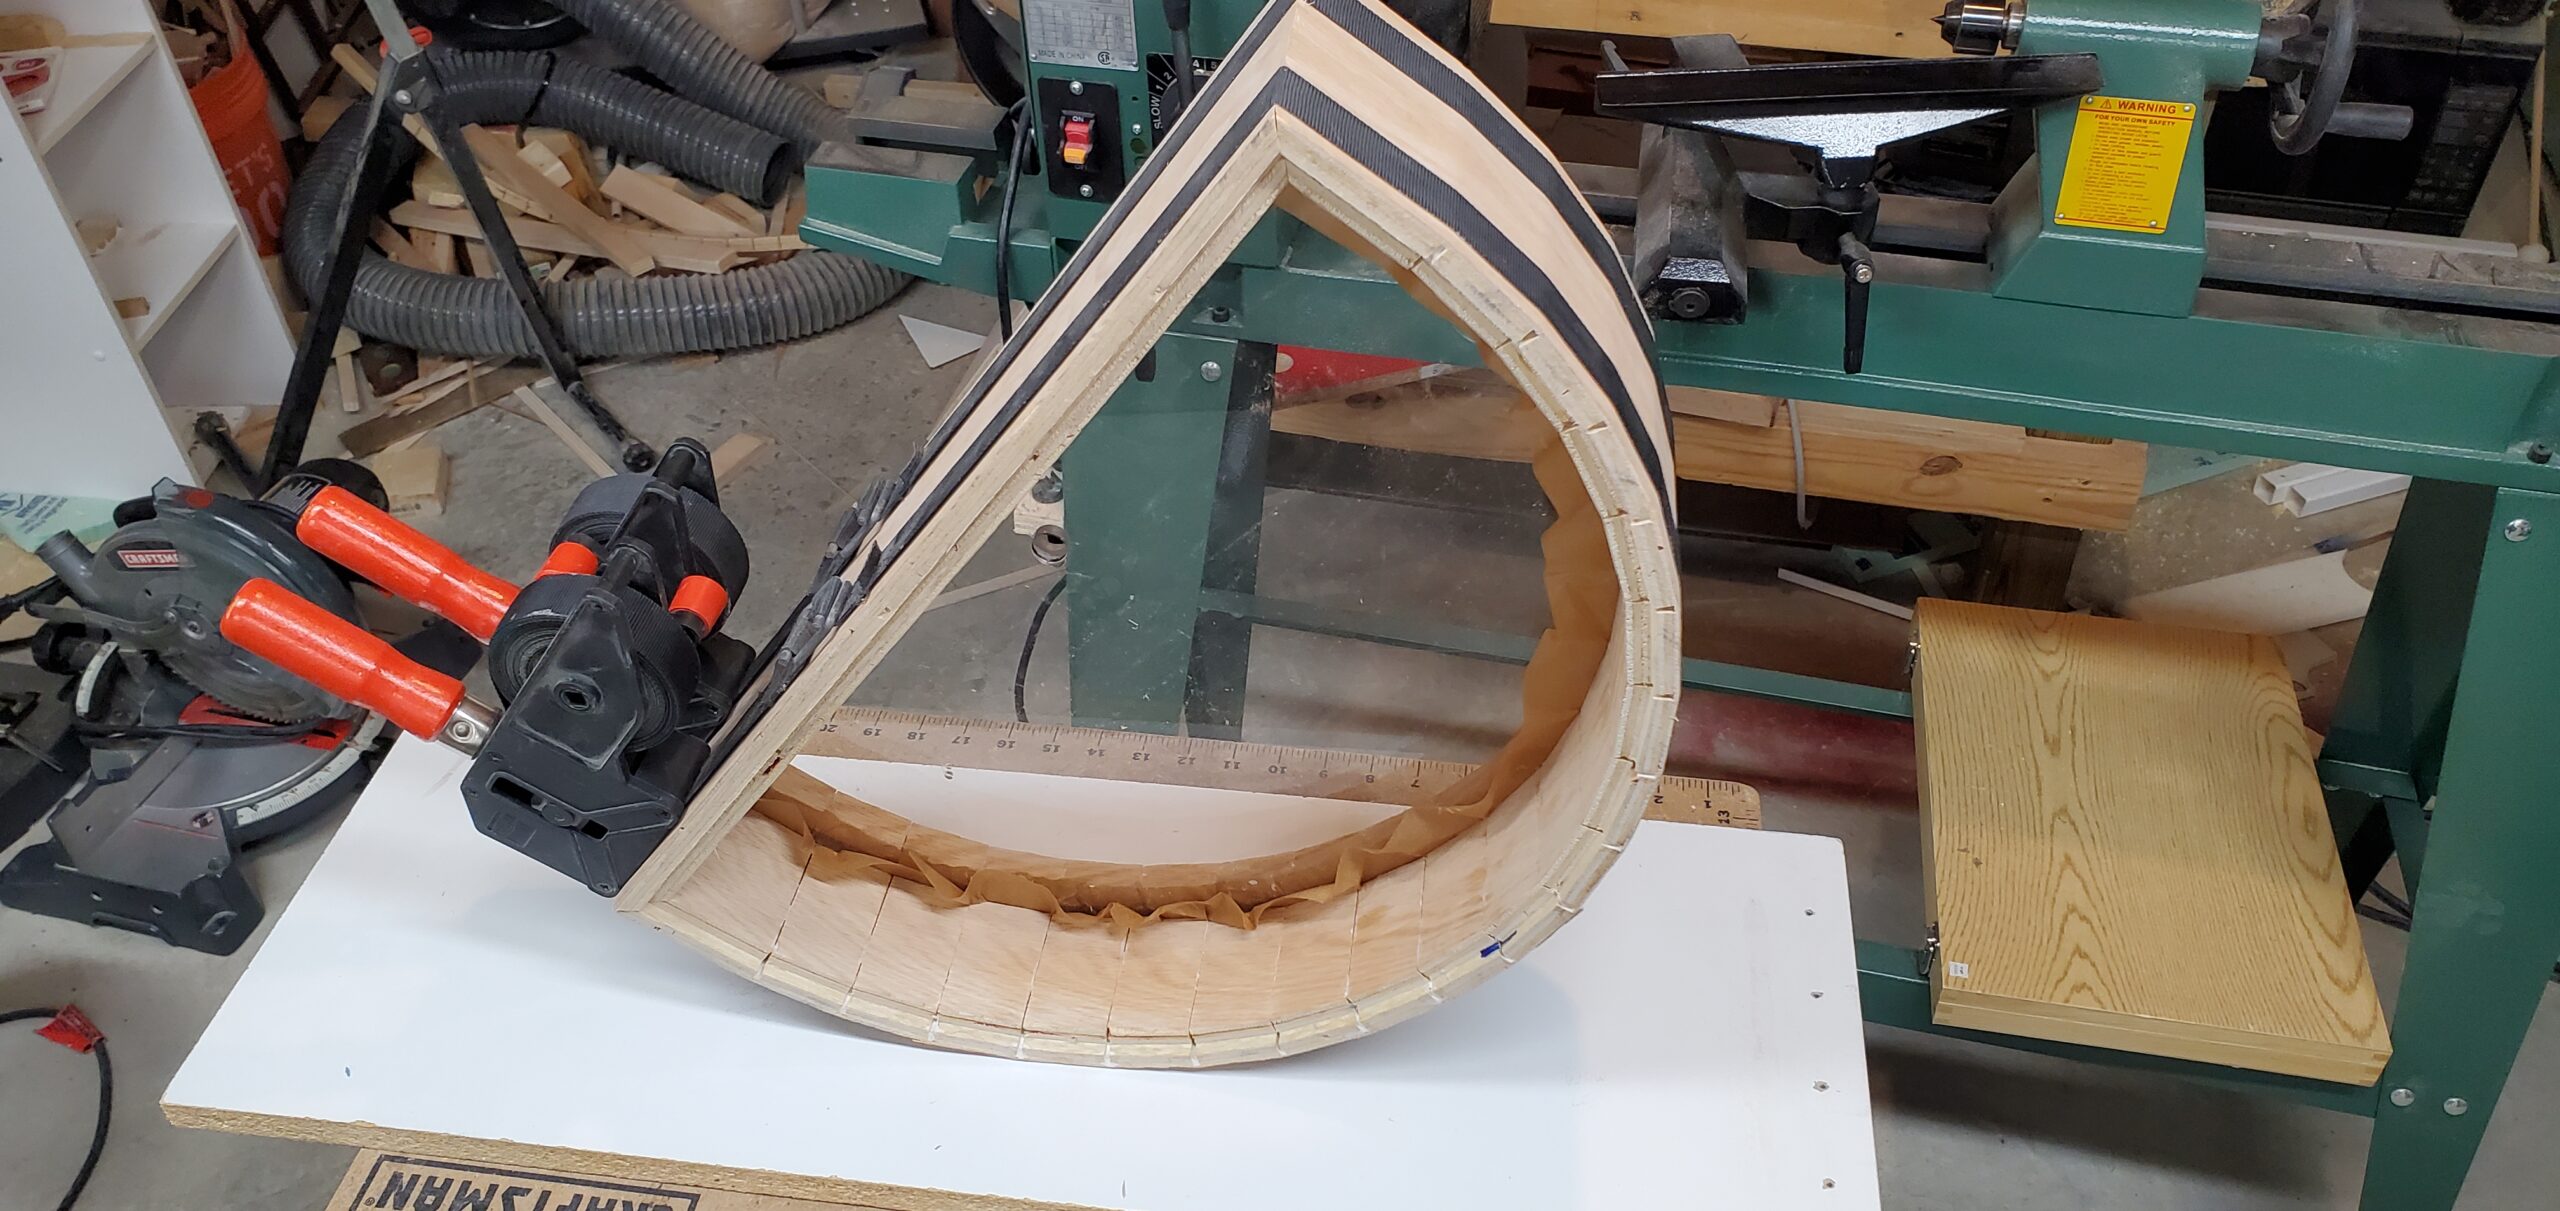
Once the case was bent into shape, it had to be glued and clamped carefully. The curve needed to be smooth, the front needed to stay aligned, and the whole case needed to remain square enough to accept the face and mechanism later.
Covering the Kerfs
Kerf bending solved the curved case problem, but it created another one.
The cut kerfs leave visible end grain and gaps at the front edge. That is fine structurally, but not acceptable visually. The clock needed a clean front edge, especially because the face is the main thing people see.
That is where the front trim came in.
The front trim covers the end grain from the kerf bending and gives the clock a finished border. I made it from recovered oak flooring, which helped tie the trim back to the oak veneer plywood case while giving the front a more solid, finished look.
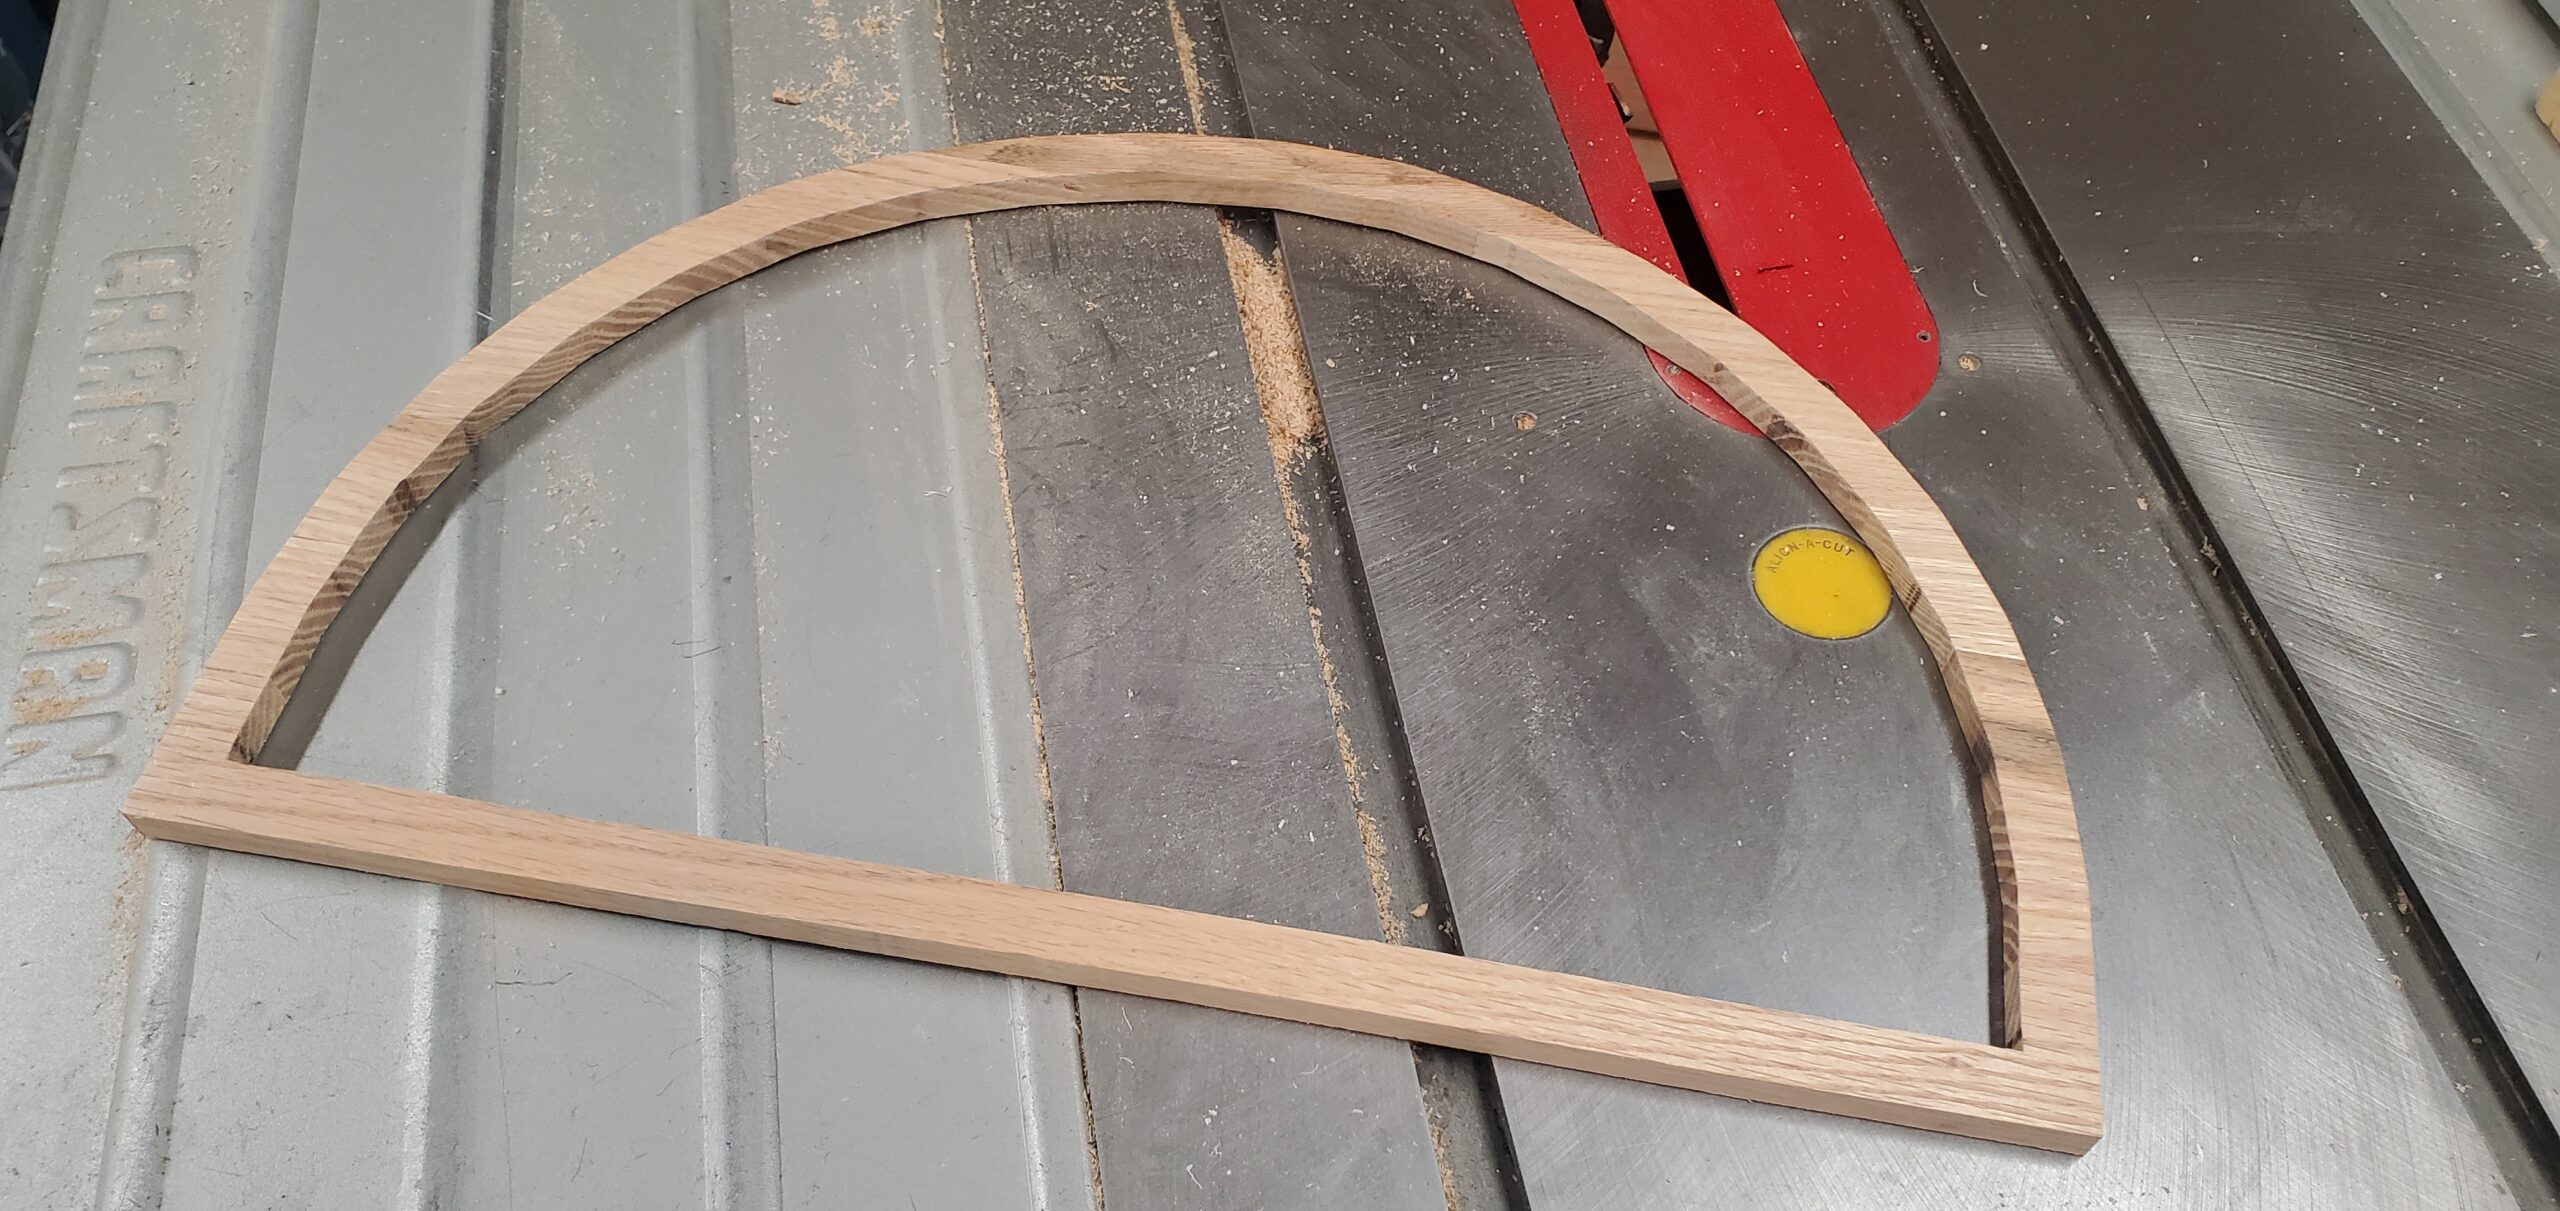
Making that trim was one of the more woodworking-heavy parts of the project. The curve had to match the case. The face opening had to be clean. The proportions had to feel right. Too heavy, and it would overpower the face. Too thin, and it would feel fragile.
And then I ran it through the planer.
The planer incident
This was one of those moments where the project reminded me that wood has opinions.
The top of the arc on the front trim was very small. When I ran the piece through the planer, that small curved section was dislodged during the planing process.
Then it exploded inside the planer.
Not dramatically in the movie sense, but dramatically enough in the shop sense. The piece shattered, and it damaged a couple of internal parts in the planer.
It was a bad pass.
There is not much to do in that moment except stop, assess the damage, and accept that the part is gone.
The frustrating thing was that the trim was not just a random scrap. It was a custom-shaped piece that had already taken real effort. But that is part of making things. Some mistakes are quick. Some are expensive. Some are loud.
This one was loud.
The recovery was straightforward, if annoying: I had to build another front trim piece.
The second one made it onto the clock.
Making the Face
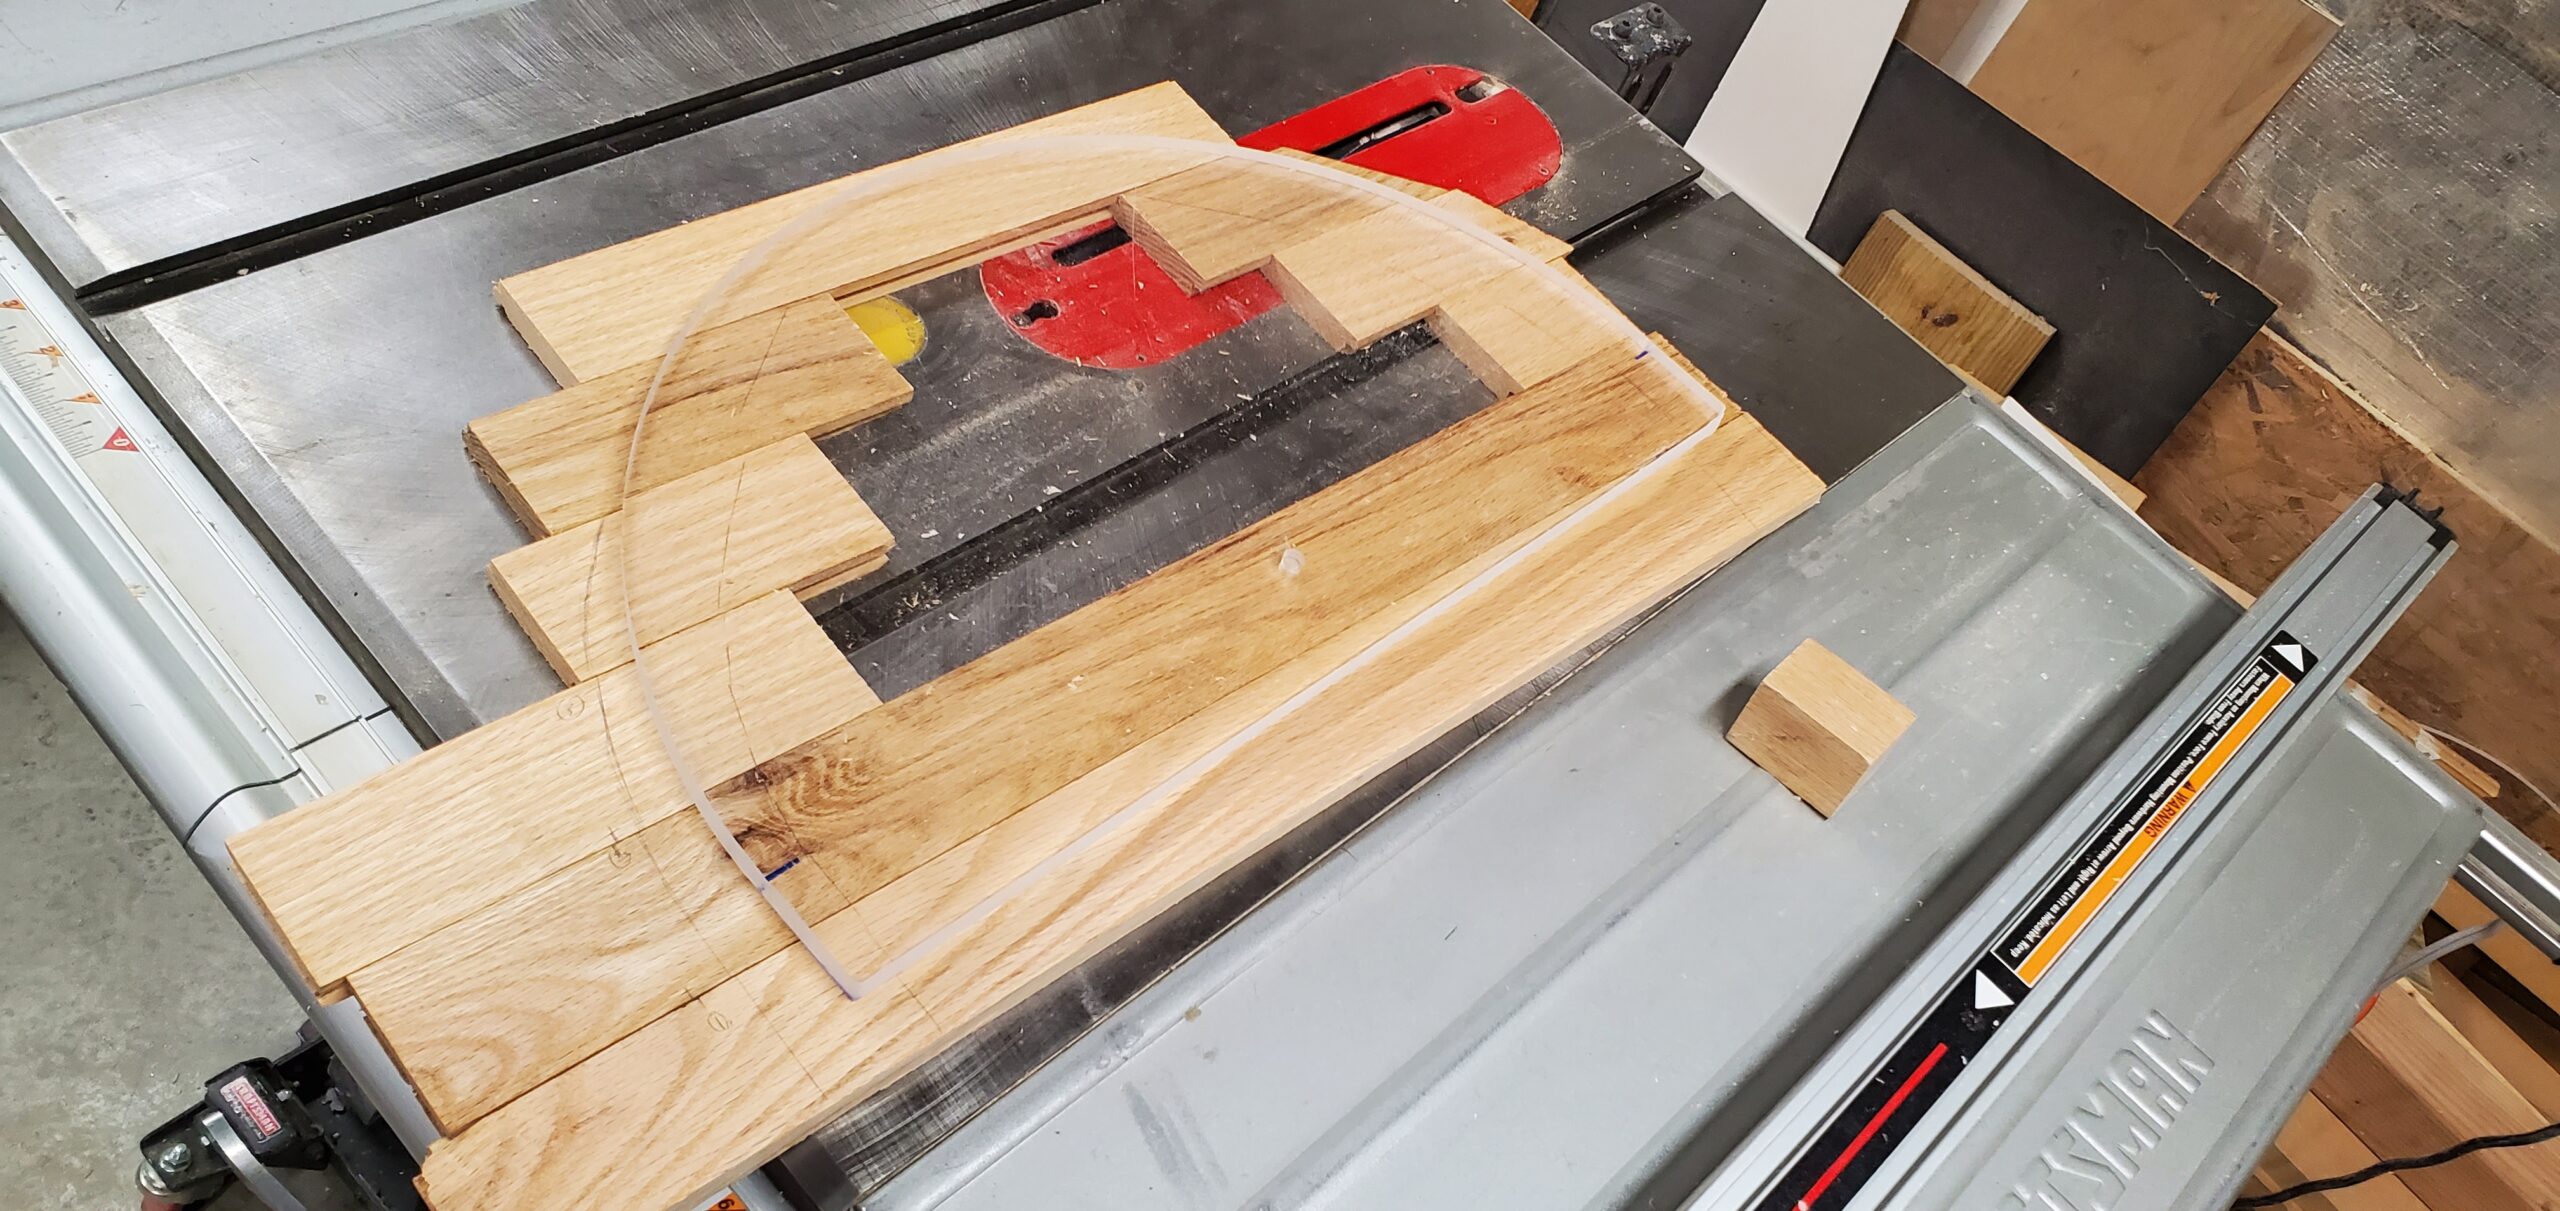
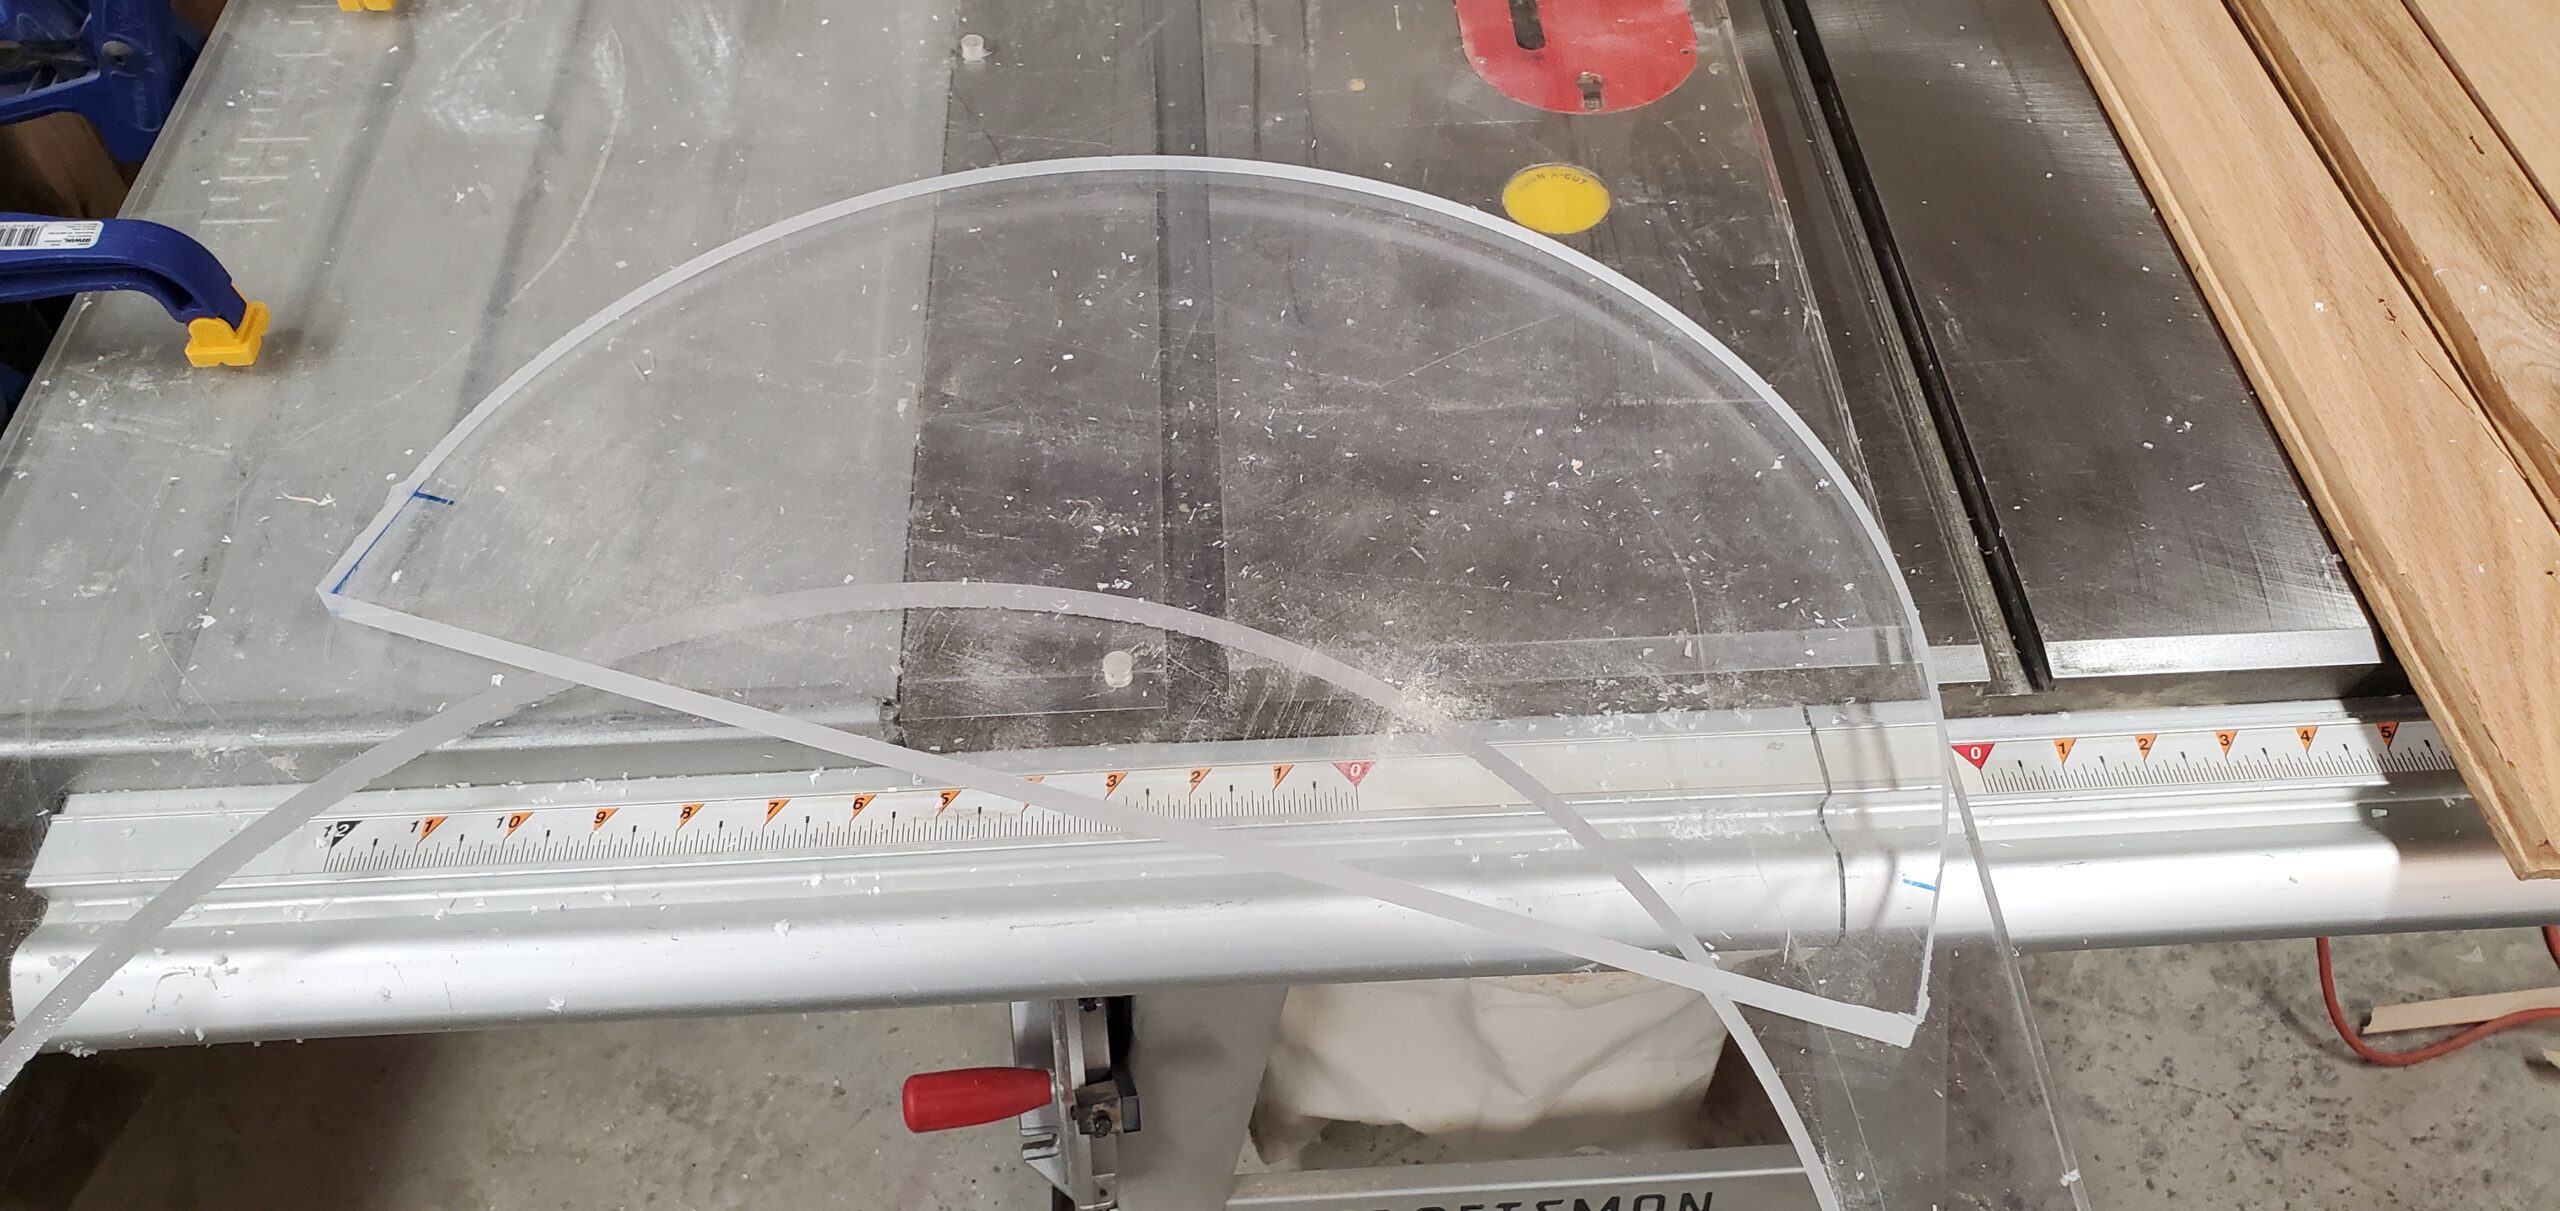
The clock face is built from 1/2-inch clear acrylic.
I used 1/2-inch acrylic mostly because I already had it, which is not the most elegant design reason, but it is a very real maker reason. Sometimes the material you have available becomes part of the design.
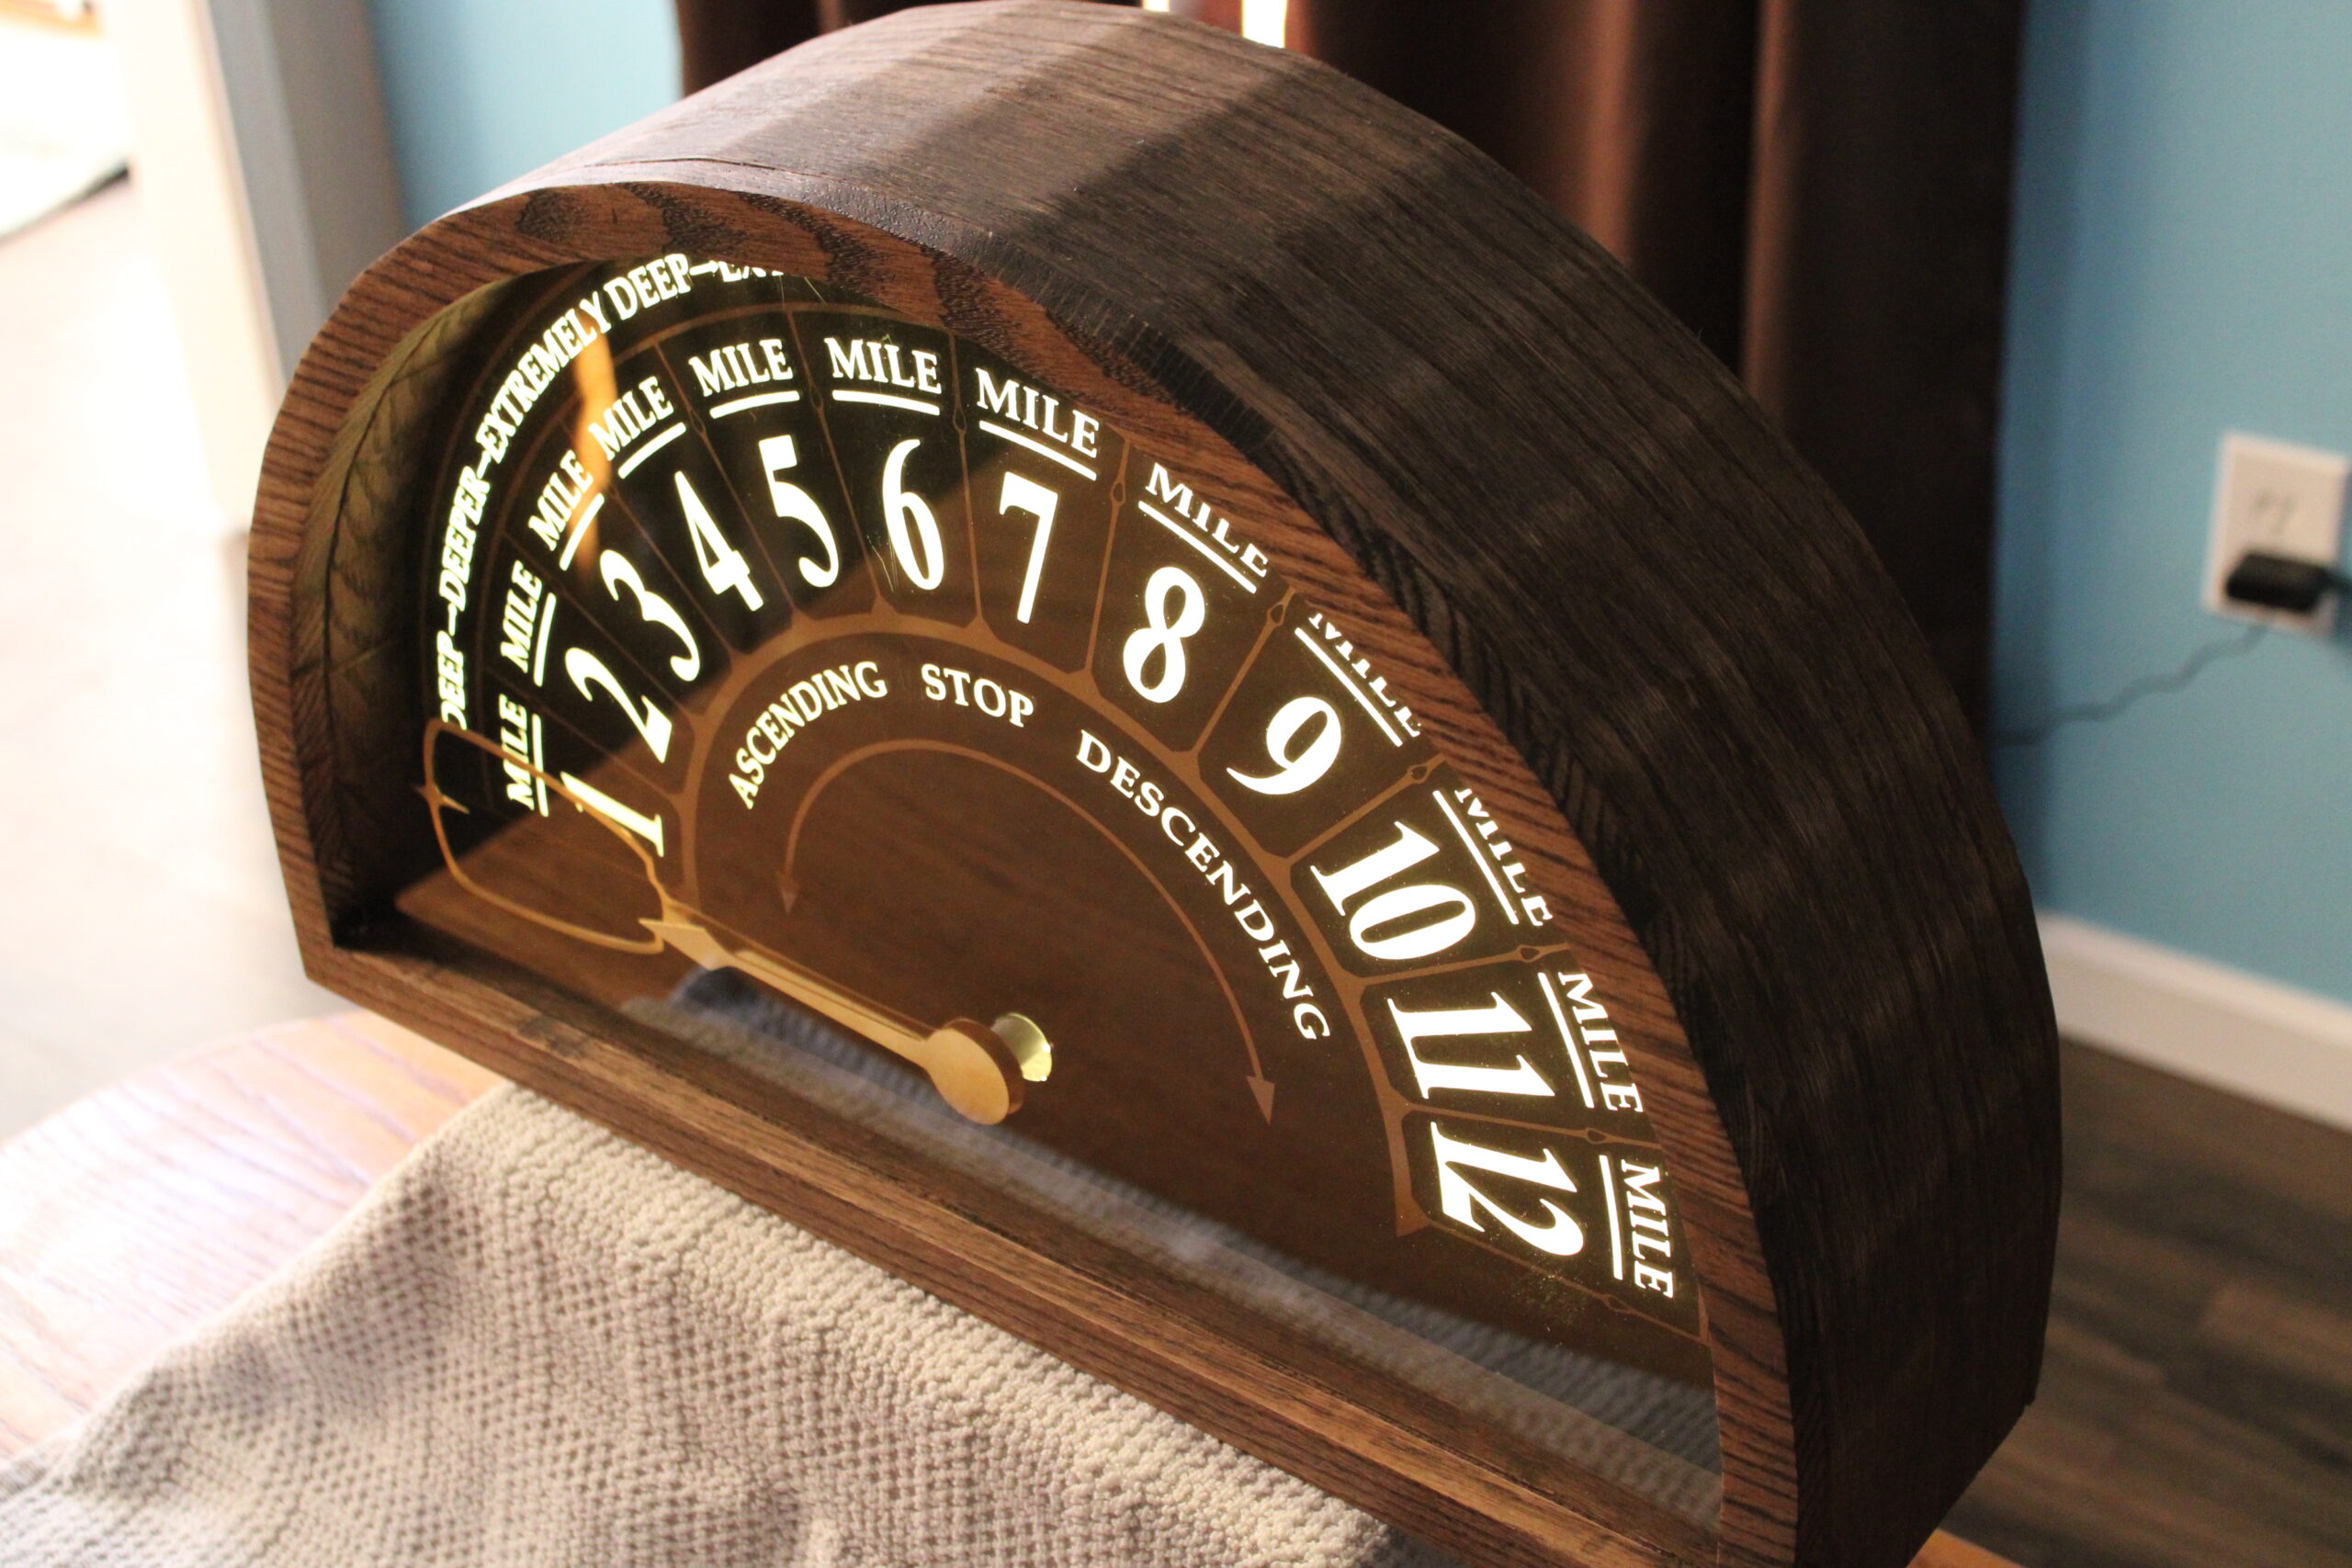
The acrylic gives the face structure and lets light pass through. On top of it, I applied matte black vinyl with the numbers cut out. The cutout numbers allow the backlight to shine through.
I also added “brass” vinyl accents for details like arrows and miscellaneous labels. Those accents help push the clock toward the old-instrument / elevator-indicator feel without making it a direct replica of anything.
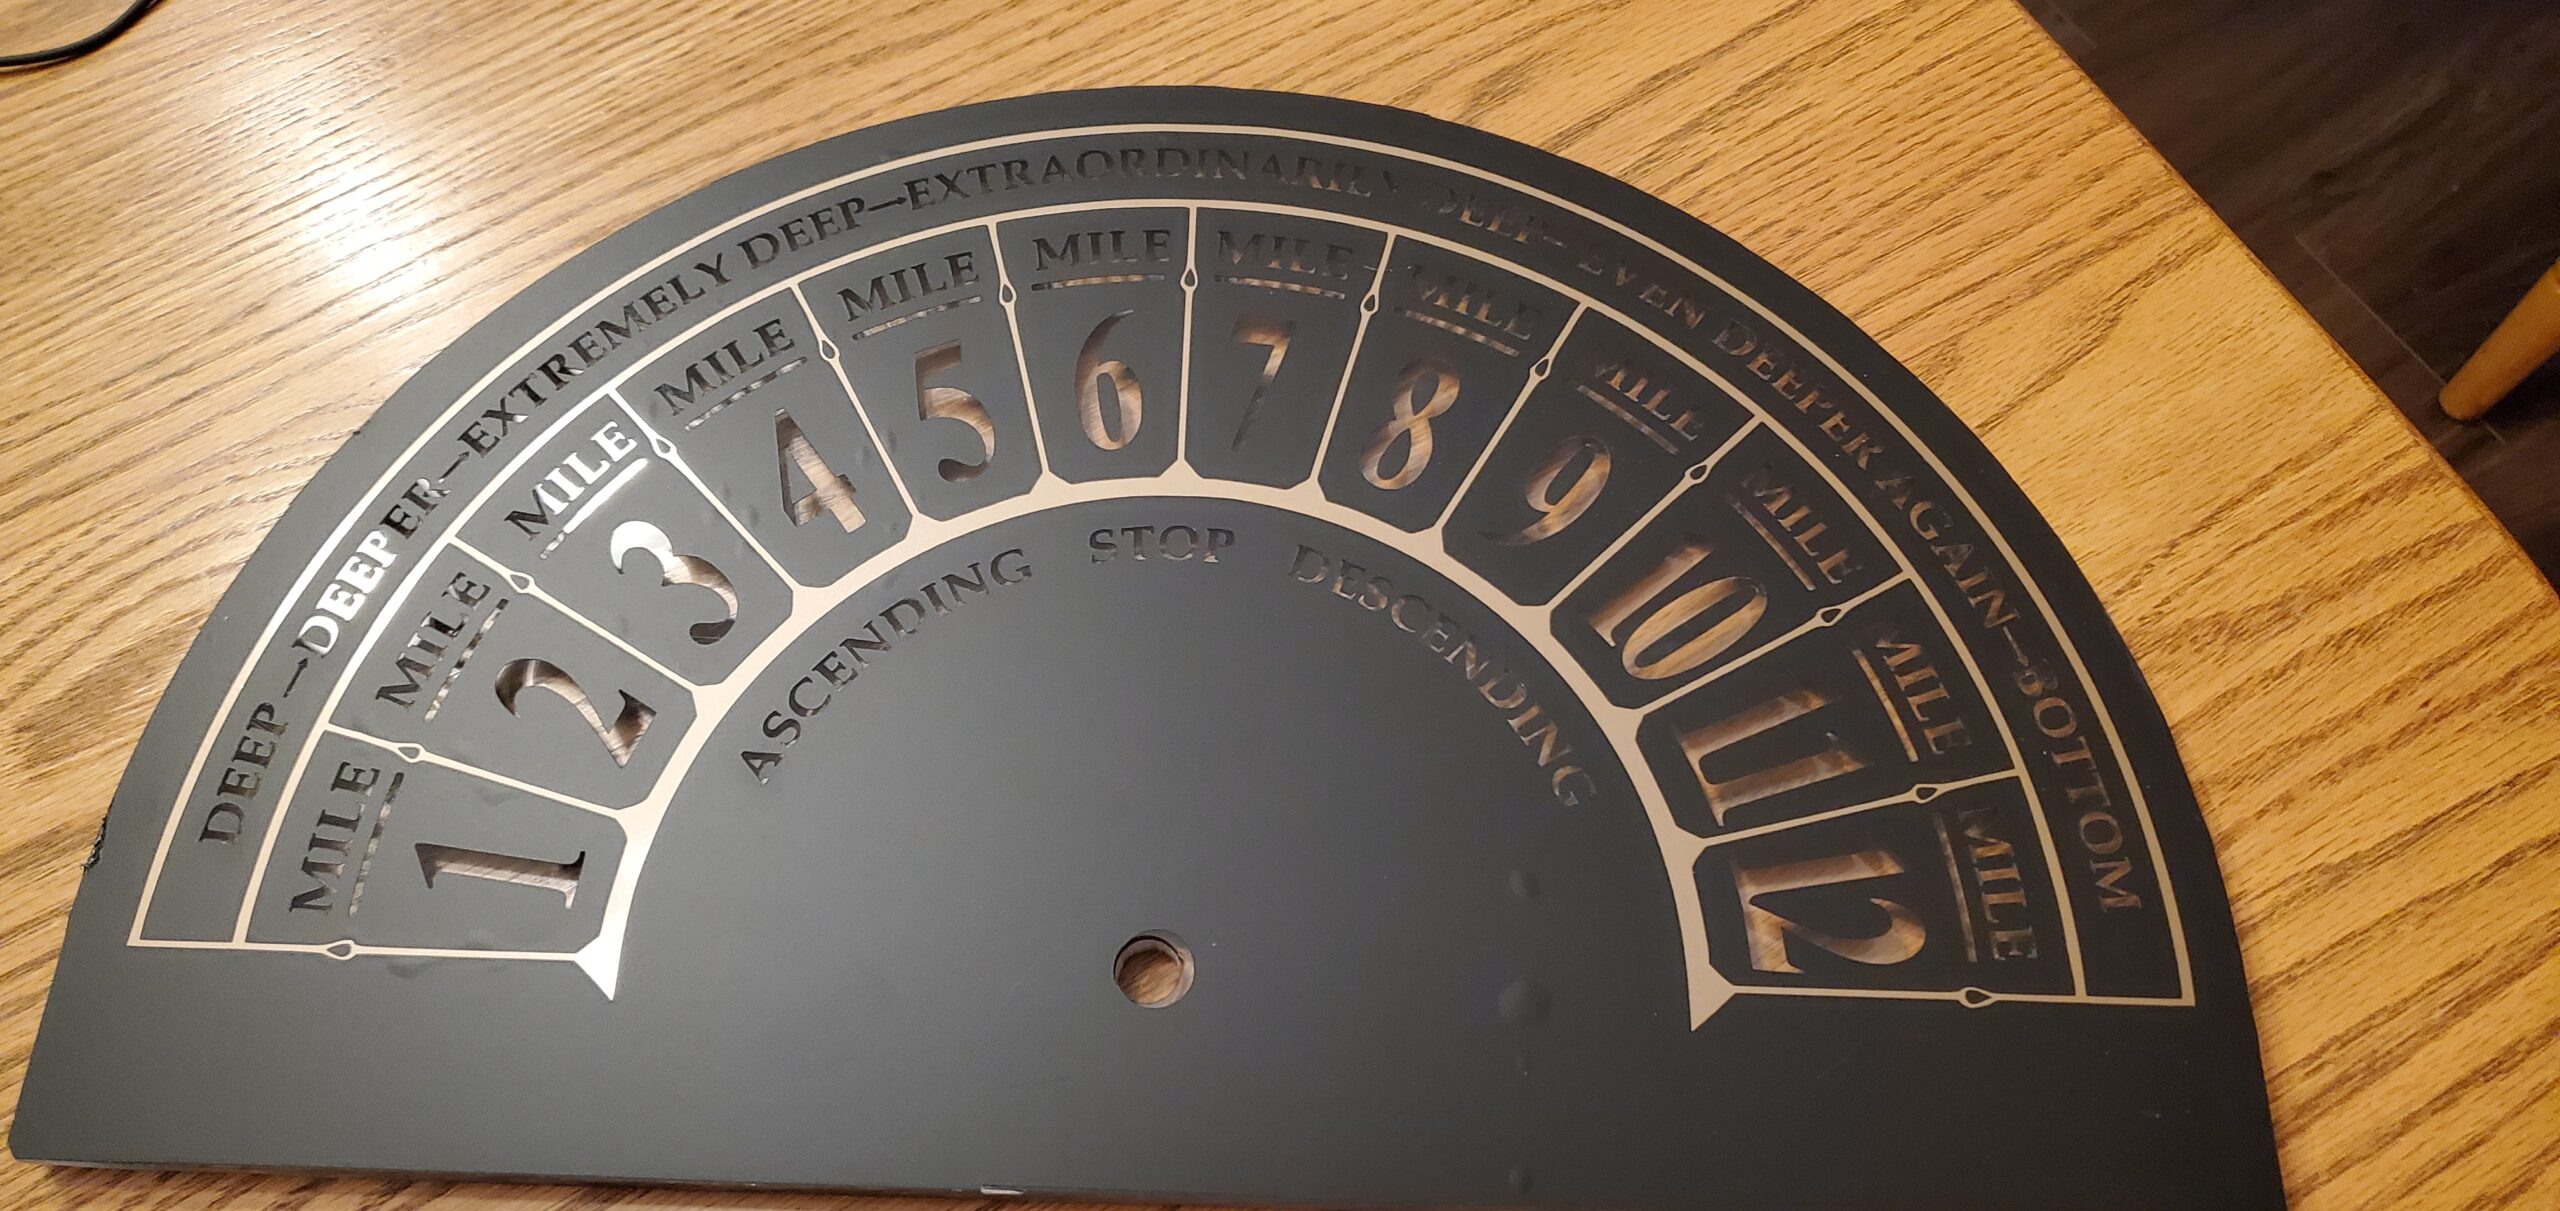
The vinyl was cut with a Silhouette. That made it possible to get clean numbers and decorative details without painting or engraving the face.
The face ended up being a layered object: clear acrylic, black vinyl, metallic accents, and light behind it. Each layer does a different job.
Diffusing the light
LEDs can look great, but they can also look harsh.
If you put an LED strip directly behind a face without diffusion, you usually see individual bright spots. That was not the effect I wanted. I wanted the clock face to glow, not look like a row of dots.
To soften the light, I used cellular foam behind the clock face as a diffuser.
The LED strip runs around the side of the arc and along the bottom of the clock, behind the face. The foam helps spread that light out before it reaches the acrylic and vinyl.
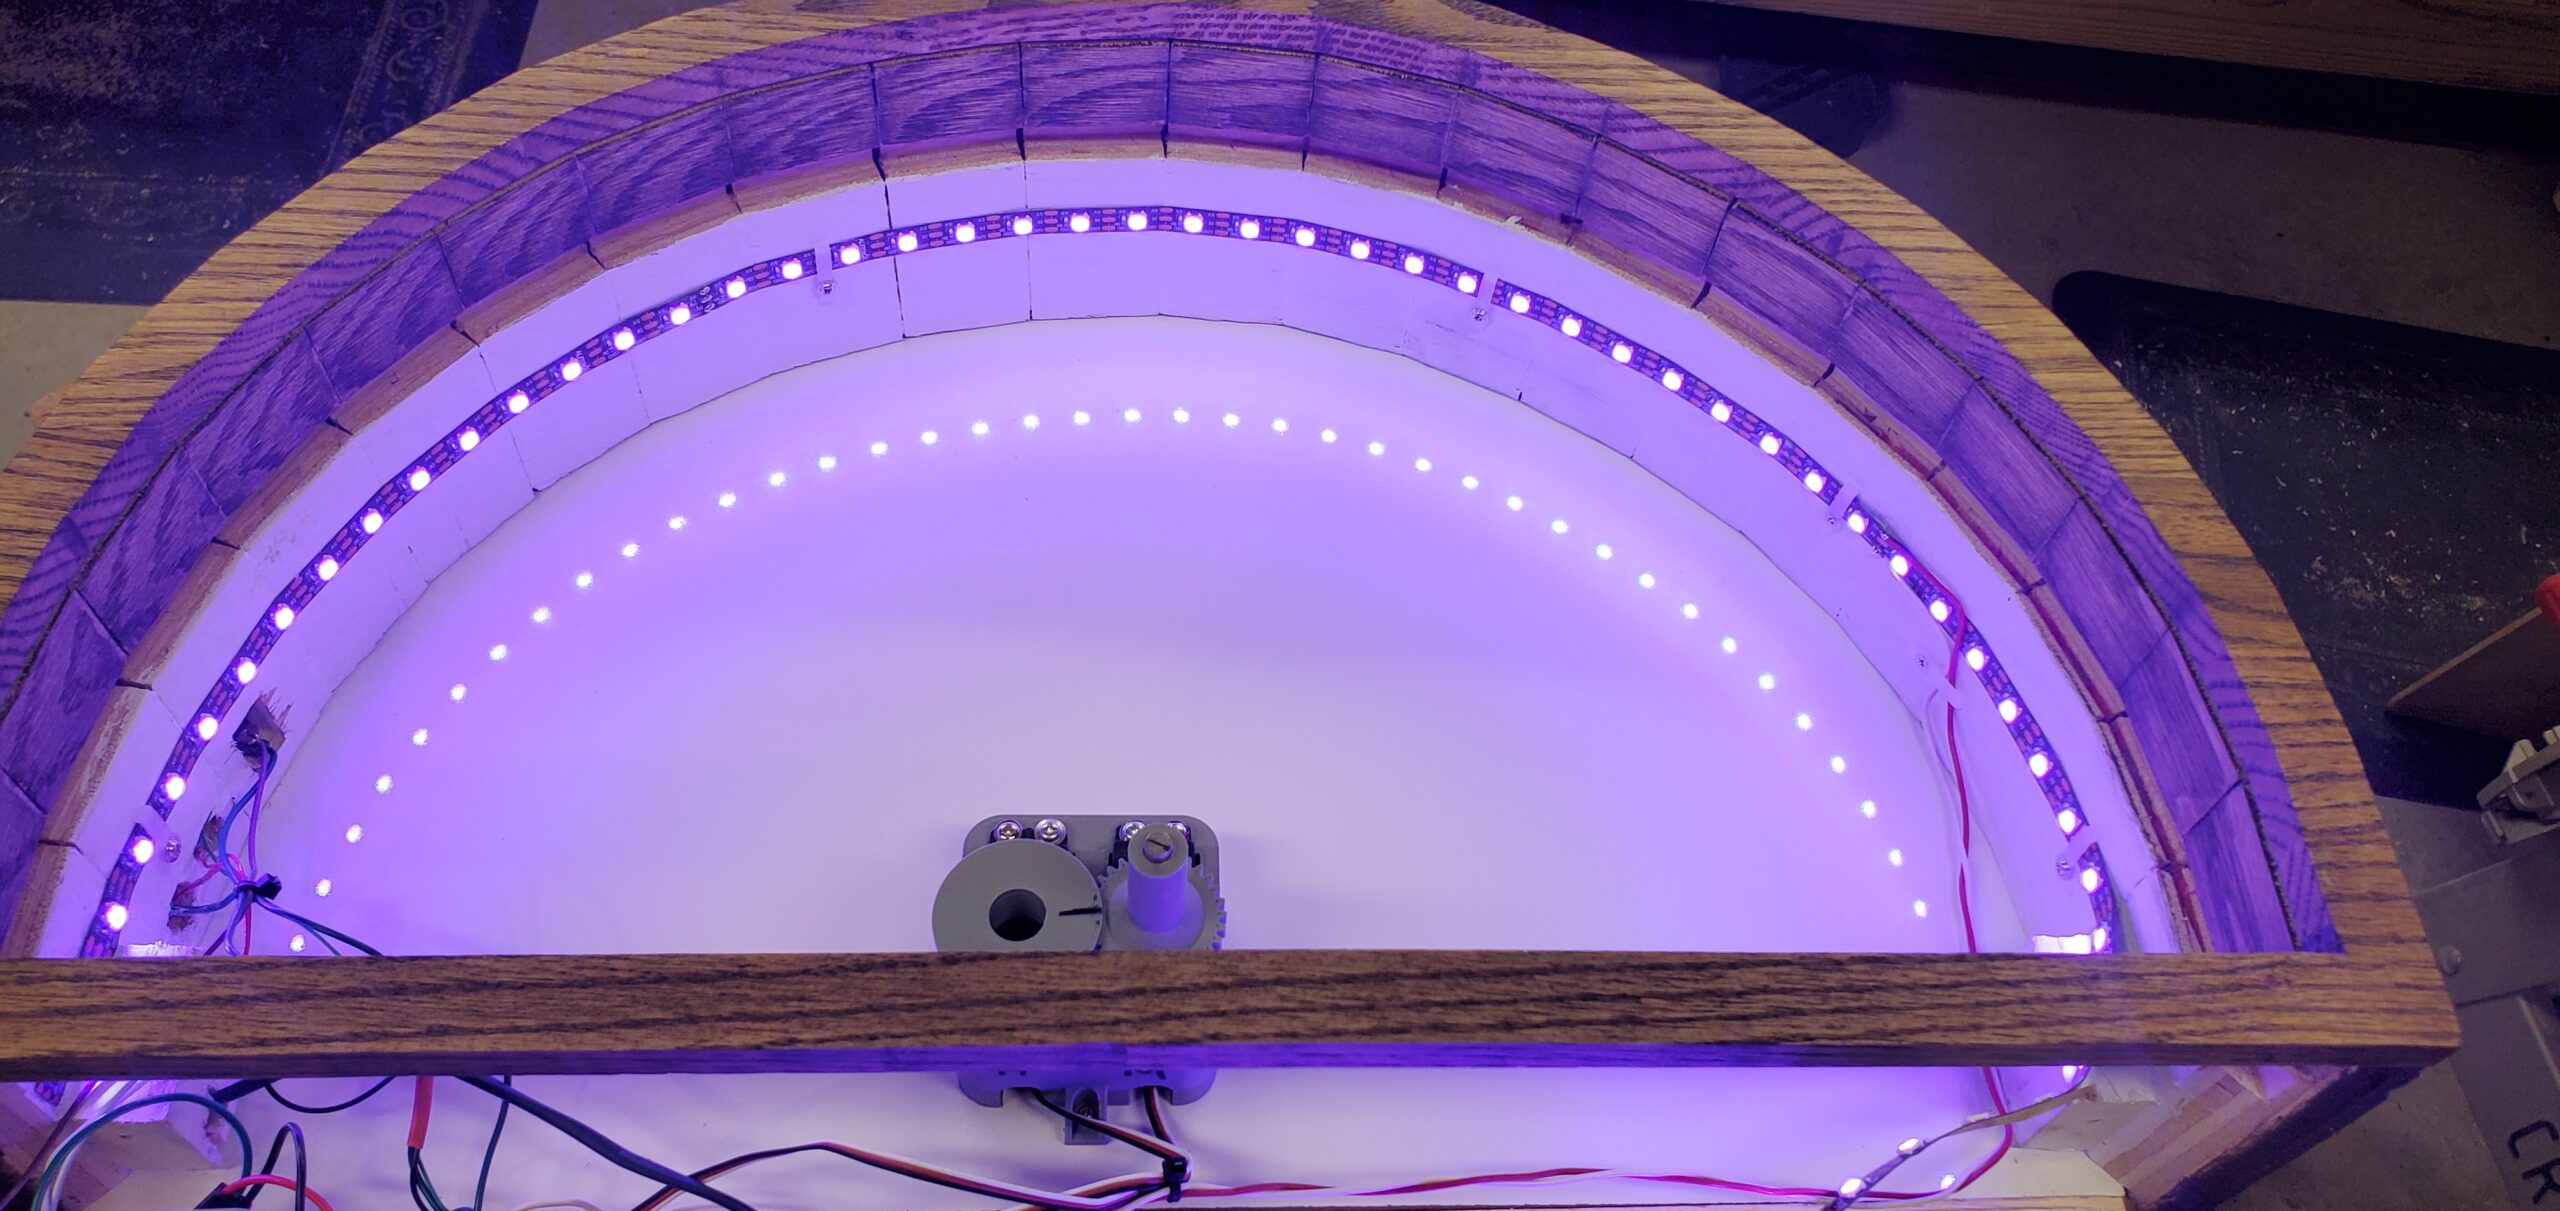
The lighting is decorative, but it changes the personality of the clock. With the lights off, it reads more like a wood-and-brass wall piece. With the lights on, it becomes more theatrical.
That felt right for the original inspiration.
Brass hands
The hands are made from brass.
A friend cut them on his CNC (thanks, Drew!), which gave them a clean shape and a more finished feel than I likely would have achieved by hand. Brass was the right choice visually. It fits the vintage indicator style and stands out nicely against the dark face.
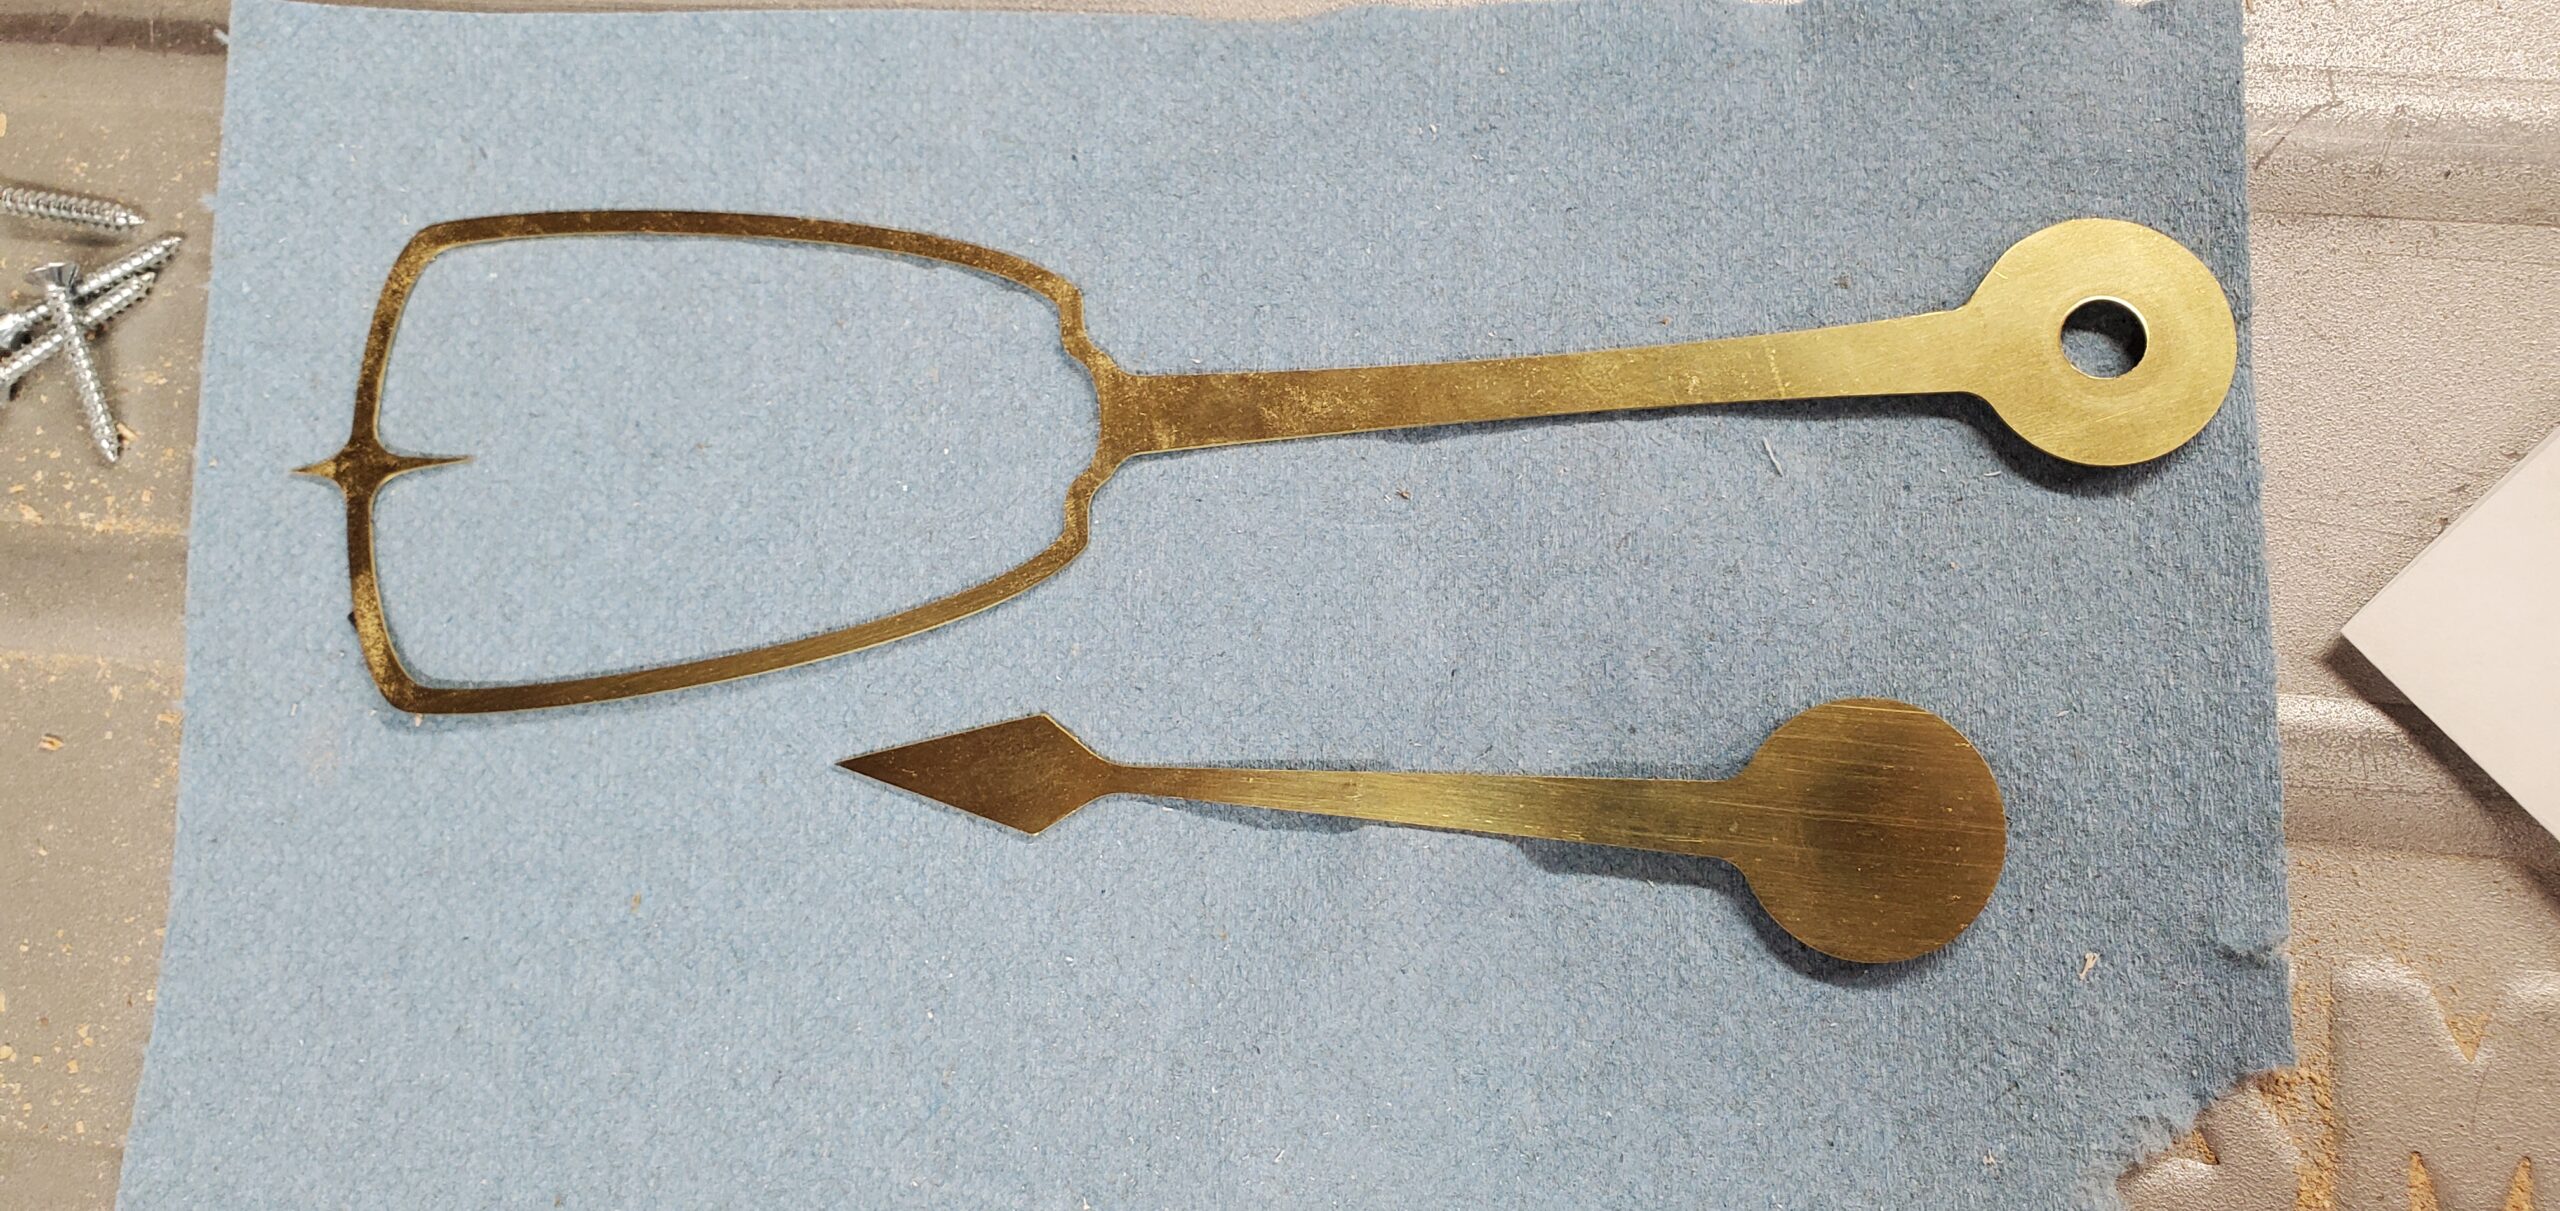
The hands also had to work mechanically. They needed to be light enough for the servos and mechanism, but visible enough to read clearly across the face. Because the clock is about 19.5 inches wide, the hands are not tiny decorative parts. They are central to the whole object.
This was one of those places where the mechanical and visual requirements were the same: the hands had to look right and move reliably.
Assembly
Final assembly pulled together all the separate disciplines in the project.
The case was woodworking.
The face was acrylic and vinyl.
The hands were brass.
The mechanism was CAD and 3D printing.
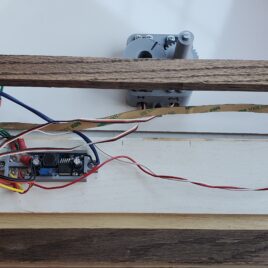
The electronics were soldering, wiring, servos, a Raspberry Pi Pico W, buttons, a light switch, and LEDs.
The Pico W controls the servos, keeps time after synchronizing over the internet, manages the light modes, and reads the button and switch. The mechanism positions the hands. The case and face make it all look like one coherent object.
This is one of my favorite kinds of projects because no single skill carries the whole thing. It only works because several different kinds of making overlap.
Woodworking made the object.
Electronics made it responsive.
Software made it aware of time.
Mechanical design made the strange clock geometry possible.
The personal story made it worth doing.
The reveal
Annabelle saw some of the process along the way, but I mostly kept the finished clock from her until it was done.
That made the reveal the real finish line.
There were many technical milestones before that point: the mechanism moving correctly, the face lighting up, the servos behaving, the case coming together, the replacement trim fitting after the first one exploded in the planer.
But none of those were the actual goal.
The goal was for Annabelle to see the clock and recognize the promise.
That was the moment when the project stopped being a collection of parts and became what it was supposed to be.
A memory from a trip.
A Christmas pile of confusing parts.
A custom mechanism.
A lot of sawdust.
A few mistakes.
One very bad planer pass.
And finally, a clock.
When she saw it finished, nothing else mattered.
Looking back
As far as I can tell, there is nothing quite like this clock on the market.
That is part of what made it fun. It was not a kit. It was not an off-the-shelf mechanism hidden inside a themed case. It was a custom object built around a specific idea for a specific person.
It is easy to think of maker projects in terms of tools, materials, and techniques. Those things matter. This clock needed all of them.
But the best projects usually start somewhere else.
This one started with my daughter noticing a detail and me saying, “I could build that.”
That sentence turned out to involve oak veneer plywood, recovered oak flooring, hardboard, acrylic, brass, vinyl, cellular foam, LEDs, servos, a Raspberry Pi Pico W, OnShape, a 3D printer, a router, a table saw, a Silhouette, soldering, kerf bending, and a planer repair.
Worth it.
Recent Comments