Several years ago, I took a daddy-daughter trip with Annabelle to Universal Studios.
At the time, she was deep into Harry Potter. So naturally, we spent a lot of our trip wandering through that part of the park, taking in the details, the storefronts, the props, the atmosphere, and all the little bits of design that make that world feel real.
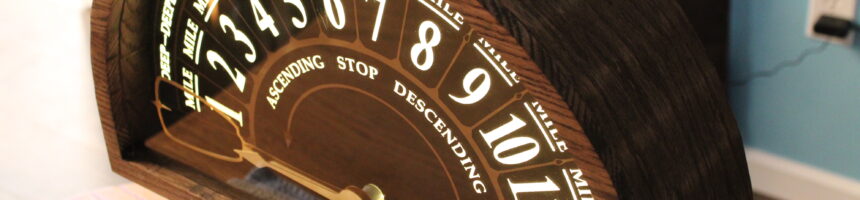
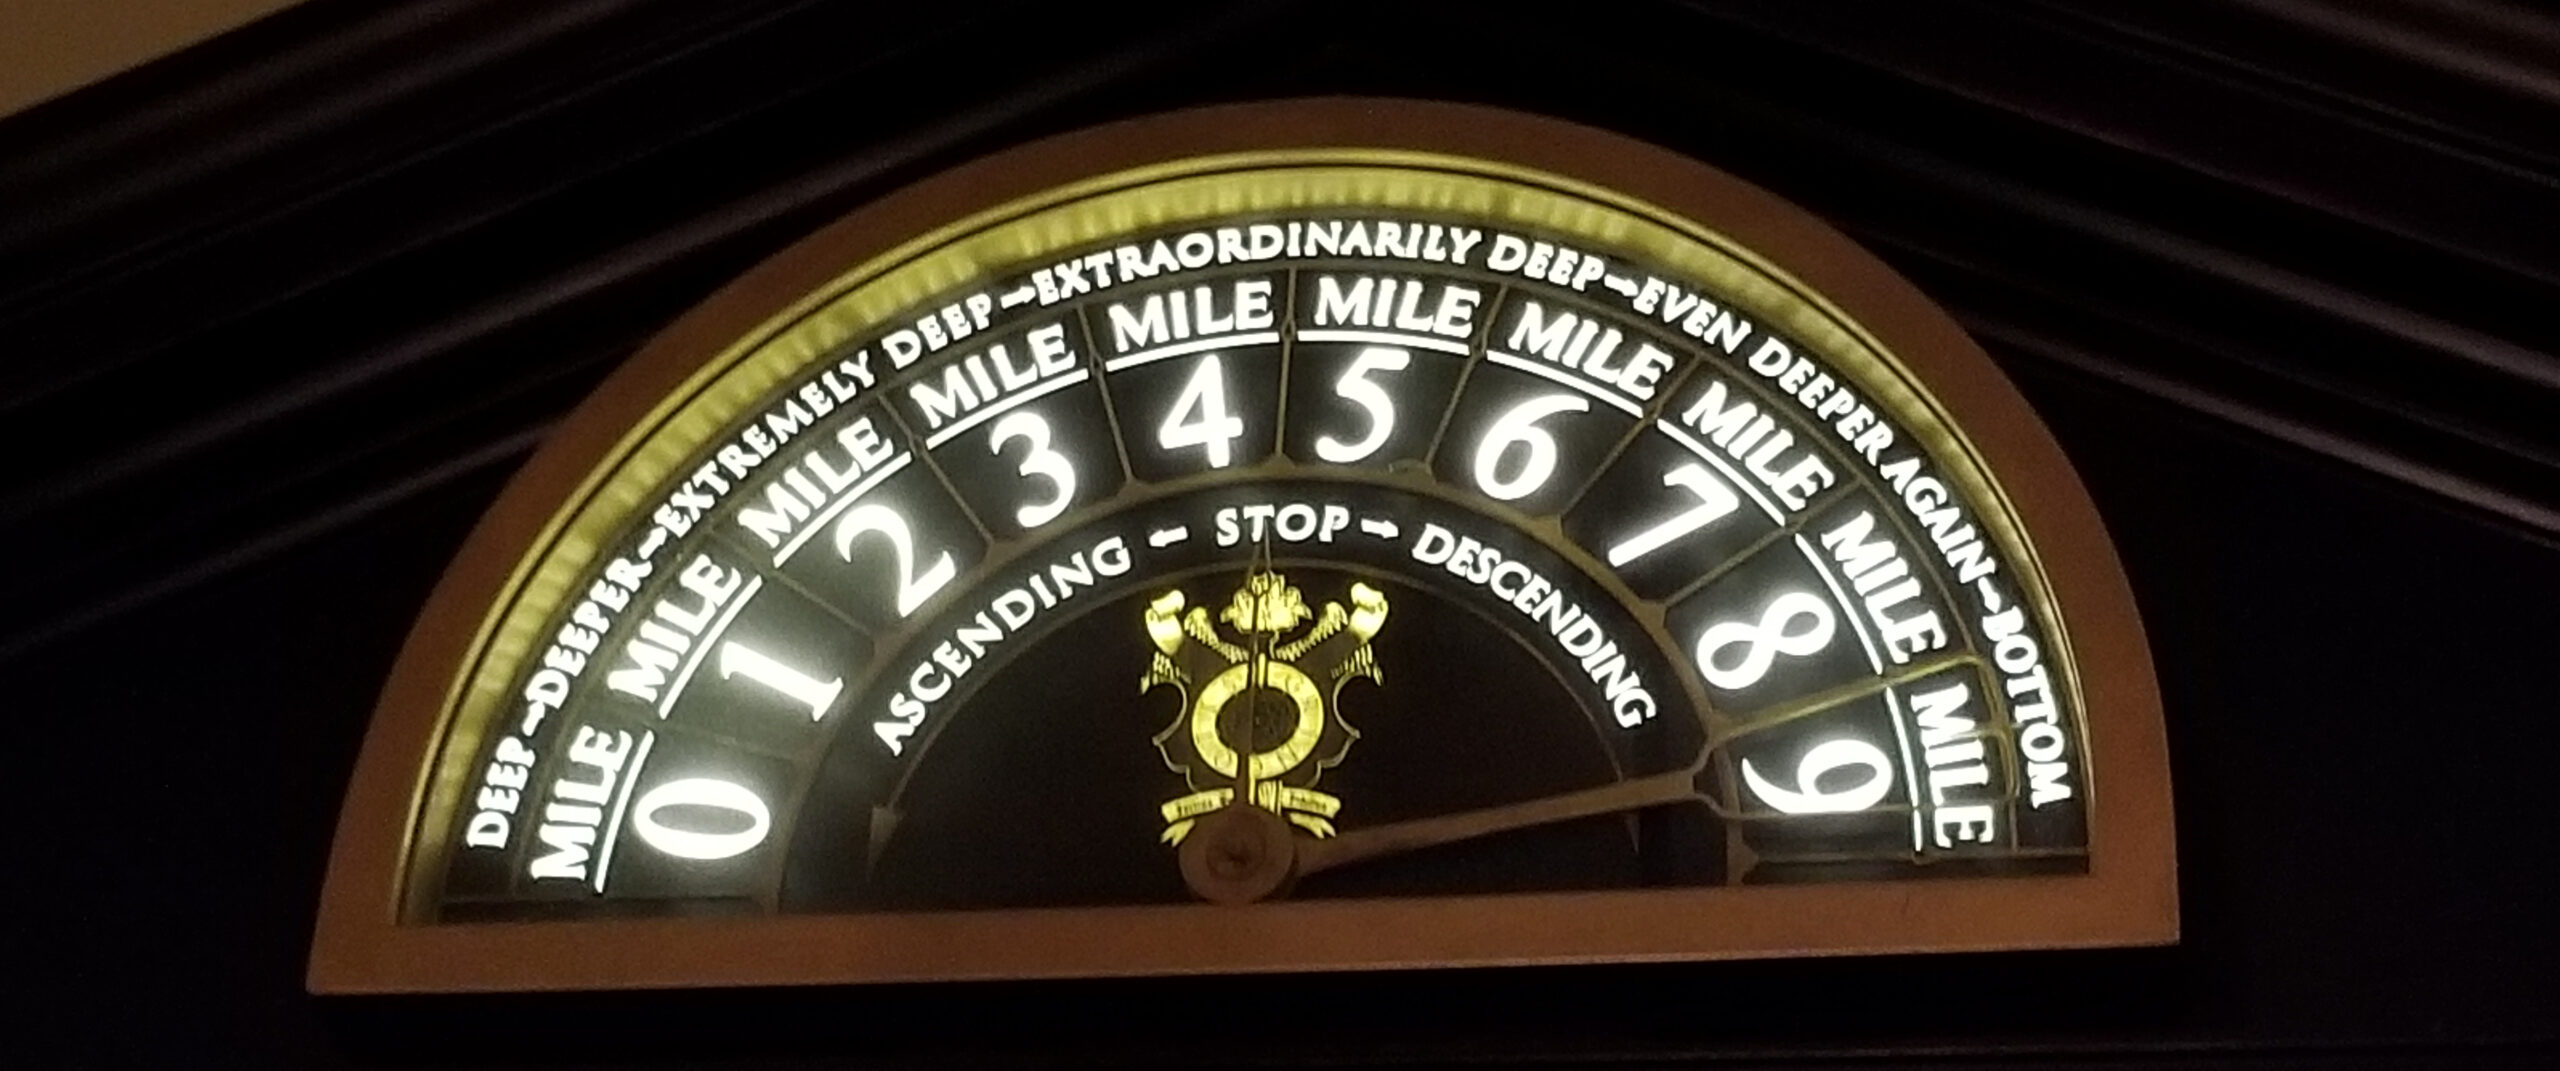
At some point, we were in the Gringotts ride. I remember Annabelle noticing the elevator-style depth indicator – the kind with a semicircular face and a hand that points to where you are. It was a small detail, but it caught her attention.
She said something about how cool it was.
And without thinking too hard about what I was committing myself to, I said something like:
“I could build one of those for you as a clock.”
She got excited immediately.
The Dangerous Part of Making Promises
There is a particular kind of sentence that makers say before they fully understand the consequences.
“I could build that.”
Sometimes it is true. Sometimes it is optimistic. Usually, it is both.
In this case, the idea sounded simple enough at first. An old elevator floor indicator is basically a semicircle with a hand that points to a number. A clock is basically a face with hands that point to numbers. How hard could it be to combine the two?
Of course, the moment you think about it for more than five seconds, the problem becomes more interesting.
A normal clock is circular. The hands rotate around a central point. The hour hand and minute hand both travel through a full 360 degrees.
An old elevator indicator does not work that way. It is typically a semicircle. The pointer sweeps from one side to the other. It has the visual language of a gauge, not a clock.
That difference became the central challenge of the whole build: make something that looked like an elevator indicator, but still read like an analog clock.
At that point, though, Annabelle did not need the technical explanation. She just knew that her dad said he could make the cool thing into a clock.
So now I had to.
Christmas Parts
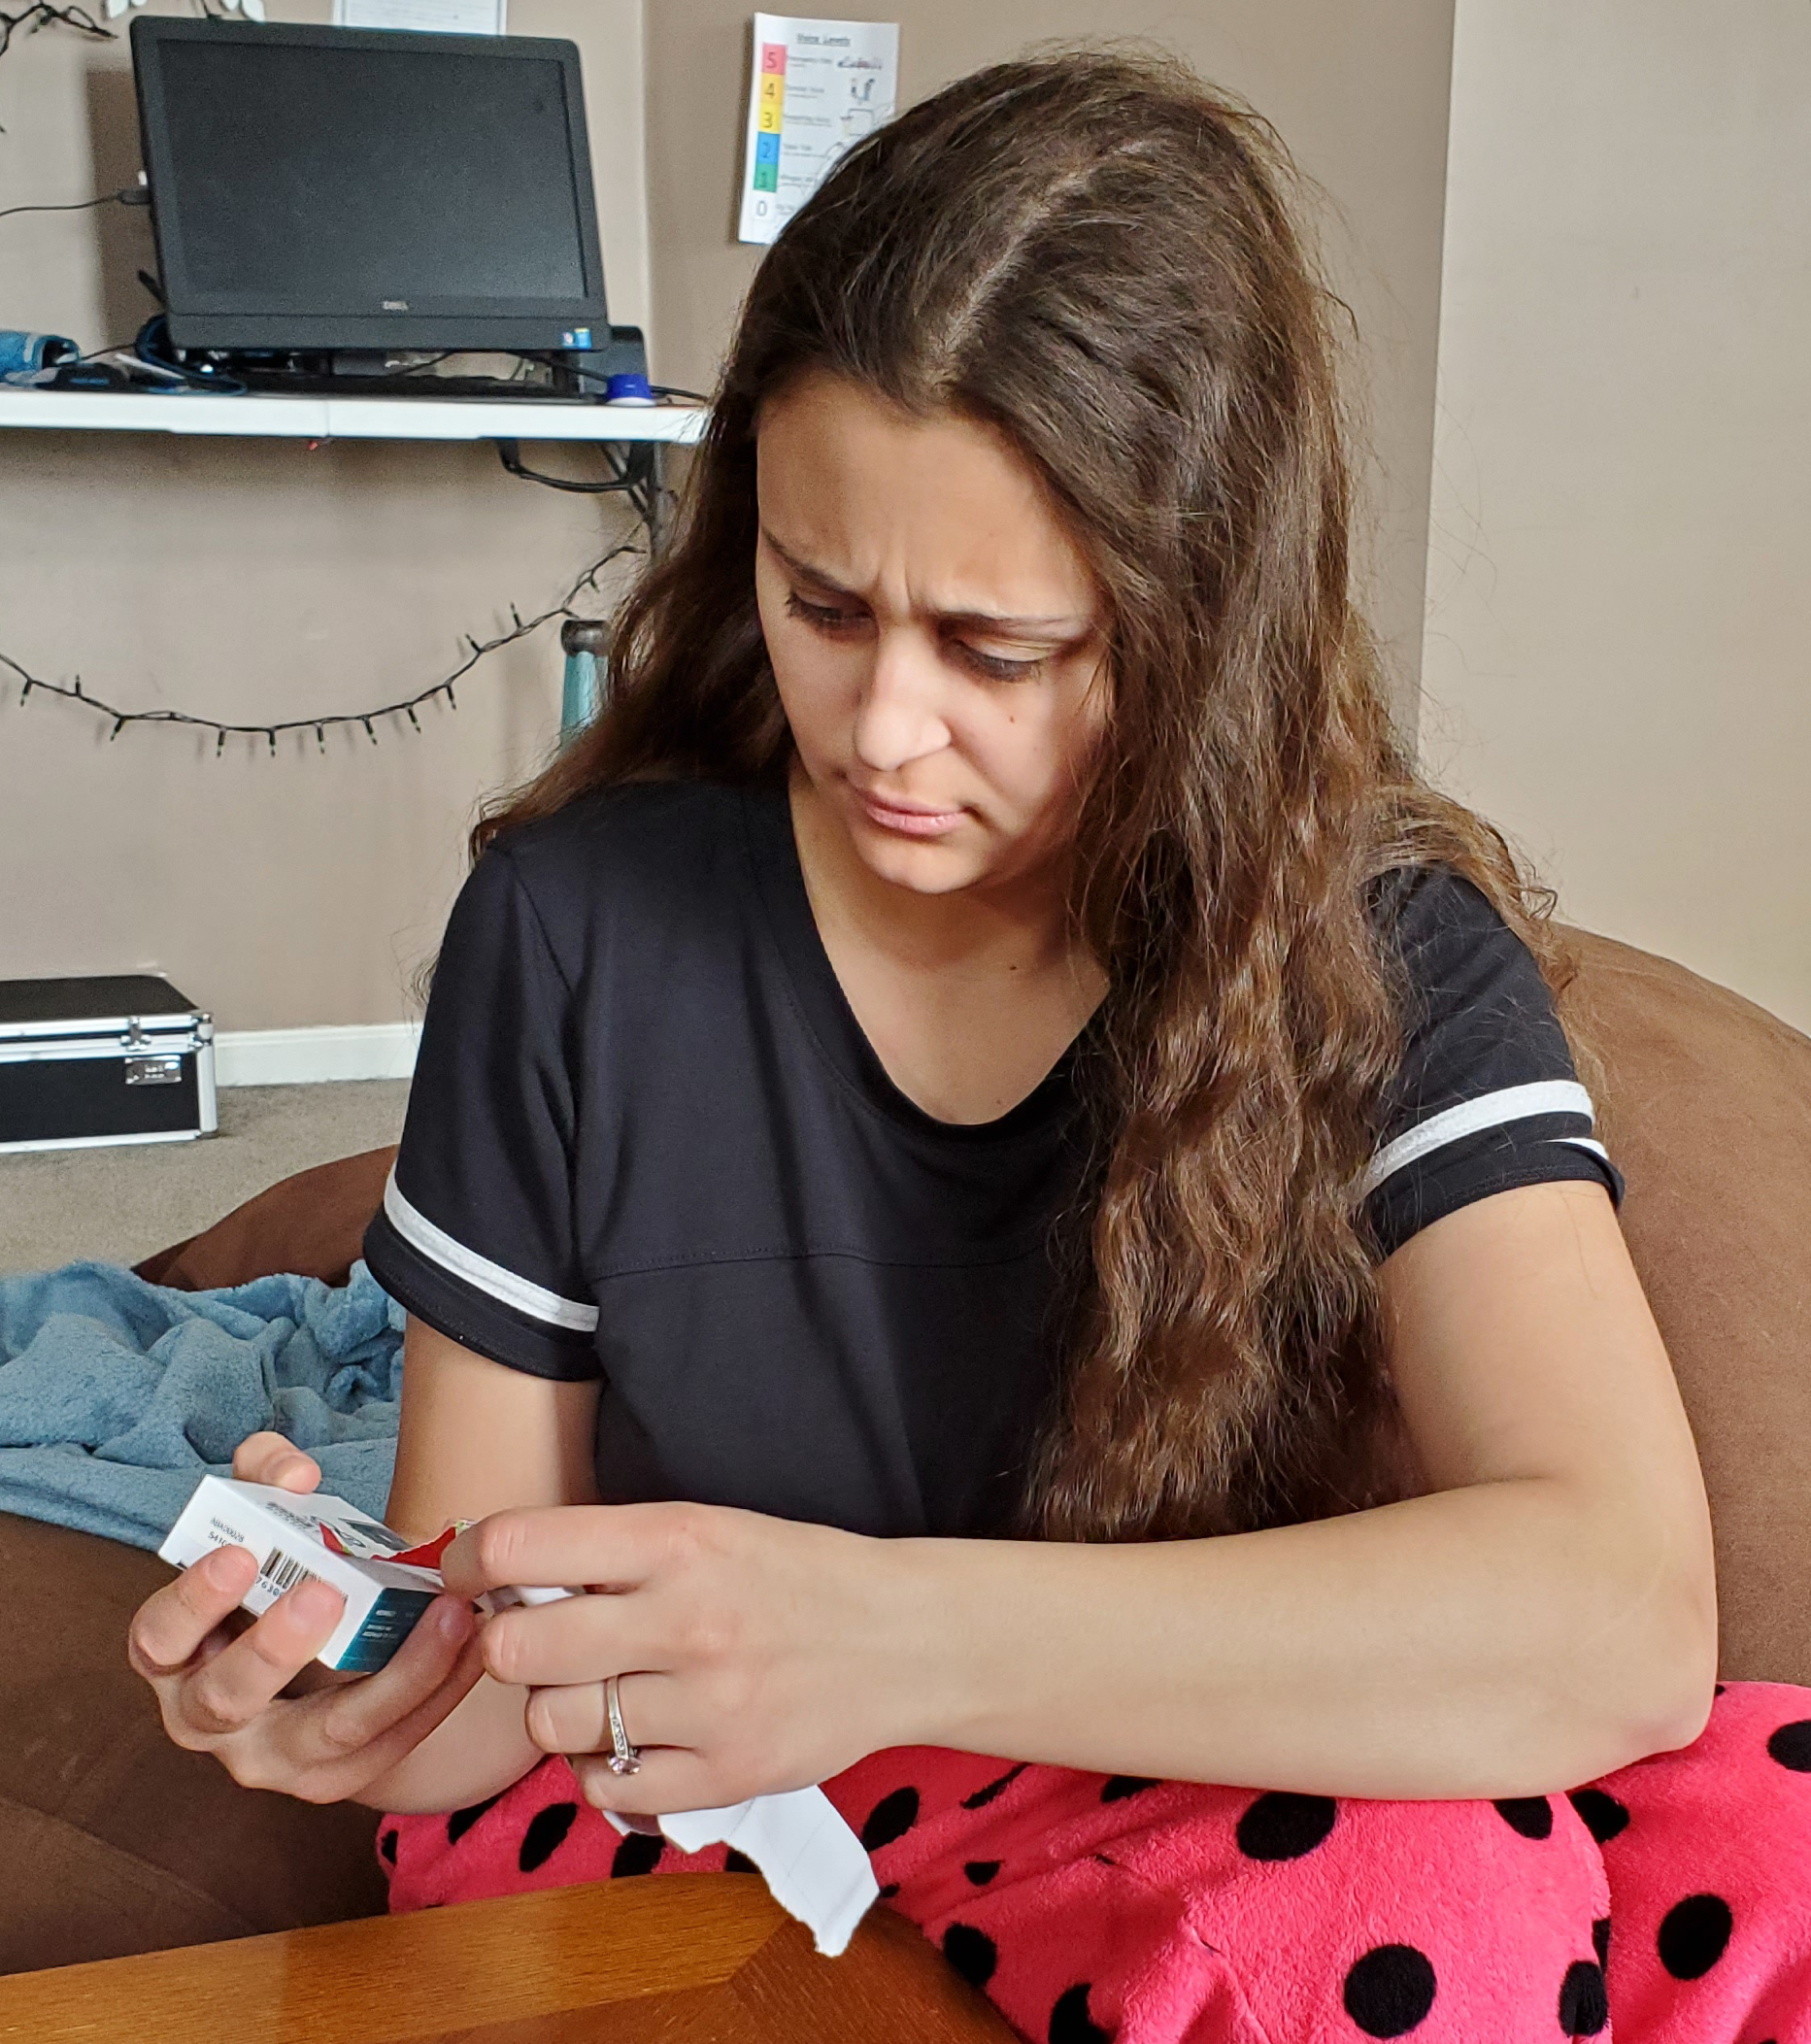
That Christmas, Annabelle opened a collection of gifts from her grandmother that probably seemed completely random.
There were small sheets of brass. An Arduino. Two servos. A gift card to Lowe’s. Some buttons. An LED strip.
It was not exactly a normal Christmas gift pile.
She was confused, which was fair. But when I told her what the parts were for, she immediately understood.
They were the beginning of the clock.
That moment is one of my favorite parts of the project. Before there was a finished clock, before there was a mechanism, before there was a case or a face or a wiring problem to debug, there was just a shared idea.
She had noticed something cool. I had made a promise. Her grandmother helped turn that promise into a pile of parts.
The project was not just about making a clock. It was about making something real out of a moment we had shared.
The Idea
The concept was to build a clock inspired by an old-time elevator floor indicator.
Instead of floors, the face would show the hours from 1 to 12. The hour hand would point to the current hour. The minute hand would move across the same scale, so the clock could still be read much like a traditional analog clock.
The finished piece would have a wood case, a curved face, brass hands, acrylic, custom-cut vinyl, and decorative backlighting. It would feel a little vintage, a little theatrical, and a little magical — but still be a functional clock.
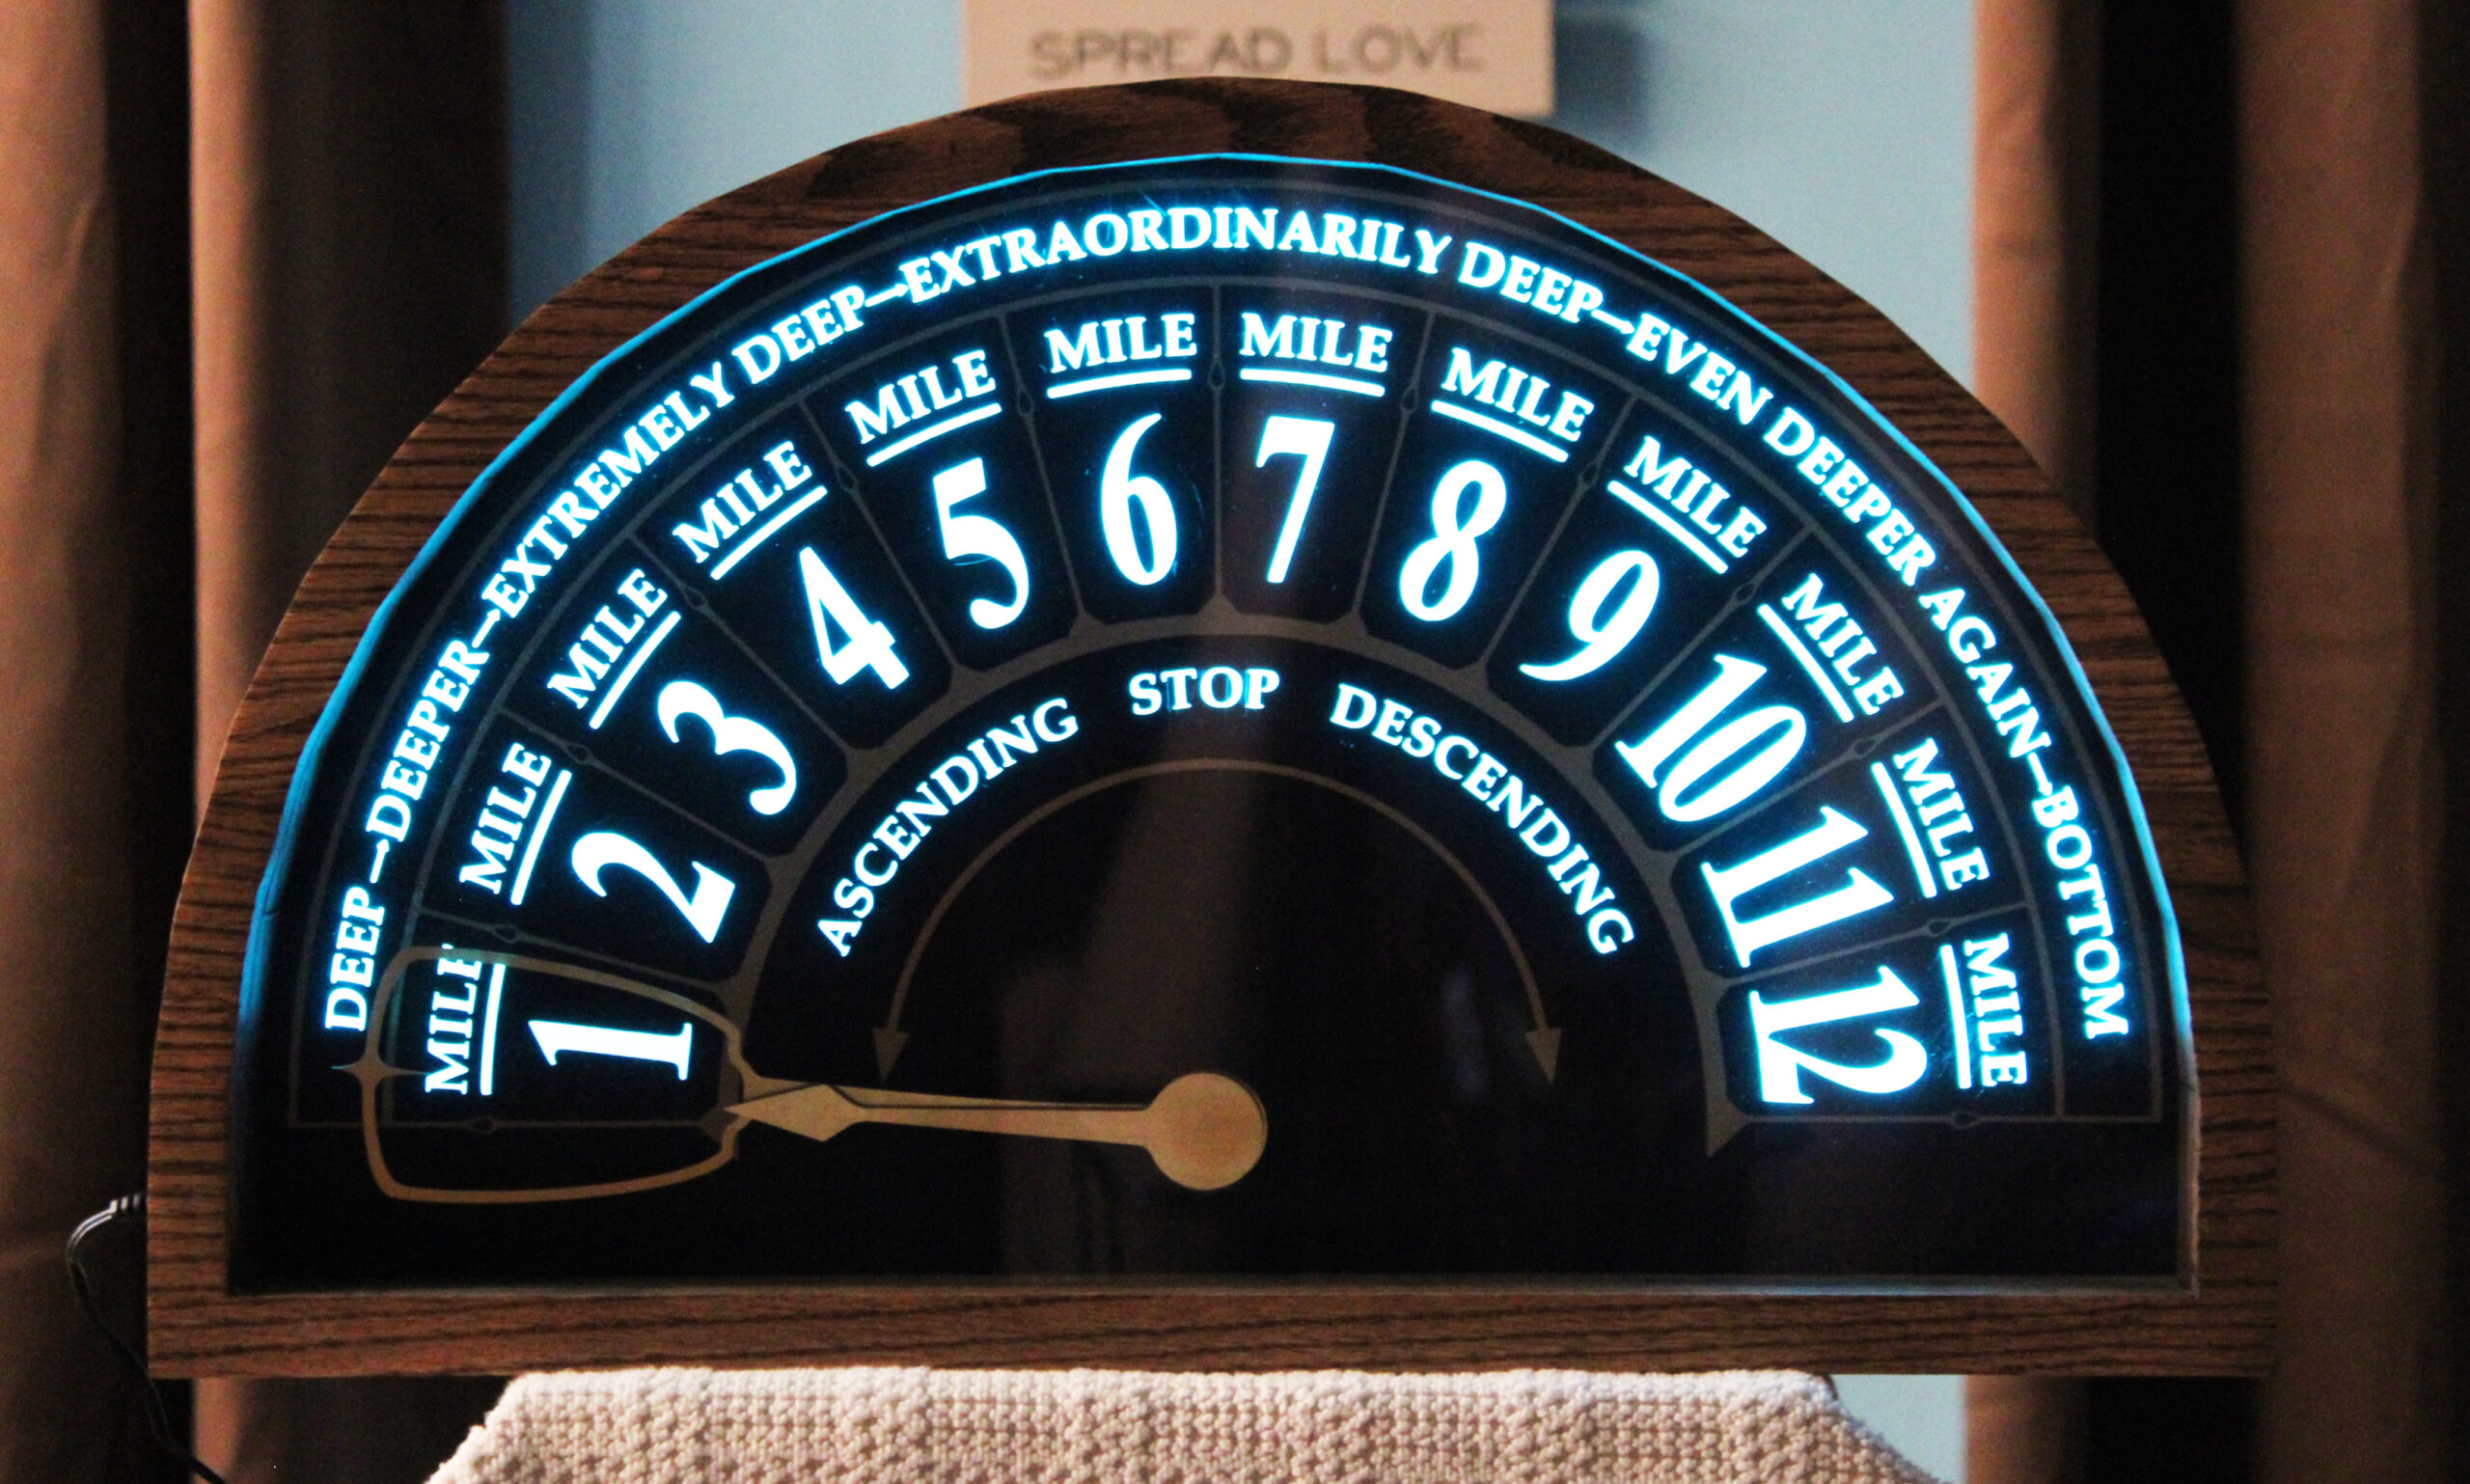
As far as I can tell, there is nothing quite like it on the market. There are elevator indicators. There are novelty clocks. There are plenty of beautiful analog clocks. But I could not find anything that worked exactly like this: a semicircular, elevator-style clock with independent hour and minute hands.
That meant the mechanism would have to be custom.
The electronics would have to be custom.
The case would have to be custom.
Which is usually where a project becomes more fun.
A Personal Project with a Technical Problem Inside
This series is about the build, but it is also about the story behind the build.
The emotional reason was simple: I wanted to make something for my daughter that came from a real memory. Not just a gift, and not just a decorative object, but something connected to our trip, her imagination, and a promise.
The technical reason was also simple: the idea was just awkward enough to be interesting.
A semicircular clock is not the way clocks are normally built. Making one required mechanical design, electronics, woodworking, acrylic work, vinyl cutting, brass hands, LED diffusion, 3D printing, and a little bit of debugging when things did not work the way they were supposed to.
Over the next few articles, I’ll walk through how the project came together:
- how the design changed from “elevator indicator” into “readable clock”
- how the custom mechanism works
- how the electronics evolved from an Arduino plan to a Raspberry Pi Pico W
- how the case was built with kerf-bent plywood
- how one front trim piece exploded inside my planer
- and how it all finally came together
But the whole project started with one small moment in a theme park ride.
Annabelle saw a detail she loved.
I said, “I could build that.”
And then I had to figure out how.
Recent Comments